

Siri on iPhone Plays Spotify Song via macOS say Tutorial
Yesterday’s Siri on iPad Plays Apple Music Song Tutorial represented to us, regarding the …
Don’t be concerned, it will not harm you
It’s only me pursuing somethin’ I’m not sure of
Across my dreams with nets of wonder
I chase the bright elusive butterfly of love
… ilk of things, a creeping up on our interest in a programmable link between …
| iOS music playing (Apple Music or Spotify etcetera) | … and Siri … | … along with … | macOS say (via crontab or at (macOS command scheduling functionality), eventually) control |
|---|
And our verdict, after today’s iPhone Siri setup (which gets you to “say”, modelling …
| say “Hey Siri” |
| say “Hey Siri, send a message” |
| say “Hey Siri, how’s the weather today” |
| say “Hey Siri, set a timer for three minutes” |
| say “Hey Siri, play some music” |
… sentences above to configure the relevant voice) along with a macOS command line “say” arrangement, is … da, da da da da da, da, da da we could go on with the whole lion bit, but we’ll spare you … yes, we can get “say” command on macOS work a …
|
say “Hey Siri, Play U2” |
|---|
… type of Siri dictation command onto (our) iPhone’s (default Spotify) music app to play a song. It’s just that … first wooooorrrrlllldddd problem alert … the “say” command was not that flash at …
|
say “Hey Siri, Stop” |
|---|
… to stop the music, as well as our own … yoo hoo … voice is. And so, our recommendation is to setup Siri for multiple voices. How? Hard to believe, but it seems, in iPhone’s Settings -> Siri & Search screen, turning the top green (Listen for “Hey Siri”) switch in the settings to off and then back on is the go?! The resultant procedure is where you can “train” Siri to recognize a macOS “say” voice, as well as your own voice, or a bunch of other “Siri Voice” (menu) choices offered “out of the box” with the iPhone iOS installed. It may be that you should explore macOS “say” -v [VoiceName] choices, as well, here.
How does this work sit with macOS crontab “say” command thinking that goes with our changed inhouse macos_say_record.php (we recommend you download to macOS MAMP local web server and startup via HTTP://localhost:8888/macos_say_record.php web address URL) MacOS Text to Audio online PHP supervisor talked about with MacOS Text to Audio Scheduling Tutorial? Well, without reliable “stop” … first wooooorrrrlllldddd problem or not … we are going to continue research, but we’re not sure that you will be totally spared from your own voice interventions for stopping (of music) purposes … or perhaps get yourselves an Apple HomePod mini …
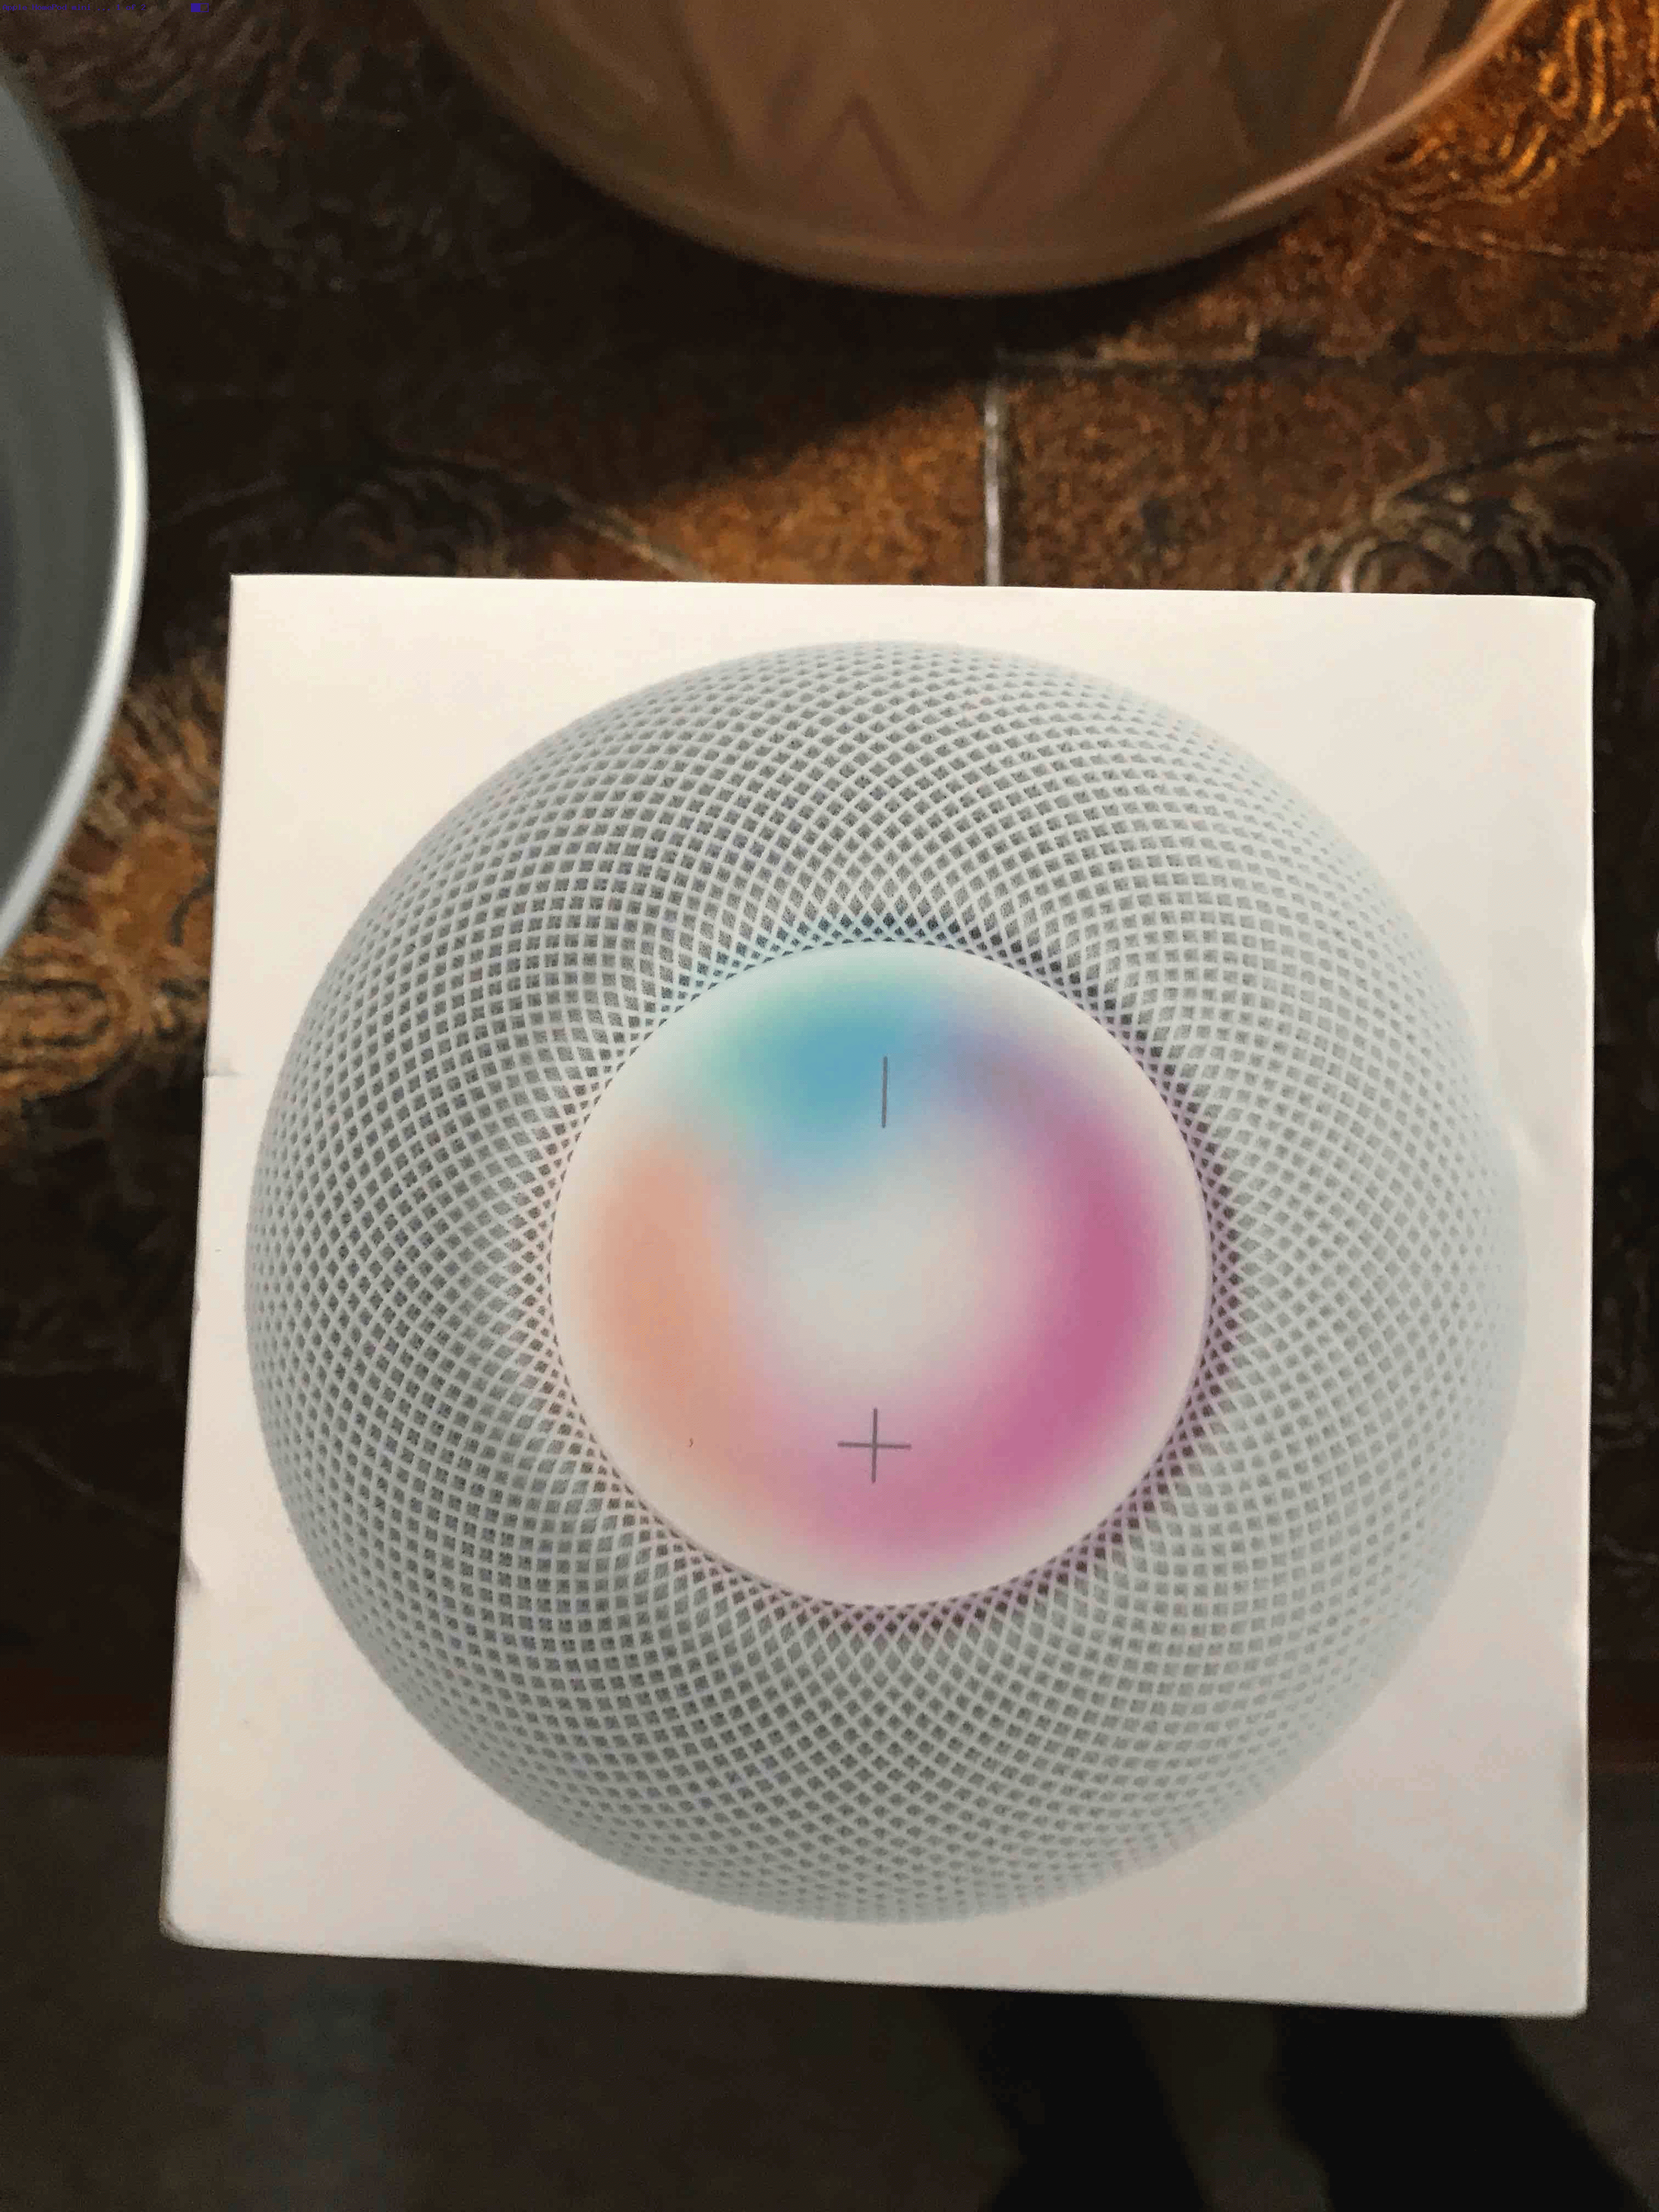
… as a hardware style of thinking solution. Anyway, take a look at today’s iPhone Siri meets macOS “say” control of iPhone Spotify learning curve hereabouts …
Previous relevant Siri on iPad Plays Apple Music Song Tutorial is shown below.

Siri on iPad Plays Apple Music Song Tutorial
We’re resetting the iOS Siri app mentioned in Siri on iPad Mail Dictate Tutorial on another iPad today. We wanted to set it up (via Settings -> Siri & Search) to play songs on Apple Music with spoken words (directed to Siri) such as …
… but as you can see from today’s tutorial animated GIF picture (also showing Siri’s setup) we had no Brahms in our Apple Music collection, and so tried …
Hey Siri, Play U2
… with more success!
Previous relevant Siri on iPad Mail Dictate Tutorial is shown below.

Siri on iPad Mail Dictate Tutorial
Hope you are not like me and feel like going into a cupboard to use a microphone on a mobile device. If this is not you, and you have a half recent version of iOS on an iPad or iPhone, and you have Siri available as an app, then today’s tutorial may be of interest.
Siri can be like a personal assistant, and the way we best think of it as such, is as a tool to help dictate an email, using the Mail app on our iPad. To get to that, though, if you’ve never used Siri before, you should consult this Apple webpage, or our previous Apple iOS Siri Audio Commentary Tutorial to get started. Once you’re setup for Siri in this way it is very easy to start using Siri when composing emails.
- Open the Mail app
- Fill in the To field via the keyboard … Siri can’t do this very well … but while you are at the keyboard, what’s the third button from the left on the bottom row? Yes, the “microphone” button gets you to Siri functionality … cute, huh?!
- Guess we don’t need to say, but will, that this microphone button becomes useful as soon as you tap in a “keyboard” anything … Siri can be there to assist … personally!
But a word of caution here, is to check about homonyms like today’s “in all innocence” …
The rain in Spain falls mainly on the plane
… Siri faux pas. This is a small concern compared to how much it can do that is correct. Hands free dictation can be very useful for those users on the go, or those kinaesthetic thinkers, perhaps.
On the iPad latest iOS, which we’ll have to talk about soon, there are other good suggestions for Siri use to add to …
- Mail (app) … those being …
- Safari
- Photos
- Camera
- Settings … and
- Numerous Third Party and homegrown apps that access the keyboard, and so, Siri “microphone”
Hope this is food for thought, and we’ll leave you with today’s PDF presentation of a Mail app session using Siri to help build up the body section email content, here.
Previous relevant Apple iOS Siri Audio Commentary Tutorial is shown below.

Apple iOS Siri Audio Commentary Tutorial (click/touch to open and then hover, click/touch will have audio commentary)
Today we wanted to show you an idea inspired by our own previous Apple iOS Siri Primer Tutorial that combines …
- One (tutorial picture) image made up of a 3 x 3 set of “subimages” … that has the “intelligence” of a …
- HTML map element and the great Mobilefish “create your own image map” functionality website … added to it along with …
- HTML audio elements that allow for an audio commentary of the 9 “subimages” … the content for which is derived on a Mac OS X by QuickTime Player‘s Audio Recording functionality, which we last talked about at this blog with QuickTime Player Video Flickr Share Primer Tutorial
… especially as Siri so much relates to audio and “voice recognition”.
Now that idea’s first, second and everything aside from ‘HTML audio elements that allow for an audio commentary of the 9 “subimages”‘ of the third parts we’ve been consistent on, but the idea to do this in the first place was secondly inspired by reading this interesting link referring to the CSS selectors :before and :after use of the content property, especially where it says …
url(url) Sets the content to be some kind of media (an image, a sound, a video, etc.)
… not quite believing it could be true … yes, an image, but “a sound, a video“? No way! Well, alas, as of this date, yes … no way … yet. Then seeing this CSS approach wasn’t working … lo and behold … this link explains more … thanks.
But this setback is not the end of the world, and the other backup plan of …
- HTML area elements of the HTML map element will be given onmouseover and onclick event logic added to it while using the Mobilefish online map creator … and we’ll massage the resultant HTML to put this logic in as well as the HTML audio element “shells” as well as …
- Define audio file comma separated lists in the HTML area elements’ alt attributes
… involves this Javascript DOM code to make the audio commentary be controlled by a hover (but not on mobile devices) and/or click/touch of a “subimage” of interest from the main image …
<script type='text/javascript'>


var lastomo='';

var lastoc='';

var e, prebits, bits, i;


function omo(ois) {

  if (lastomo != ("" + ois.title)) {

   if (ois.alt.indexOf('.') != -1) {

    prebits=ois.alt.split(',');

    for (i=1; i<=prebits.length; i++) {

    bits=prebits[i - 1].split('.');

    document.getElementById('iaudio' + i).type="audio/" + bits[1].replace('mp3','mpeg');

    document.getElementById('iaudio' + i).src=prebits[i - 1];

    try {

    document.getElementById('iaudio' + i).play();

    } catch (e) {

    document.title=('problem');

    }

    }

   }

  }

  lastomo="" + ois.title;

}


function oc(ois) {

  if (lastoc != ("" + ois.title)) {

   if (ois.alt.indexOf('.') != -1) {

    prebits=ois.alt.split(',');

    for (i=1; i<=prebits.length; i++) {

    bits=prebits[i - 1].split('.');

    document.getElementById('iaudio' + i).type="audio/" + bits[1].replace('mp3','mpeg');

    document.getElementById('iaudio' + i).src=prebits[i - 1];

    try {

    document.getElementById('iaudio' + i).play();

    } catch (e) {

    document.title=('problem');

    }

    }

   }

  }

  lastoc="" + ois.title;

}


</script>
You’ll see a reminder of the first CSS plan where we have …
<style>

.screenshot_1::before {

  content: url('slide1.m4a');

}

</style>
… because you never know what the future holds?!
Please try our live run and/or peruse or download the HTML and Javascript and “not now” CSS you could call siri_setup_with_audio.html
Previous relevant Apple iOS Siri Primer Tutorial is shown below.

Apple iOS Siri Primer Tutorial
After the tutorial two days back, with Windows 10 and its Cortana voice recognition “personal assistant” (that we tested out with Windows 10 Cortana Primer Tutorial below) you’d be wondering if Apple has an equivalent, and yes, for iOS, which we are going to show today on an iPad, and there are “kind of” ways for Mac OS X El Capitan you can read about here.
Let’s see how Apple describes Siri this way …
Siri lets you use your voice to send messages, schedule meetings, place phone calls and more. Ask Siri to do things just by talking the way you talk. Siri understands what you say, knows what you mean and even talks back. Siri is so easy to use and does so much, you’ll keep finding more and more ways to use it.
This being an iPad, and this being iOS, we had no issues with microphones setting up Siri. The microphone is well integrated into iPad normal usage, and the main job for today’s iPad Siri setup that you get to via …
Settings -> General -> Siri
… relates to “voice recognition” … and which we feature some of the steps involved, with today’s tutorial picture.
Previous relevant Windows 10 Cortana Primer Tutorial is shown below.

Windows 10 Cortana Primer Tutorial
In the area of robotics and artificial intelligence, perhaps the best known concept to we “mere mortals” is “voice recognition”. Perhaps because research into it goes back to 1932, before the Second World War … and 66 years before the “Worm Farm Incident of Simmons Street Disaster” … but we digress … and no … “I’m not ready to open up about this at this delicate stage of my life, yet, Brad.”.
Voice recognition has come a long way from those earliest endeavours when the speech recognition relied on training software for an individual voice. This became apparent to me trying out Cortana in Windows 10. Once working, it didn’t seem to matter who in our house asked the same question of Cortana, the speech recognition software recognized and translated the speech into the same text for all of us. Actually, Microsoft describes Cortana this way …
Cortana is your clever new personal assistant.
Cortana will help you find things on your PC, manage your calendar, track packages, find files, chat with you, and tell jokes. The more you use Cortana, the more personalized your experience will be.
To get started, type a question in the search box on the taskbar. Or select the microphone icon and talk to Cortana. (Typing works for all types of PCs, but you need a mic to talk.)
… and I see what they mean by this, because you can work Cortana without the voice recognition part, if you like, or if you have the urge to run for the nearest cupboard before being caught talking into a computer (microphone). Perhaps Cortana should have a special “Darkroom Edition” for people who …
- have the urge to run for the nearest cupboard before being caught talking into a computer (microphone) … and who …
- have a hobby developing and printing photographs
Anyway, we agree with Microsoft that Cortana is clever, and it’s nice for us to find another use for the microphone (brand called MXL Tempo) we used with WebEx work we talked about with WebEx Presentation with Microphone Tutorial below.
There is not much to setting up Cortana, except, perhaps, for the microphone bit, which we’ll talk more about later. Cortana’s “personal assistant” and interface down next to the Windows icon at the bottom left of the screen guides you well through what you have to do.
We got stuck a bit, regarding setting up the microphone, with a cycle of it presenting this voice recognition test  always resulting in a message wondering whether we had the microphone set to “mute on”, which wasn’t the case. But what was the case, and remedied this problem was to use a USB 2 port rather than a USB 3 port … in case this happens to you.
Other than that, Cortana is pretty cute, and could be a good enough reason on its own to upgrade to Windows 10 from Windows 7, Windows 8.1, Windows Phone 8.1 or Windows 9 operating systems before Friday, 29th July 2016 which is the cut off day for free upgrades. Our experience of the upgrade was talked about at Windows 10 Upgrade Primer Tutorial (and backups were discussed at Windows File History Backup Primer Tutorial).
Did you know?
Sadly, some days ago saw the passing of Frank Dickens, the creator of the Bristow cartoon series, forever etched on my brain regarding The Great Tea Trolley Disaster of ’67. R.I.P.
Previous relevant WebEx Presentation with Microphone Tutorial is shown below.

WebEx Presentation with Microphone Tutorial
We’ve been doing some more WebEx (by Cisco) lately, and realised, at least with using a MacBook Pro laptop, we needed to invest in a microphone, to be heard, as the inbuilt microphone systems were not up to it.
We opted for a USB connected microphone brand called MXL Tempo, sold here in Australia, and have found it to be good, especially mounted on the stand provided … well, no complaints, anyway?! Where it has a 1/8″ (3.5mm) Headphone Jack we plugged in our own speakers, though you could use headphones here as well.
Of course we’ll also be constructing a garage, and buying a guitar, and calling on “tree fellers” karaoke backing track of Peter, Paul and Mary to complete the picture of this week’s project … getting the new microphone to make breakfast in the morning before you even knew you needed breakfast get me on The Voices.
In the WebEx “Audio Connection” menu via “Call Using Computer” option have both input and output audio be handled by “USB audio CODEC” (if they are options … if not, there is a hardware (perhaps configuration) problem with your audio and microphone connection) as you can see at today’s tutorial picture. So long as you succeed and have the USB connected, the audio connection will default to this arrangement for the next time. Cute, huh?!
To make it permanent that the MXL Tempo microphone arrangement is the default device for recordings …
- click on System Preferences off the Apple menu
- click the Sound option
- click the Output tab
- pick USB audio CODEC
- if you intend using speakers or headphones connected off this microphone from its 1/8″ (3.5mm) Headphone Jack, click the Input tab
- pick USB audio CODEC
Being heard never seemed so easy!
Previous relevant WebEx Prerecording Primer Tutorial is shown below.

WebEx Prerecording Primer Tutorial
We’ve been trying out WebEx (by Cisco) prerecording as a video conferencing idea as an alternative to …
- GoToMeeting (by Citrix) we talked about with GoToMeeting Primer Tutorial
- Skype (by Skype and now Microsoft) we talked about with Skype Primer Tutorial
… regarding video conferencing products we’ve tried at this blog.
Have to say, WebEx is great, even with respect to the “wide eyed and bushy tailed” reaction “this little black duck” has to all these networky communicaty ideas on the net (at least we spelt “net” correctly).
Have to thank my wife, Maree, for her expertise and the facilities her company, Thomson Reuters, supplies for the serving of WebEx recordings … thanks everyone. Have been assured they are periodically deleted, and my lame impersonations of the old “ducks on the wall” can rest in peace shortly.
And so, we have a slideshow starting with a WebEx email link to join a meeting, and we pan down the email to show you other WebEx functionalities, such as adding a Calendar reference to the meeting time, and though we haven’t shown you detail here, rest assured it handles timezone scenarios very well, unless you lie about living in Antarctica, that is … sorry, scientists in Antarctica reading this blog posting … all 237 of you.
During this “earlier than today exploration of WebEx” session the necessary software installs just happened for this MacBook Pro Mac OS X laptop as if we were shelling peas … it’s always good to have some handy when installing any software. So we won’t show you this unless we deem it essential at a later date. You can perhaps do as I did, and ask a real WebEx user invite you to a meeting, to set yourself up. In fact, today’s session meeting creation time you may notice is well in the past from that earlier introductory learning session Maree and I had, and you can bring back up that old email, and resurrect that meeting again and again, if you like … am not sure if there is an expiry date on this too, like with server stored WebEx prerecordings.
So also rest assured, WebEx handles …
- video via webcam on your device
- audio via microphone on your device (“Use Computer”) or via a phone line
- the synchronization of the two above
- mobile devices
Did you know?
A .ics extension file, as you can see being used as an email attachment file extension in  is, as explained in this link‘s sublink …
ICS is a global format for calendar files widely being utilized by various calendar and email programs including Google Calendar, Apple iCal, and Microsoft Outlook. These files enable users to share and publish information directly from their calendars over email or via uploading it to the world wide web.
… as helping interface meetings to online calendar appointments. Cute, huh?!
If this was interesting you may be interested in this too.
If this was interesting you may be interested in this too.
If this was interesting you may be interested in this too.
If this was interesting you may be interested in this too.
If this was interesting you may be interested in this too.
If this was interesting you may be interested in this too.
If this was interesting you may be interested in this too.
If this was interesting you may be interested in this too.

