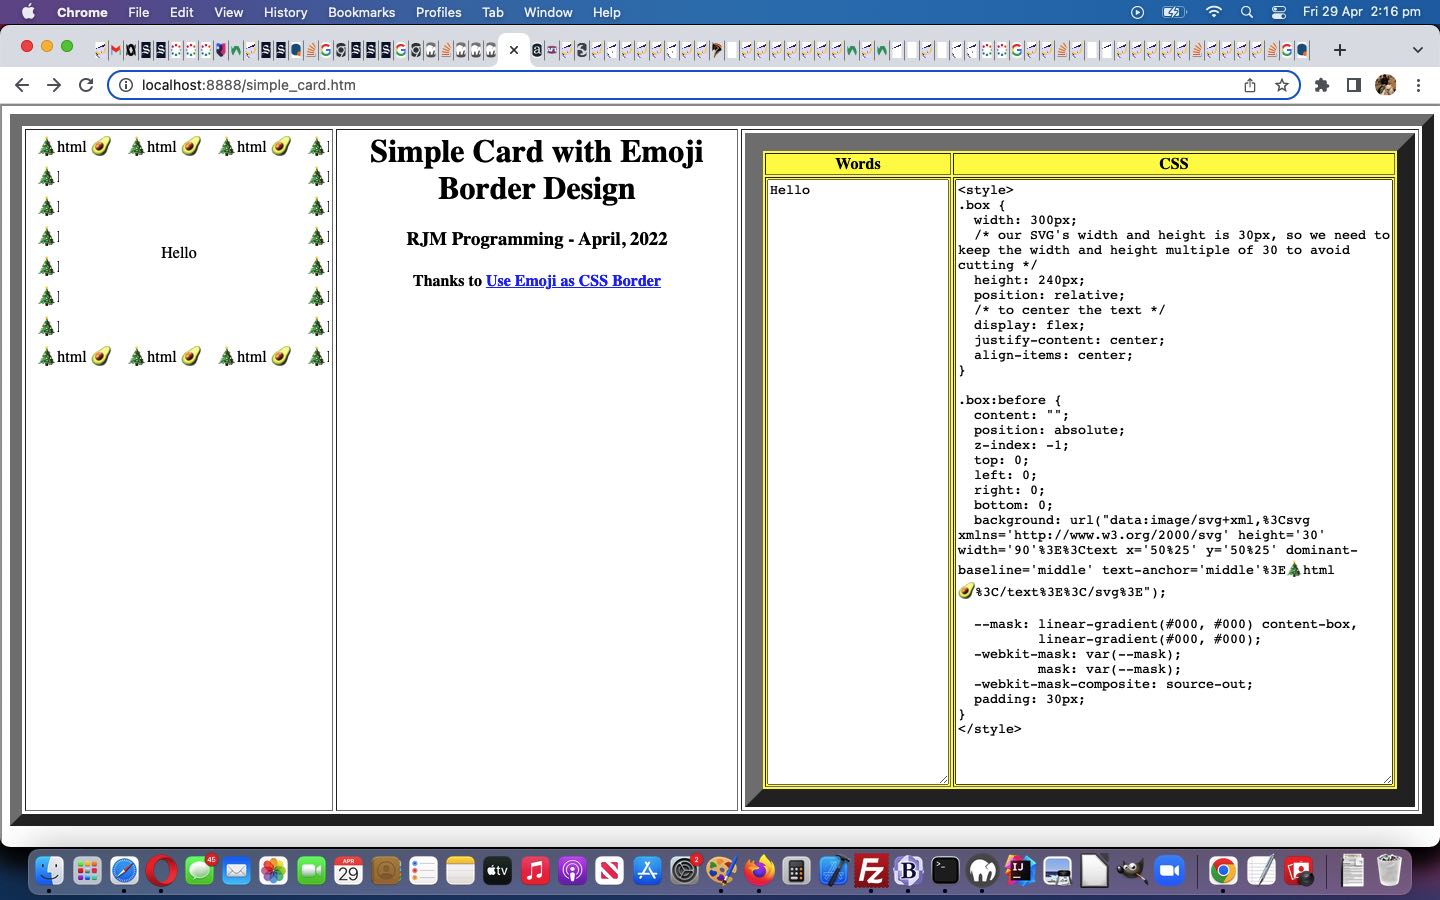
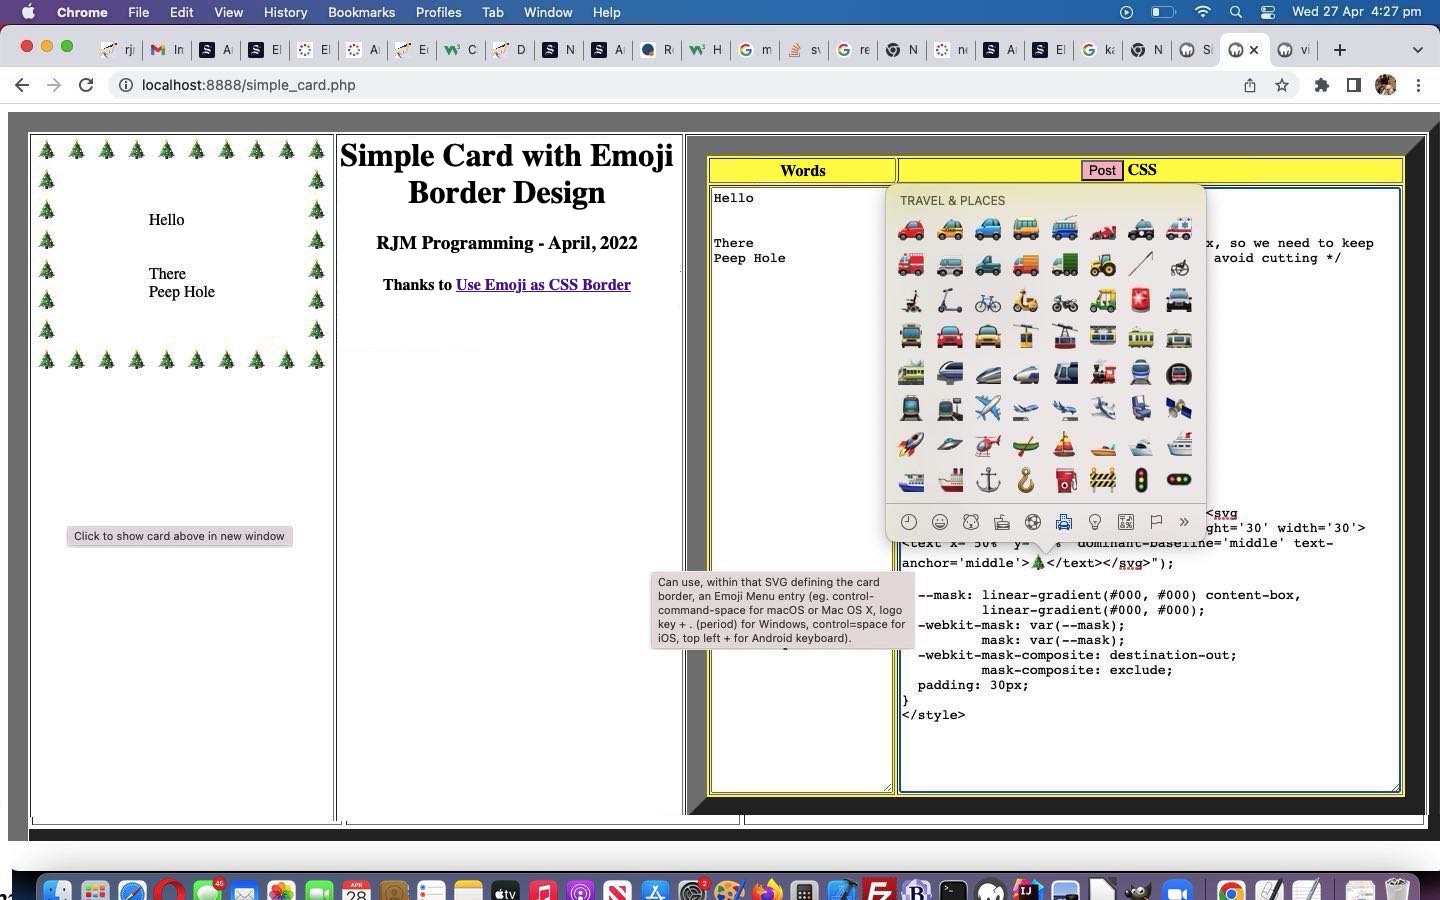
Yesterday’s Simple Emoji Border Card Primer Tutorial could well have been called either of …
- Simple Emoji Border Card Server Tutorial
- Simple Emoji Border Card PHP Tutorial
… and a lot of users would “get the gist” relative to today’s Simple Emoji Border Card Client Tutorial (or could have been called Simple Emoji Border Card HTML Tutorial). Yes, when thinking “web applications” …
Think Server, think PHP
Think Client, think HTML
… as far as what you write your code in when your environment is an Apache/PHP/MySql web server based one. Add in, if you like, that Javascript scripting and/or CSS styling can hang off either idea. Why did we have our Primer Tutorial web application written in (Server side) PHP in the first place? As is quite often the case it is to do with …
- large amounts of data needed to transfer at a certain point of proceedings … and we are navigating at this point via …
- form …
- method=POST … needs at the receiving end (specified via form action attribute value), only (out of client HTML versus server PHP) …
- PHP
We like PHP a lot personally, but realize there are …
- people not set up for PHP coding …
- people who would prefer pared down “just HTML (and Javascript and CSS)” (simplified) thinking
We can see the attraction of this second thought, even if you are set up for PHP coding, and so, we looked into this for our recent “Simple Emoji Border Card” web application and concluded …
- yes
we have no bananaswe can replace the need for that “Post” form submit button featuring in the PHP (that sends loads of data via a form method=POST conduit back to the same PHP code basis) with … -
- no (to) new webpage (navigation) … in favour of …
- new HTML (and Javascript and CSS) code (reconfiguration) … where …
- the all encompassing table element is given an id attribute of “toptable” … and we …
- append just before </body> …
<iframe name=ifp id=ifp style=display:none; src=''></iframe>

<div id=spares style=display:none;></div>
… and … - added “onblur” event logic (see where onblur=” iframeit(this); ” below) for that “CSS” textarea with the large amounts of data … whose Javascript functionality …
- overlays a totally fitting and covering HTML iframe hosted incarnation of same HTML (and Javascript and CSS) code which now features <body onload=” checkforparent(); “> call of Javascript …
  var dho='';


  function iframeit(tao) {

    document.getElementById('toptable').style.opacity='0.0';

    document.getElementById('ifp').src=document.URL.split('#')[0].split('?')[0] + '?rand=' + Math.floor(Math.random() * 19876564);

    document.getElementById('ifp').style.display='block';

    document.getElementById('ifp').style.position='absolute';

    document.getElementById('ifp').style.top='0px';

    document.getElementById('ifp').style.left='0px';

    document.getElementById('ifp').style.width='100%';

    document.getElementById('ifp').style.height='100vh';

    document.getElementById('ifp').style.zIndex='99';

  }


  function checkforparent() {

    if (window.parent != window) {

      dho=document.head.outerHTML.replace('<style' + document.head.outerHTML.split('<style')[1].split('</style>')[0] + '</style>', parent.document.getElementById('css').value);

      document.getElementById('spares').innerHTML=parent.document.getElementById('css').value;

      document.getElementById('css').value=parent.document.getElementById('css').value;

      document.getElementById('words').value=parent.document.getElementById('words').value;

      document.getElementById('box').innerHTML=parent.document.getElementById('box').innerHTML;

    }

  }
… as its means to get around the need for form method=POST “large amounts of data” (Server) thinking in a reconfigured (Client) way
Meaning, there are a few ways our Simple Emoji Border Card web application can now be used …
- via our new simple_card.htm (Client) HTML web application …
- via our changed simple_card.php (Server) PHP web application redirecting to HTML (or even PHP web application not redirecting to HTML)
Previous relevant Simple Emoji Border Card Primer Tutorial is shown below.
We were really happy to stumble upon StackOverflow‘s excellent Use Emoji as CSS Border webpage (of dreams and ideas) the other day, and immediately want to …
- start “proof of concept” Simple Emoji Border Card creating today … ready for …
- whatever the future may hold, into the future, because we smell a tool coming on
We break the “user controllable” components of the card into …
- wording of the card
- emoji (maybe) border of card CSS styling
… used by the user via some HTML textarea content they could edit to click a “Post” button creating their tailored (left hand table cell containing) HTML div element, that if double clicked (or just clicked within the surrounding table cell below the HTML “card” div) opens the user’s created card, alone, in a new window.
If this was interesting you may be interested in this too.
If this was interesting you may be interested in this too.


