
HTML5 Picture Tag Primer Tutorial
You may have heard of the term “responsive design” with regard to web design, especially in this mobile device world of so many and varied device dimensions. Wikipedia describes “responsive web design” in this way …
Responsive web design (RWD) is an approach to web design which makes web pages render well on a variety of devices and window or screen sizes.
… and when you grapple with this “responsive web design” idea first hand, one of the biggest issues will be to do with the HTML “img” image tag, regarding the width (and height) of that element. You will see lots of advice to use “%” units for width, and when forced for an equivalent height perhaps you use “vh” units.
All that is good advice, certainly, but there is a new element to HTML via the HTML5 specification to effectively “respond” to a nominated minimum width and display a nominated image under those conditions, for how every many minimum width scenarios of interest. We based a small “proof of concept” live run on the ideas from W3Schools, thanks.
You can download the using_picture.html HTML code as you wish, but we also present it as a whole below (because it’s pretty small) …
<!doctype html>
<html>
<head>
<title>HTML Picture Element - RJM Programming - October, 2017</title>
<meta name="viewport" content="width=device-width, initial-scale=1.0">
</head>
<body>
<table style="width:100%;">
<tr>
<td style="width:80%;vertical-align:top;">
<h1>HTML Picture Element</h1>
<h3>RJM Programming - October, 2017</h3>
<h4>Thanks to <a target=_blank title='https://www.w3schools.com/tags/tag_picture.asp' href='https://www.w3schools.com/tags/tag_picture.asp'>https://www.w3schools.com/tags/tag_picture.asp</a></h4>
<p>Feel free to resize window and see the image to the right change as a result or open as <a onclick="window.open(document.URL,'_blank','top=300,left=0,width=50,height=50');" style="cursor:pointer; text-decoration: underline;">50 x 50</a> <a onclick="window.open(document.URL,'_blank','top=300,left=0,width=150,height=150');" style="cursor:pointer; text-decoration: underline;">150 x 150</a> <a onclick="window.open(document.URL,'_blank','top=300,left=0,width=250,height=250');" style="cursor:pointer; text-decoration: underline;">250 x 250</a> <a onclick="window.open(document.URL,'_blank','top=300,left=0,width=350,height=350');" style="cursor:pointer; text-decoration: underline;">350 x 350</a> <a onclick="window.open(document.URL,'_blank','top=300,left=0,width=850,height=850');" style="cursor:pointer; text-decoration: underline;">850 x 850</a></p>
</td><td style="width:20%;">
<picture>
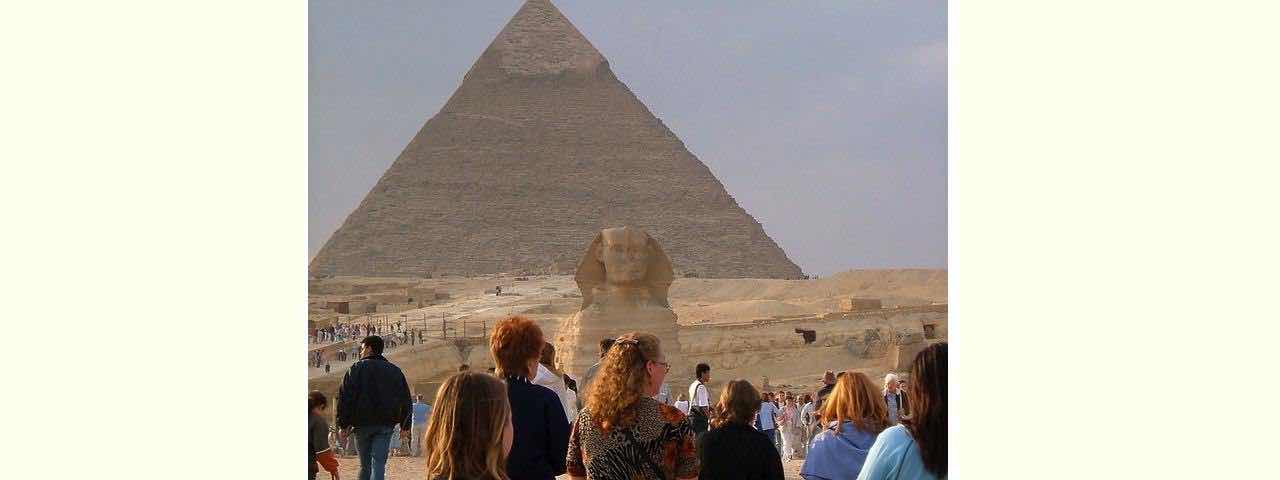
<source media="(min-width: 650px)" srcset="http://www.rjmprogramming.com.au/HTMLCSS/travel_img.jpg">
<source media="(min-width: 465px)" srcset="http://www.rjmprogramming.com.au/HTMLCSS/NalaAtPlay1.jpg">
<img src="http://www.rjmprogramming.com.au/logo_old_okay.jpg" alt="Logo" style="width:auto;">
</picture>
</td></tr></table>
</body>
</html>
Below is a “smaller width” live run …
If this was interesting you may be interested in this too.

