
Gimp Camera Photo Edit at Start and End Tutorial
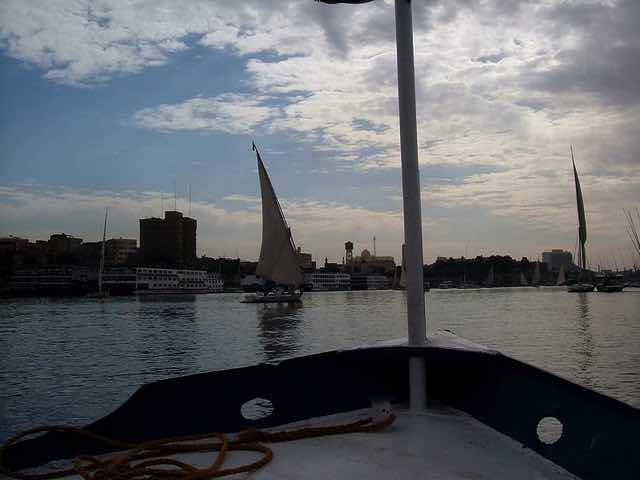
Digital cameras can take great photos, even if the people the other side of the lens don’t get it quite right.
The down side of this quality can be the size of the data that gets downloaded to your computer and/or to a website. In terms of the latter, if you leave the photo with this huge file size it will slow down when the web browser tries to render this image. The jpeg image file type allows you to decrease the number of pixels per inch, and this reduction often results in no observable reduction of quality.
Another small downside is that the image out of the digital camera may need to be rotated, unless you like things the wrong way up.
So to the rescue we introduce Gimp used by today’s tutorial to rotate the camera image and export it to jpeg format with a pixel per inch percentage reduction. This pixel per inch method of file size reduction is independent of a Resize you could have done with Gimp (and most image editors … we don’t do this in this tutorial, but this is another approach that will reduce the file size and increase the web browser’s rendering speed as far as this image goes).
To do the file size reduction of a batch of files, on a Mac, we like Pixillion.
If this was interesting you may be interested in this too.

