Now that yesterday’s Making of Sepia Video via ffmpeg Tutorial has outlined some media sharing strategies, let’s look at more of what ffmpeg can do for you in the video editing woooooorrrrrllllllddd.
As far as media creation goes, are you like me and think in terms of videos being much harder to edit than images, and maybe even audio media files? But have you considered global video editing via great command line products like ffmpeg?
We normally end up at the excellent StackOverflow to find methodologies to use, but today …
| Input House.m4v video … |
|---|
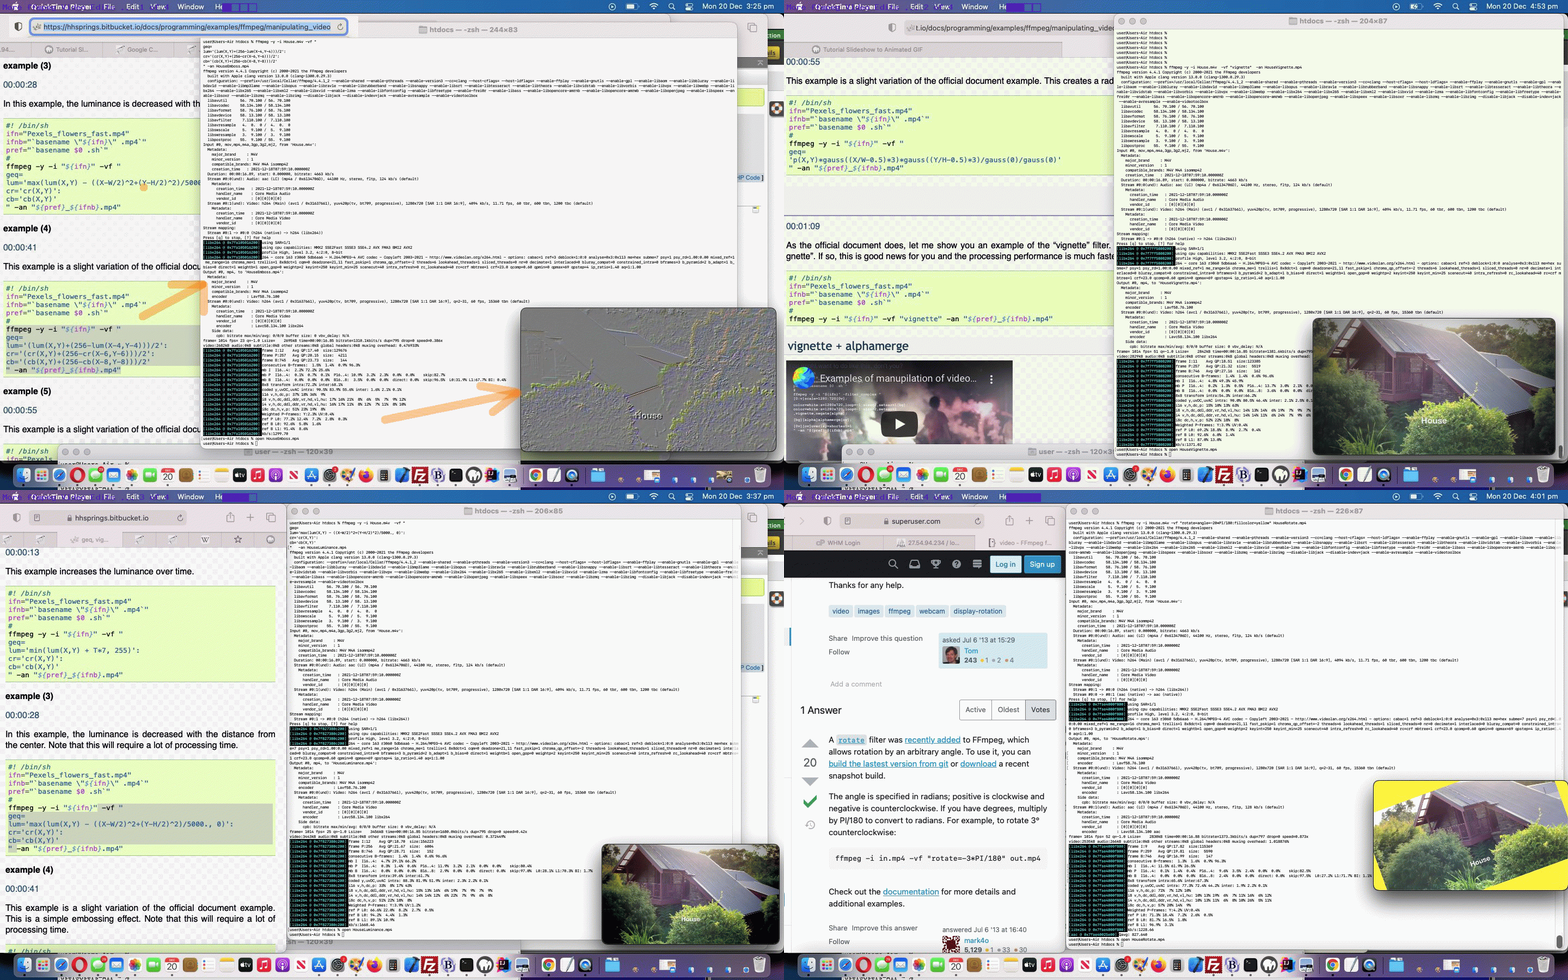
| macOS Terminal command line ffmpeg command to “emboss” … thanks to geq, vignette — ffmpeg examples |
| $ ffmpeg -y -i House.m4v -vf ” geq= lum='(lum(X,Y)+(256-lum(X-4,Y-4)))/2′: cr='(cr(X,Y)+(256-cr(X-6,Y-6)))/2′: cb='(cb(X,Y)+(256-cb(X-8,Y-8)))/2′ ” -an HouseEmboss.mp4 |
| Output HouseEmboss.mp4 “emboss” video … |
| macOS Terminal command line ffmpeg command to “vignette” … thanks to geq, vignette — ffmpeg examples |
| $ ffmpeg -y -i House.m4v -vf “vignette” -an HouseVignette.mp4 |
| Output HouseVignette.mp4 “vignette” video … |
| macOS Terminal command line ffmpeg command with “luminance in the centre” … thanks to geq, vignette — ffmpeg examples |
| $ ffmpeg -y -i House.m4v -vf “\ngeq=\nlum=’max(lum(X,Y) – ((X-W/2)^2+(Y-H/2)^2)/5000., 0)':\ncr=’cr(X,Y)':\ncb=’cb(X,Y)’\n” -an HouseLuminance.mp4 |
| Output HouseLuminance.mp4 “luminance in the centre” video … |
| macOS Terminal command line ffmpeg command with “rotation” … thanks to video – FFmpeg filter to rotate image through arbitrary angle – Super User |
| $ ffmpeg -y -i House.m4v -vf “rotate=angle=-20*PI/180:fillcolor=yellow” HouseRotate.mp4 |
| Output HouseRotate.mp4 “rotate” video … |
Cutish, huh?!
Previous relevant Making of Sepia Video via ffmpeg Tutorial is shown below.
Yesterday’s Sepia Video via ffmpeg Primer Tutorial was the salient step, for us, regarding the “Making Of” a sepia video. But that was “for us” and we were involved in the whole production, and so was a bit biassed here. Other readers might be curious about any/all of the steps getting there, which we outline below …
- opened an iPad’s Camera app in front of target subject for video … our house …
- selected Video radio button
- clicked round red Play button and panned and zoomed around the house for a 16 second video …
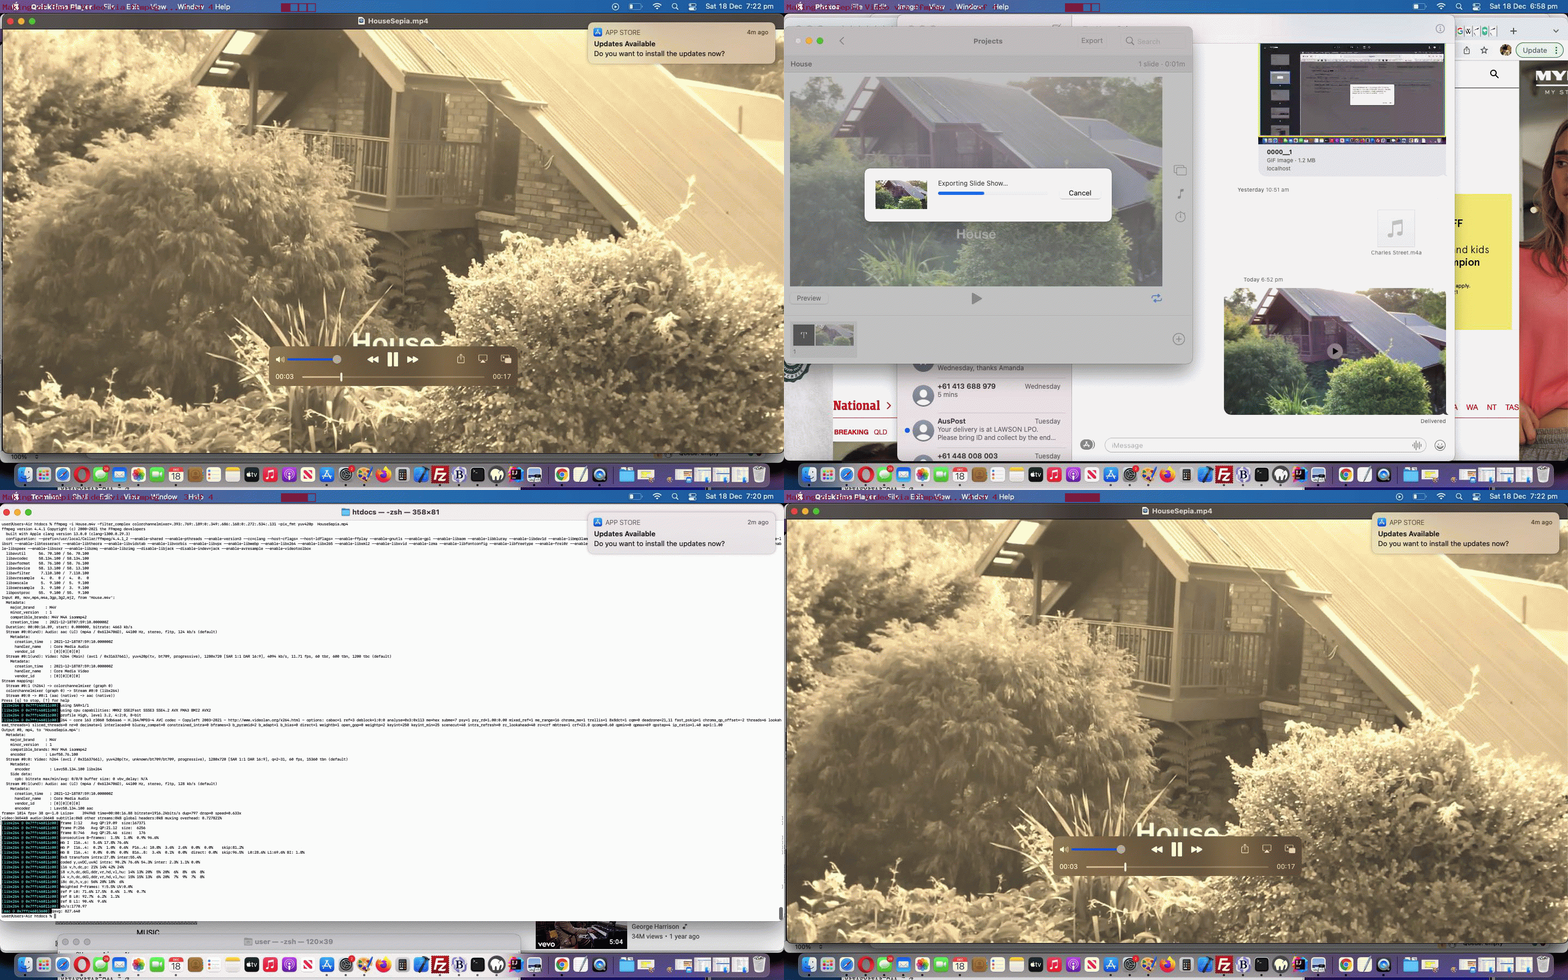
- opened iPad’s Photos app and clicked on Videos folder and two finger gestured our House video and unsuccessfully Shared via Mail option and AirDrop option and so settled for Slideshow option then Messages option, sending to my own mobile number …
- and in that way, back at this MacBook Air (from here and on), opened its Messages application to that SMS …
- two finger gesture on that SMS and chose Add to Photos Library …
- in Photos application in its Videos folder clicked Export button to Save a House.m4v in the MAMP $_SERVER[‘DOCUMENT_ROOT’] folder ( which corresponds to URL HTTP://localhost:8888/House.m4v ) …
-
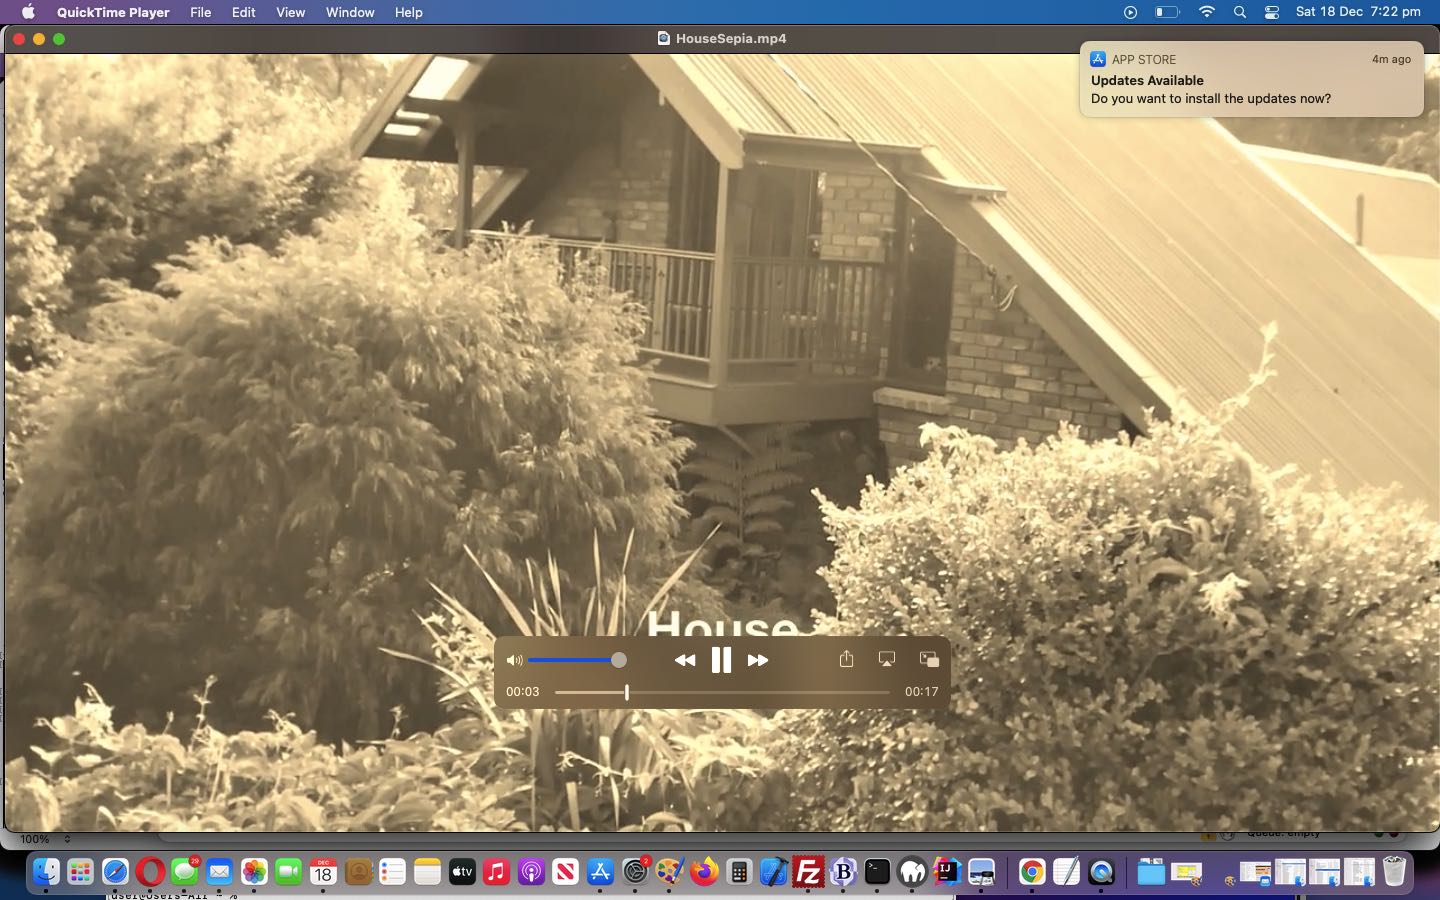
Input House.m4v video … macOS Terminal command line ffmpeg command to make “sepia” … $ ffmpeg -i House.m4v -filter_complex colorchannelmixer=.393:.769:.189:0:.349:.686:.168:0:.272:.534:.131 -pix_fmt yuv420p HouseSepia.mp4 Output HouseSepia.mp4 “sepia” video … - sftp’ed, via FileZilla both of House.m4v and HouseSepia.mp4, to be able to show them and have the user play them, above
Generally speaking images can often be shared via Mail sharing option in an iOS Photos app scenario. Videos and Audios of lengths greater than a few seconds may need, for iOS sharing to macOS, AirDrop and a little counterintuitively, Messages SMS might work where a Mail Email Attachment does not.
Previous relevant Sepia Video via ffmpeg Primer Tutorial is shown below.
As far as media creation goes, are you like me and think in terms of videos being much harder to edit than images, and maybe even audio media files? But have you considered global video editing via great command line products like ffmpeg?
We normally end up at the excellent StackOverflow to find methodologies to use, but today the most succinct and working advice on this topic came from “The FFMPEG guy” in the form …
| Input House.m4v video … |
|---|
| macOS Terminal command line ffmpeg command to make “sepia” … |
| $ ffmpeg -i House.m4v -filter_complex colorchannelmixer=.393:.769:.189:0:.349:.686:.168:0:.272:.534:.131 -pix_fmt yuv420p HouseSepia.mp4 |
| Output HouseSepia.mp4 “sepia” video … |
Cute, huh?!
If this was interesting you may be interested in this too.
If this was interesting you may be interested in this too.
If this was interesting you may be interested in this too.


