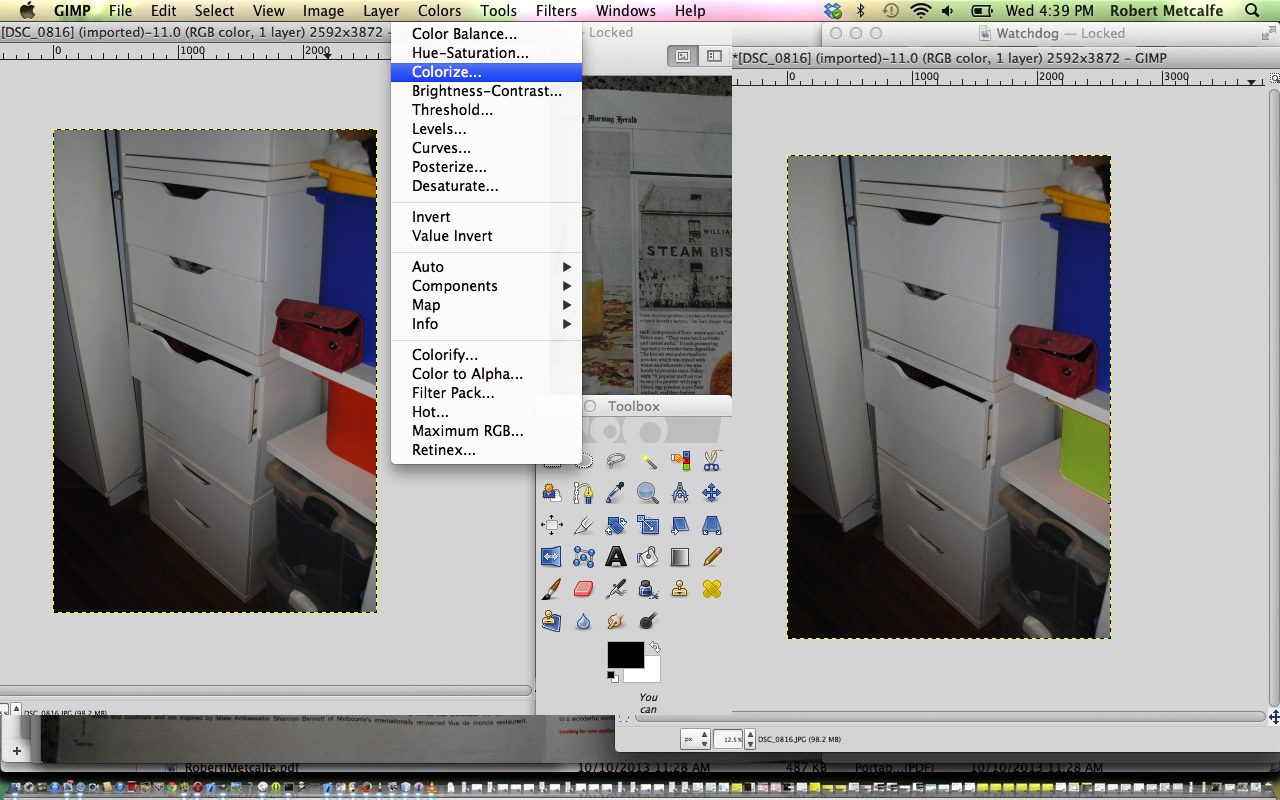
Gimp is a great graphics editor and its lassoo selection tool allows you to create precise adjustments to your images.
In today’s tutorial you see the lasoo selection tool combined with the Colourize dialog box functionality to change the colour of a particular part of an image.
Just to reiterate the steps shown in the tutorial …
- Open image file via Gimp (File menu Open option) or Finder right-click Open-With Gimp
- Bring down the main tools dropdown, if not there already, and select the Lassoo selection tool
- Left-click your way around the part of image to change, and make sure the last click closes off your polygon (there are ways to add more polygons … we do not use this in this tutorial)
- Under the Colour menu select Colourize option
- Adjust the Hue and Saturation and Darkness/Lightness measures to suit
- Click Ok to make it happen
- Use any other selection tool and a left-click to clear your selection
If this was interesting you may be interested in this too.


