There is another two pronged improvement approach again today building on HTML5 Web Audio Overlay Tutorial‘s two pronged approach to the previous two pronged approach … which makes for a great fork for spaghetti but we digress … the prongs today being …
- first, and like yesterday, allow for clientside HTML to do what serverside PHP usually does for us … handle large amounts of data as PHP can do using its $_POST[] approach … we’re still calling “Overlay Iframe Remembering” … and add to …
- child iframe src= mode of use … but also with, new to today …
- child iframe srcdoc= mode of use
… because (am not absolutely sure why as yet but) it solves the problem with …
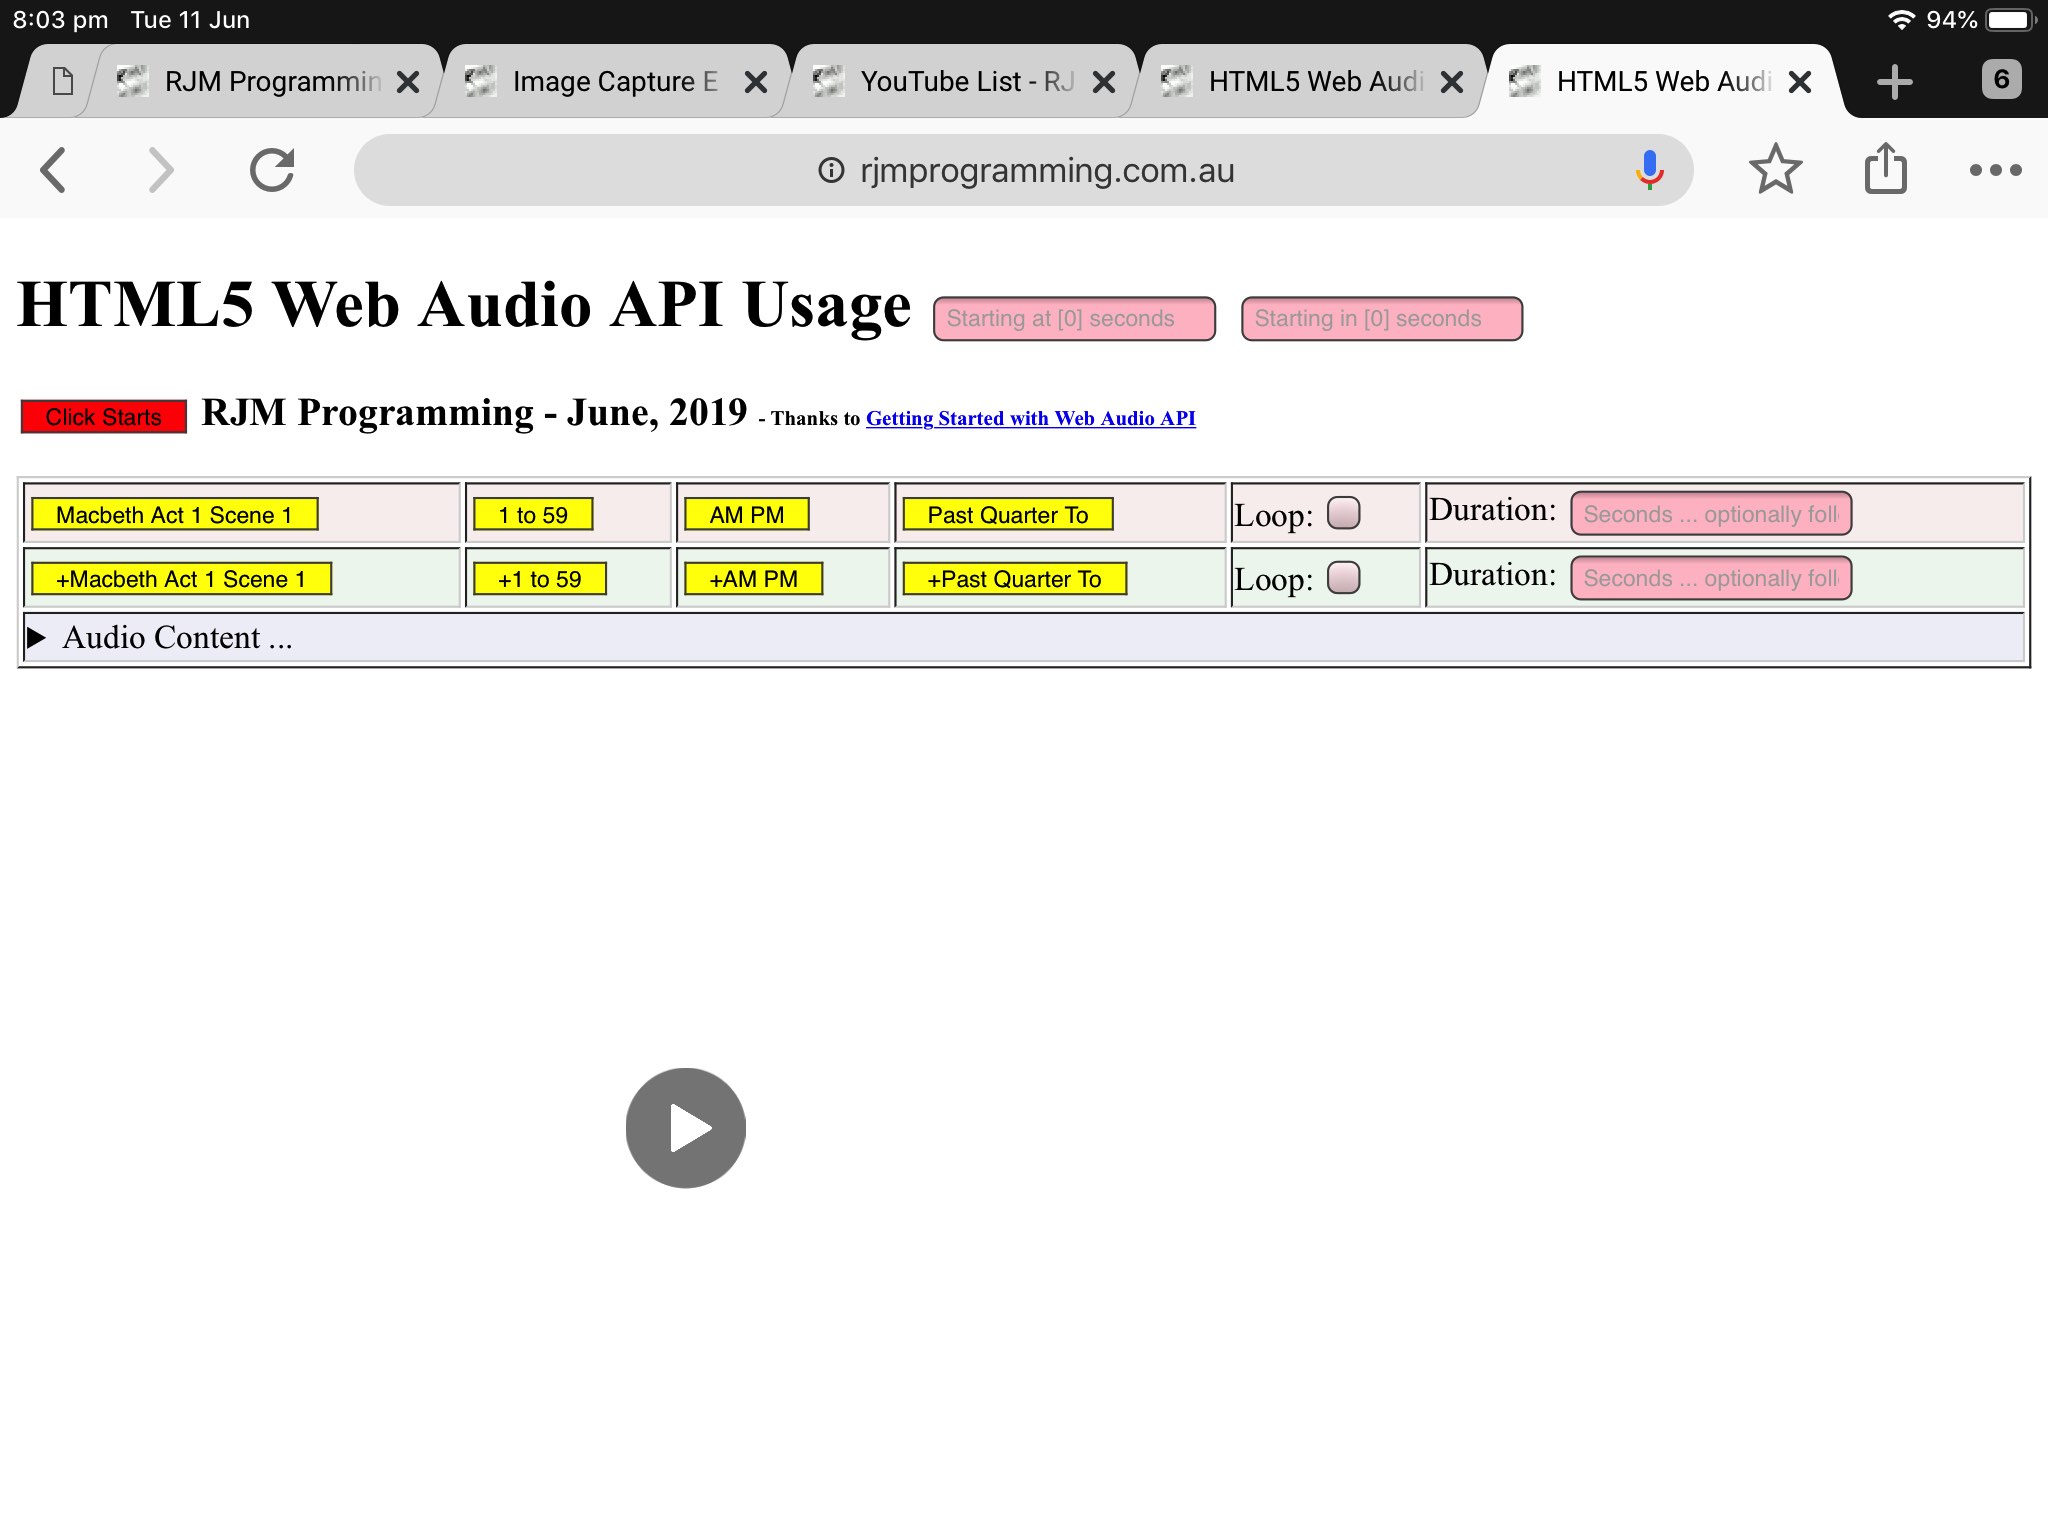
… non-mobile/Safari/fill in “Audio Content” form/including a Duration/click “Web Audio Run” button …
… didn’t automatically start any audio, though other non-mobile web browsers do …
… and as you may imagine this needs some delimitation explanations that show below …
function takealook(fo) {
var noneed=true;
var htmlis='';
var nsuffix='';
if (document.getElementById('url1').value.length > 500) { noneed=false; }
if (document.getElementById('url2').value.length > 500) { noneed=false; }
if (document.getElementById('url3').value.length > 500) { noneed=false; }
if (document.getElementById('url4').value.length > 500) { noneed=false; }
if (document.getElementById('durationget').value.length > 0) { nsuffix='¬oka=secret'; noneed=false; } else { isrc=' src='; }
if (source_valid()) {
if (noneed) { return true; }
if (isrc == ' srcdoc=') {
if (navigator.userAgent.match(/Android|BlackBerry|iPhone|iPad|iPod|Opera Mini|IEMobile/i)) {
document.getElementById('huhb').style.display='inline-block';
document.getElementById('diframe').innerHTML="<iframe id=myi style='opacity:1.0;position:absolute;top:0px;left:0px;z-index:-" + eval(1 + eval('0' + zi)) + ";width:100%;height:100vh;' srcdoc=></iframe>";
} else {
document.getElementById('diframe').innerHTML="<iframe id=myi style='opacity:1.0;position:absolute;top:0px;left:0px;z-index:-" + eval(1 + eval('0' + zi)) + ";width:100%;height:100vh;' srcdoc=></iframe>";
}
if (documentURL.indexOf('#') == -1) { document.getElementById('divbody').style.opacity='1.0'; }
document.getElementById('myi').srcdoc='<!doctype html><html><head>' + document.head.innerHTML.replace(/document\.URL/g,"'" + documentURL.split('#')[0].split('?')[0] + "?zi=" + eval(1 + eval('0' + zi)) + nsuffix + "¬oka=" + encodeURIComponent(notoka.trim()) + "'").replace(/\'0\.2\'/g,"'1.0'") + '</head><body>' + document.body.innerHTML.replace(/document\.URL/g,"'" + documentURL.split('#')[0].split('?')[0] + "?zi=" + eval(1 + eval('0' + zi)) + nsuffix + "¬oka=" + encodeURIComponent(notoka.trim()) + "'").replace(/\'0\.2\'/g,"'1.0'") + '</body></html>';
} else {
if (documentURL.indexOf('#') == -1) { document.getElementById('divbody').style.opacity='0.2'; }
document.getElementById('diframe').innerHTML="<iframe style='position:absolute;top:0px;left:0px;z-index:" + eval(1 + eval('0' + zi)) + ";width:100%;height:100vh;' src='" + documentURL.split('#')[0].split('?')[0] + "?zi=" + eval(1 + eval('0' + zi)) + nsuffix + "'></iframe>";
}
} else {
if (notoka.trim().toLowerCase() == 'secret') { noneed=false; }
if (noneed) { return true; }
if (isrc == ' srcdoc=') {
if (navigator.userAgent.match(/Android|BlackBerry|iPhone|iPad|iPod|Opera Mini|IEMobile/i)) {
document.getElementById('huhb').style.display='inline-block';
document.getElementById('diframe').innerHTML="<iframe id=myi style='opacity:1.0;position:absolute;top:0px;left:0px;z-index:-" + eval(1 + eval('0' + zi)) + ";width:100%;height:100vh;' srcdoc=></iframe>";
} else {
document.getElementById('diframe').innerHTML="<iframe id=myi style='opacity:1.0;position:absolute;top:0px;left:0px;z-index:-" + eval(1 + eval('0' + zi)) + ";width:100%;height:100vh;' srcdoc=></iframe>";
}
if (documentURL.indexOf('#') == -1) { document.getElementById('divbody').style.opacity='1.0'; }
document.getElementById('myi').srcdoc='<!doctype html><html><head>' + document.head.innerHTML.replace(/document\.URL/g,"'" + documentURL.split('#')[0].split('?')[0] + "?zi=" + eval(1 + eval('0' + zi)) + "¬oka=" + encodeURIComponent(notoka.trim()) + "'").replace(/\'0\.2\'/g,"'1.0'") + '</head><body>' + document.body.innerHTML.replace(/document\.URL/g,"'" + documentURL.split('#')[0].split('?')[0] + "?zi=" + eval(1 + eval('0' + zi)) + "¬oka=" + encodeURIComponent(notoka.trim()) + "'").replace(/\'0\.2\'/g,"'1.0'") + '</body></html>';
} else {
if (documentURL.indexOf('#') == -1) { document.getElementById('divbody').style.opacity='0.2'; }
document.getElementById('diframe').innerHTML="<iframe style='position:absolute;top:0px;left:0px;z-index:" + eval(1 + eval('0' + zi)) + ";width:100%;height:100vh;' src='" + documentURL.split('#')[0].split('?')[0] + "?zi=" + eval(1 + eval('0' + zi)) + "¬oka=" + encodeURIComponent(notoka.trim()) + "'></iframe>";
}
}
return false;
}
… adding another option to “Overlay Iframe Remembering” types of solutions, we figure … cute in the sense that all this is clientside HTML/Javascript/CSS - mobile platform considerations (in our tests of iOS iPad and iPhone) …
- allowing for a button press “touch” event (“touchstart” for us, but read somewhere that they liked “touchend”) to trigger the AudioContext setup
- taking away the “capture” property of our browser buttons so that the mobile platform user can browse for an existant media file or capture that media
- we try to allow video media to be played in that video element should the user choose a video media file as their audio media choice which tends to be the way for the “capture” property of a mobile user input type=file browser button
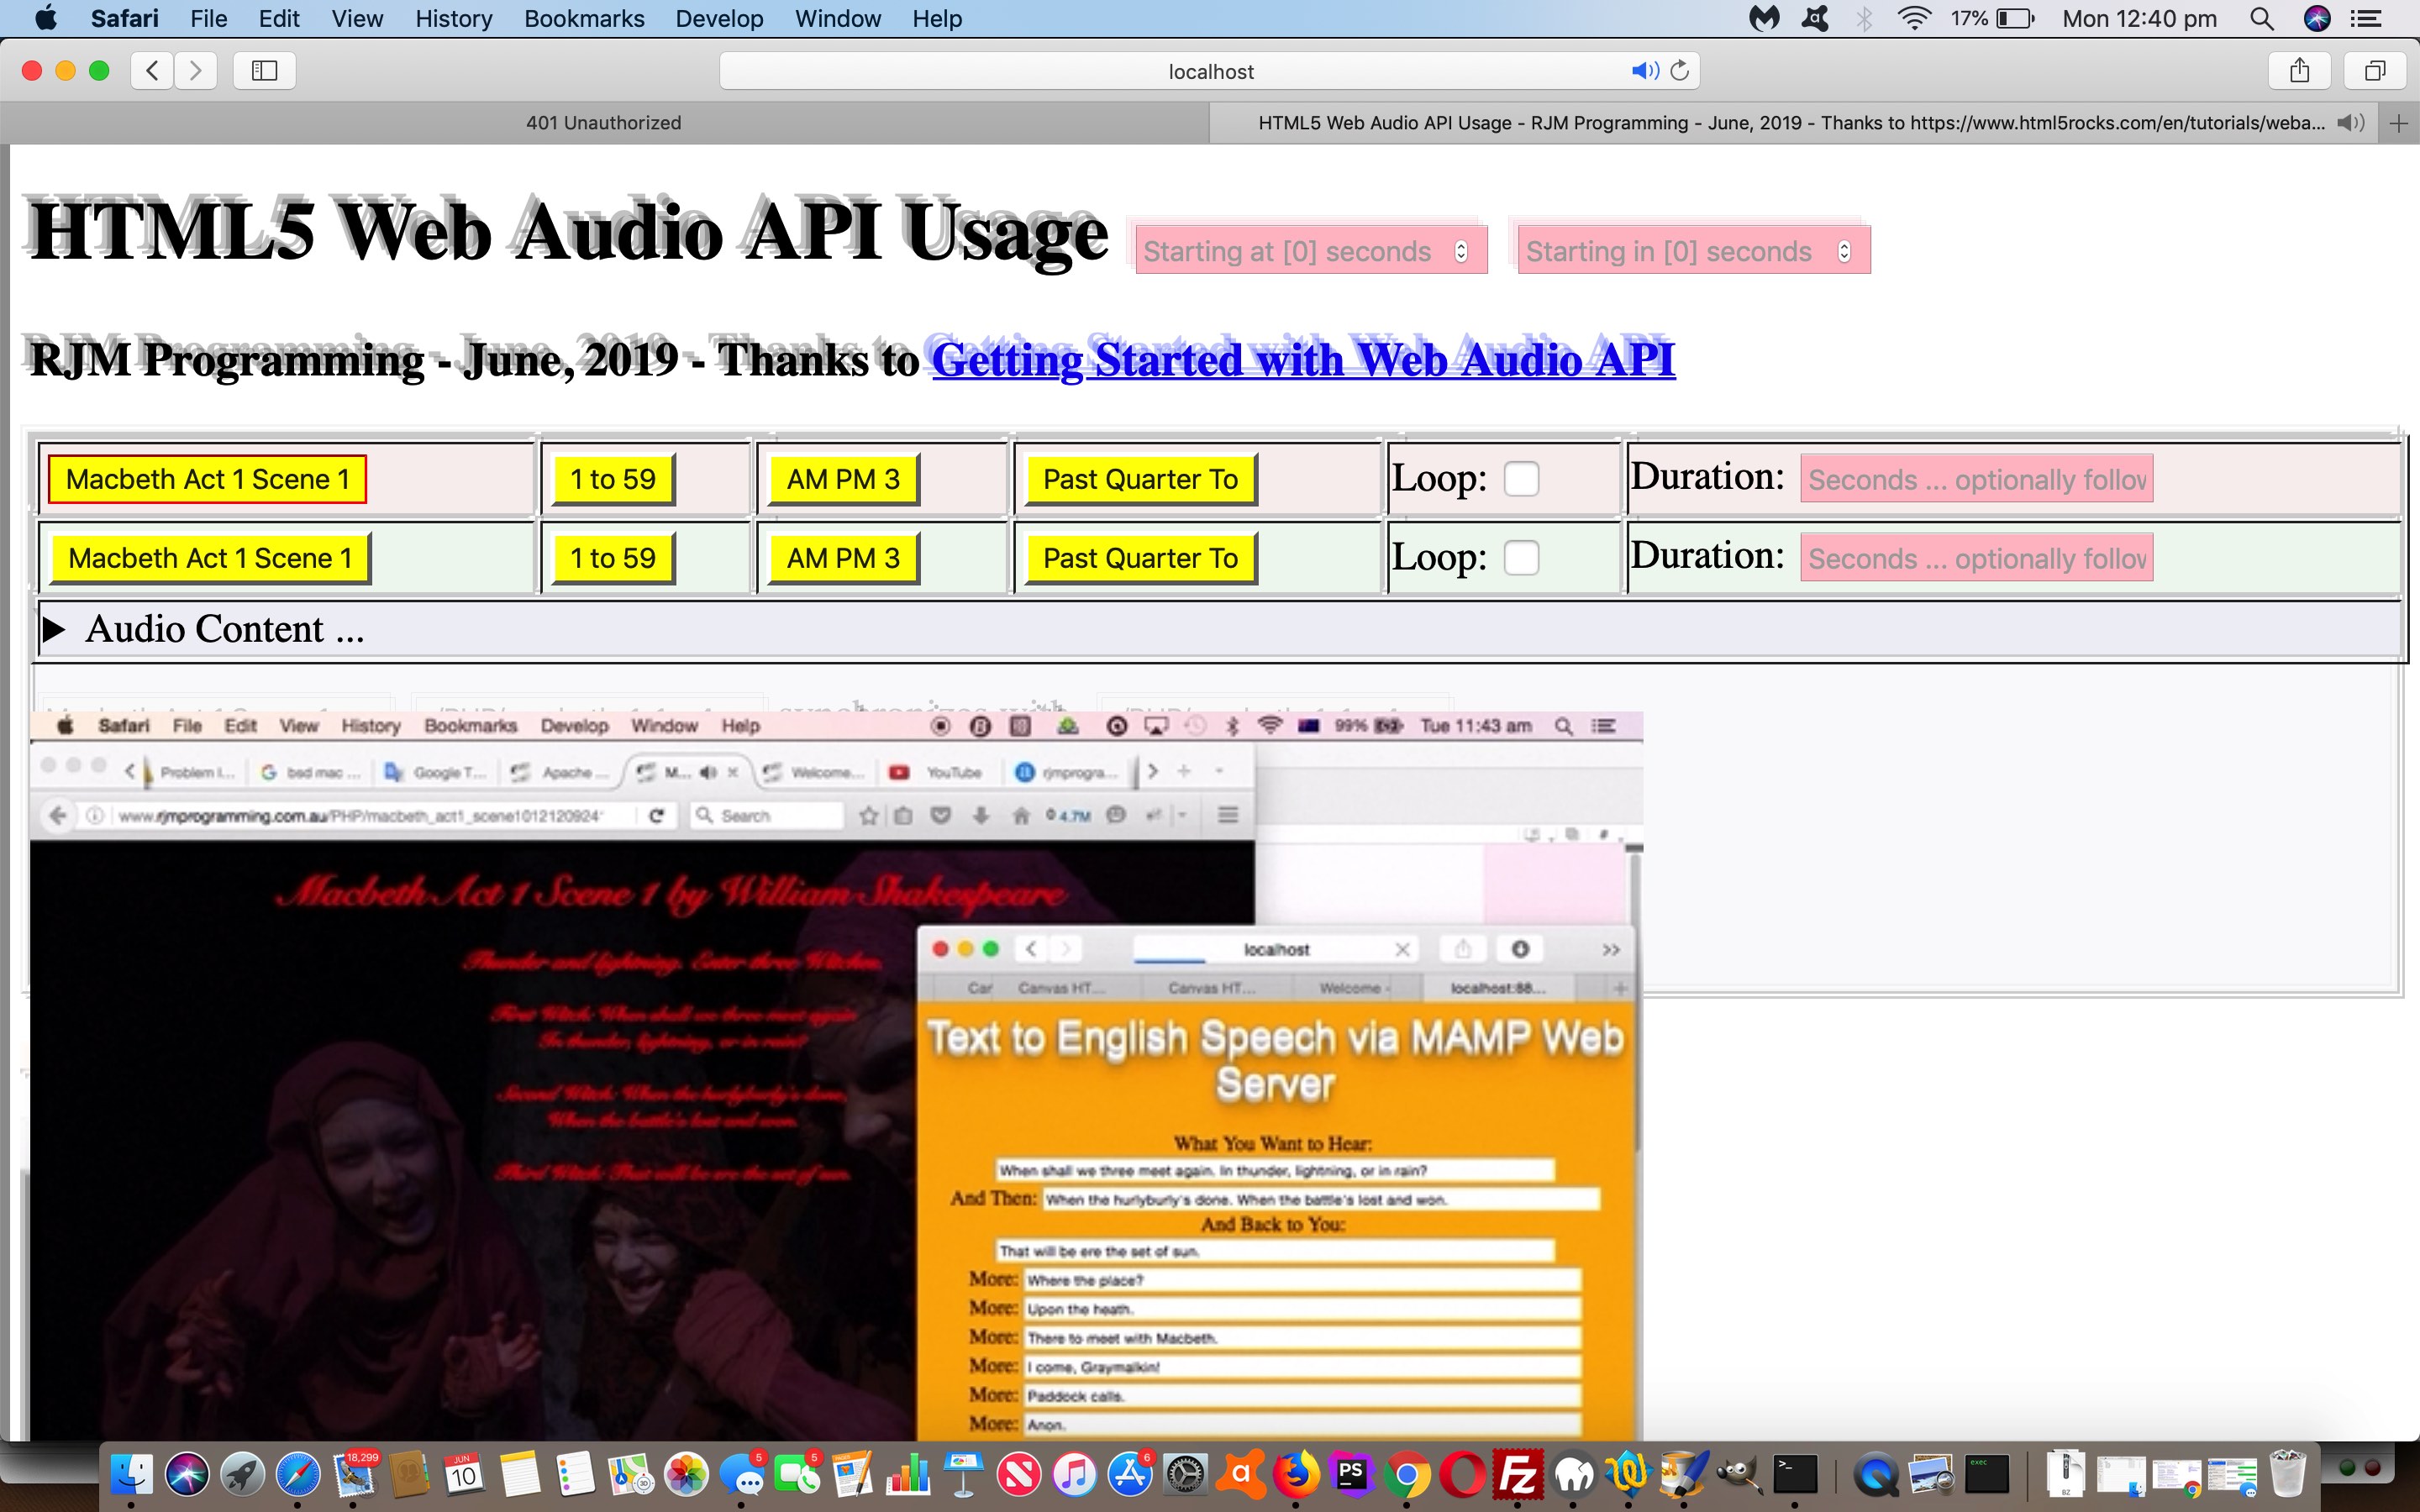
… as per these changes
… as per these interim changes
Did you get from the code snippets how this “Overlay Iframe Remembering” works by storing the large amounts of data in an overlayed “layer” of webpage, both webpage layers “clientside” by nature and available datawise to each other in a parent/child (layer1WebpageParent/layer2OverlayedIframeWebpageChild) arrangement, that iframe being populated via a src= scenario getting the “overlay” to populate itself or help that “overlay” along (perhaps it’s that period after lunch digesting the caviar?!) by supplying its content via srcdoc= usage? Again, perhaps it is easier to see it in action at this live run link.
Previous relevant HTML5 Web Audio Overlay Tutorial is shown below.
Again, in building on yesterday’s HTML5 Web Audio Duration Tutorial two pronged approach, we have another one today, those approaches involving …
- first allow for clientside HTML to do what serverside PHP usually does for us … handle large amounts of data as PHP can do using its $_POST[] approach … we’re going to call “Overlay Iframe Remembering” … whereby the
- navigational form gets a new id=waform onsubmit=’return takealook(this);’ …
function takealook(fo) {
var noneed=true;
var nsuffix='';
if (document.getElementById('url1').value.length > 500) { noneed=false; }
if (document.getElementById('url2').value.length > 500) { noneed=false; }
if (document.getElementById('url3').value.length > 500) { noneed=false; }
if (document.getElementById('url4').value.length > 500) { noneed=false; }
if (document.getElementById('durationget').value.length > 0) { nsuffix='¬oka=secret'; noneed=false; }
if (source_valid()) {
if (noneed) { return true; }
document.getElementById('divbody').style.opacity='0.2';
document.getElementById('diframe').innerHTML="<iframe style='position:absolute;top:0px;left:0px;z-index:" + eval(1 + eval('0' + zi)) + ";width:100%;height:100vh;' src='" + document.URL.split('#')[0].split('?')[0] + "?zi=" + eval(1 + eval('0' + zi)) + nsuffix + "'></iframe>";
} else {
if (notoka.trim().toLowerCase() == 'secret') { noneed=false; }
if (noneed) { return true; }
document.getElementById('divbody').style.opacity='0.2';
document.getElementById('diframe').innerHTML="<iframe style='position:absolute;top:0px;left:0px;z-index:" + eval(1 + eval('0' + zi)) + ";width:100%;height:100vh;' src='" + document.URL.split('#')[0].split('?')[0] + "?zi=" + eval(1 + eval('0' + zi)) + "¬oka=" + encodeURIComponent(notoka.trim()) + "'></iframe>";
}
return false;
}
… where if noneed ends up as false we perform some overlay favourites … building on … - textbox HTML design changes from …
<input style='display:inline-block;background-color:#f0f0f0;' type=text name=url2 title='Audio URL 2' value='./one_to_fiftynine.m4a'></input>
… to …
<input data-id=url2 onblur="document.getElementById(this.getAttribute('data-id')).value=this.value;" style='display:inline-block;background-color:#f0f0f0;' type=text name=url2 title='Audio URL 2' value='./one_to_fiftynine.m4a'></input>

<div id=dform style='display:none;'></div>

<div id=diframe></div>
… that makes the document.body onload logic below be useful for the context of that onsubmit form logic above … -
document.getElementById('dform').innerHTML=document.getElementById('waform').innerHTML.replace(/\ data\-id=/g, ' id=').replace(/\ onblur=/g, ' data-onblur=');
… as per these interim changes … then in the context of those large amounts of data possibly coming from …
- navigational form gets a new id=waform onsubmit=’return takealook(this);’ …
- like with the recent Video via Canvas File API Tutorial …
… we see for web applications, two primary source “partitions”, those being …
- around the “net” (in the server wooooooorrrrrlllllld, in the public areas of the Internet, which are not in “the dark web”, that is) via an absolute URL (to the same domain or beyond) and/or relative URL (in relation to the URL “home” place on the web server of the same domain as where you launched it … which we catered for yesterday, though quietly we’d have allowed absolute URLs too, it’s just that cross-domain restrictions make us shy about publicizing that) … versus …
- on the client computer (or device)
… and, yes, for all those who guessed we’d try to cater for image and/or video data coming from this client source, you are correct …
… media file browsing, via the wonderful File API, additional functionality as per these changes to web_audio.htm
Did you get from the code snippets how this “Overlay Iframe Remembering” works by storing the large amounts of data in an overlayed “layer” of webpage, both webpage layers “clientside” by nature and available datawise to each other in a parent/child (layer1WebpageParent/layer2OverlayedIframeWebpageChild) arrangement? Perhaps it is easier to see it in action at this live run link.
Previous relevant HTML5 Web Audio Duration Tutorial is shown below.
In building on yesterday’s HTML5 Web Audio Primer Tutorial we adopted a two pronged approach, that being …
- first allow for the reduction of use of Javascript eval involving statements that assign values (ie. eval statement contains an “=” sign) (but will continue on with it helping out with some mathematics) … in favour of using arrays instead …
var source=[];

var sourcep=[];

var notoka=location.search.split('notoka=')[1] ? (" " + decodeURIComponent(location.search.split('notoka=')[1]).split('&')[0]) : "";

if (notoka == "") {

  for (var iii=1; iii<=4; iii++) {

    source.push(null);

    sourcep.push(false);

  }

}


for (var ii=5; ii<500; ii++) {

if (source_valid()) { //if (typeof source !== 'undefined') {

 source.push(null);

 if (sourcep_valid()) { //if (typeof sourcep !== 'undefined') {

  sourcep.push(false);

 }

 } else {

 eval("var source" + ii + " = null;"); //context.createBufferSource();

 }

}


function source_valid() {

 if (typeof source !== 'undefined') {

   if (source.length >= 4) { return true; }

 }

 return false;

}


function sourcep_valid() {

 if (typeof sourcep !== 'undefined') {

   if (sourcep.length >= 4) { return true; }

 }

 return false;

}
… as per these interim changes … then go on to … - other changes as per …
- add duration as a very useful third parameter …
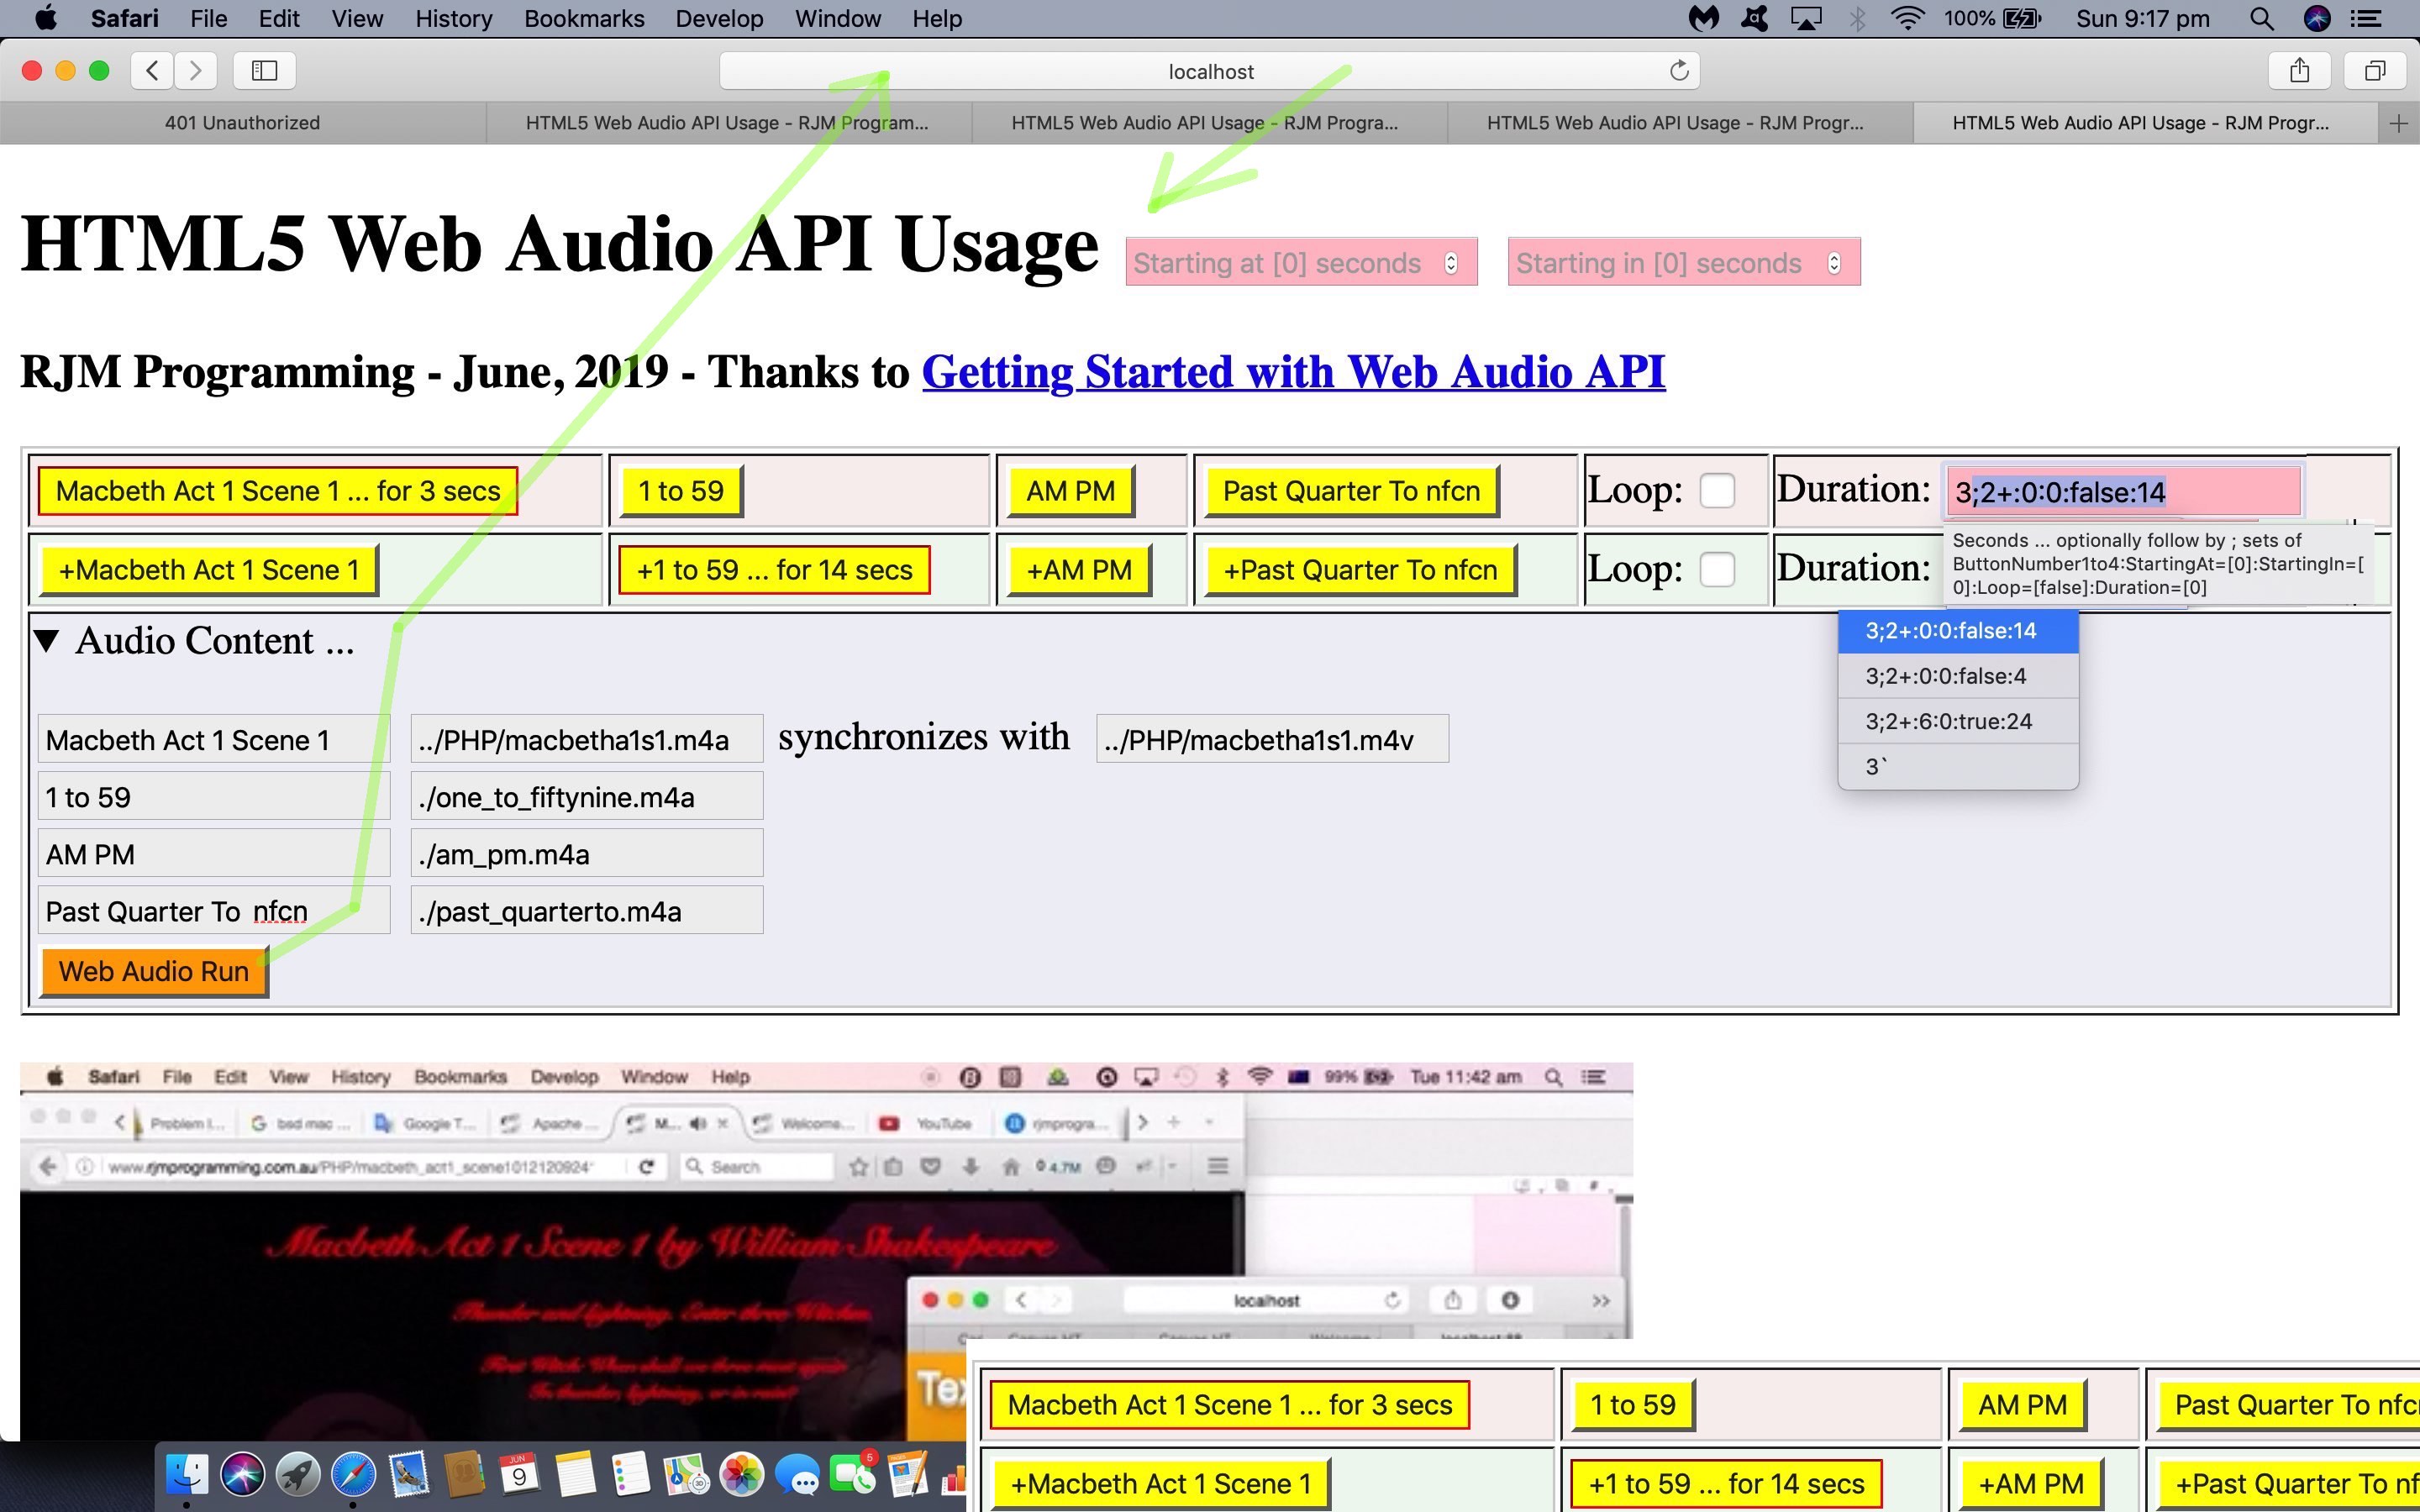
Seconds … optionally follow by ; sets of ButtonNumber1to4:StartingAt=[0]:StartingIn=[0]:Loop=[false]:Duration=[0]
… to Web Audio class “start” method … the use of which is the final piece in a puzzle that allows us to …
- schedule an execution run of button presses to play Audio ahead of time … because with a duration we can piggy back the audios (so be able to synchronize our efforts better) … and we also …
- open the Audio content up to the “server” woooorrrrlllld (via the “reveal” friendly HTML details/summary element combination) by allowing the user to specify their own 4 audio URLs (and one synchronized video one) along with 4 button labels presented in an HTML form method=GET to renavigate with this user supplied content back to the body onload scenario
… to arrive at this finally changed web_audio.html
- add duration as a very useful third parameter …
… that we welcome you to try at this live run link.
Previous relevant HTML5 Web Audio Primer Tutorial is shown below.
As an audio/video synchronization alternative to the techniques used in Mac OS X Text to English Speech Primer Tutorial, today, we involve the great Web Audio API functionality introduced with HTML5 and “starring” in HTML5 Rocks’s Getting Started with Web Audio API great advice on this subject.
We start down this long road, we suspect, being able to …
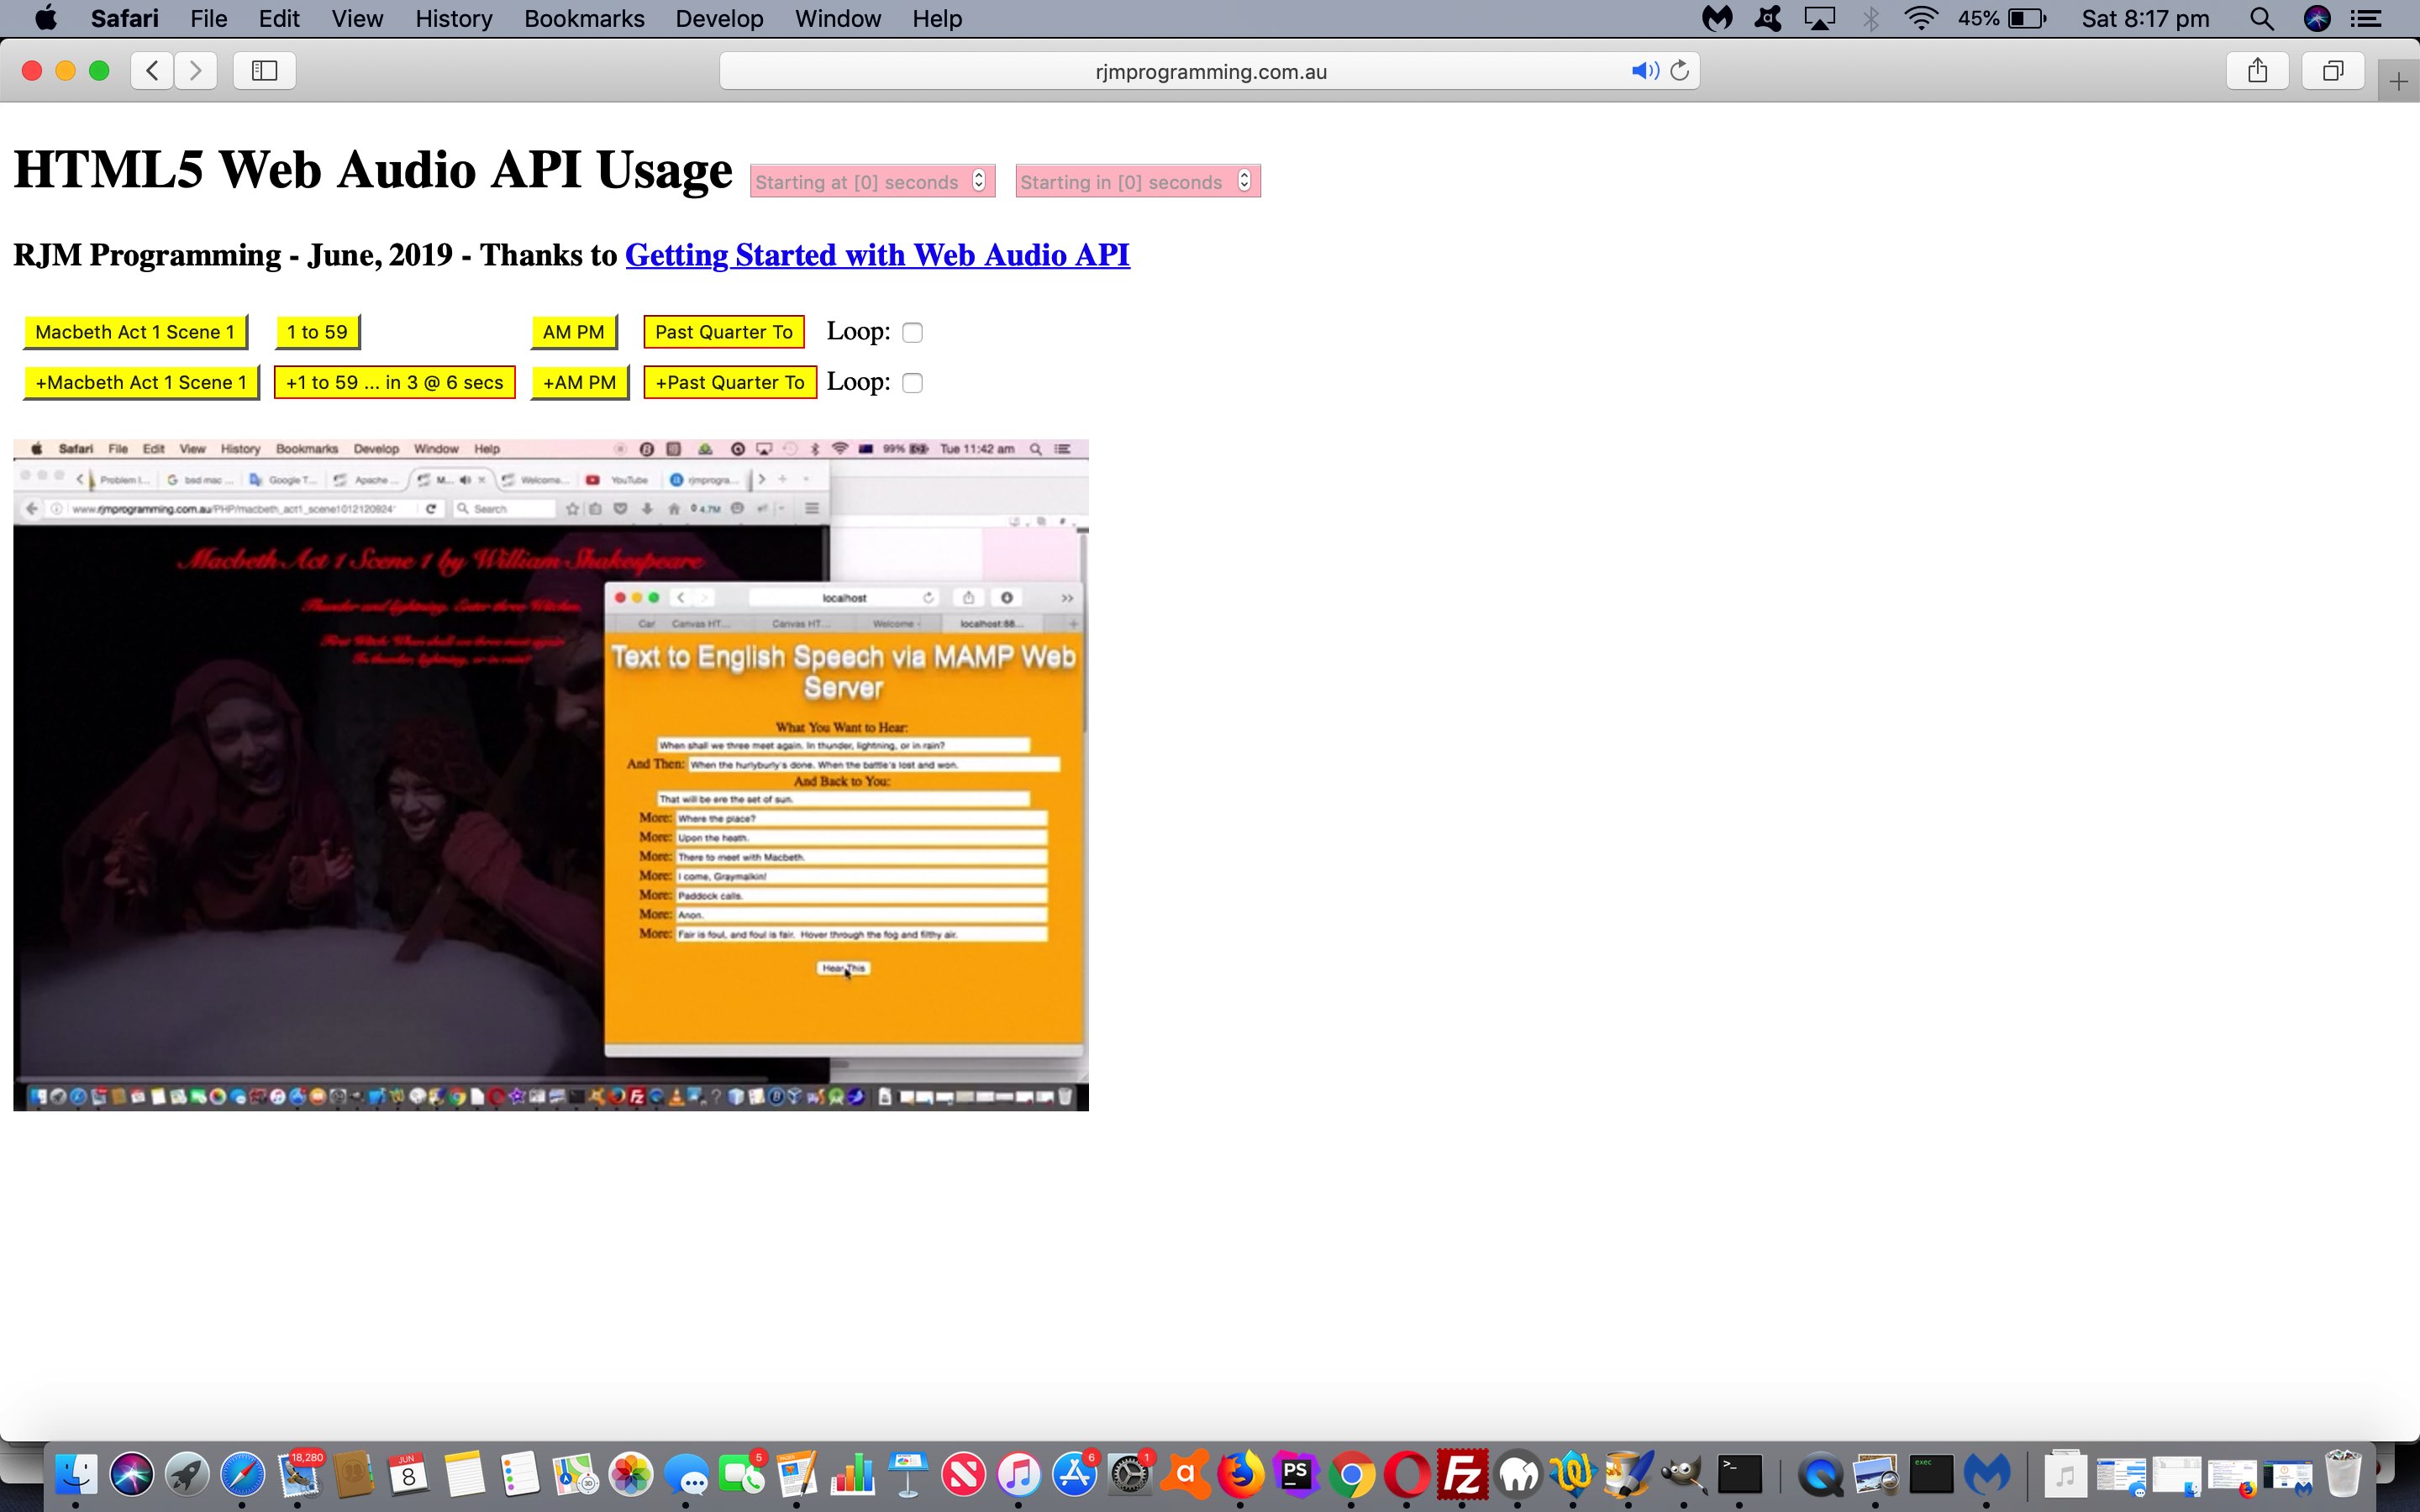
- set up the audio playing of four separate audio sources (some featuring in Spliced Audio Number Genericization Tutorial) … where …
- one, with its default configuration, synchronizes with an apt video media play
- allow looping
- allow for “start at” seconds
- allow for “start in” seconds
… on a first draft HTML and Javascript and CSS web_audio.html live run link.
We hope you hang around on our road trip with this topic.
Previous relevant Spliced Audio Number Genericization Tutorial is shown below.
If you’ve completed a successful “proof of concept” stage to a project, it can be tempting at this early stage, even before applying it to the specific intended software integration target, to consider ways to “genericize” that application, and so it is for us, here, with yesterday’s Spliced Audio Number Announcements Tutorial, as shown below, that we feel this could come along to be applied for other purposes. We have no doubt the exercise of doing this serves at least three good purposes …
- slow it down a bit before rushing to “software integrate”, as patience can be good here
- learn more about what’s possible, and what isn’t, to do with the scope of your planning and thinking
- other application may, too, benefit from this “early days” “genericization” of a potential plugin component piece of HTML and Javascript code
In this early stage of “genericization” thoughts, we think that with our project we want to keep intact these ideas …
- there’ll be up to 3 “columns” of ideas to piece together an audio message from its constituent parts, like with those Sydney train platform announcements we’ve talked about before
- there’ll be 3 soundfiles mapped to most of the usage regarding these 3 “columns”
- there’ll be the possibility for silence to be an option in each “column”
- there’ll be the mechanism by which the user can define their own “Title” and “Subtitle” and 3 “column” headings themselves
- there’ll be 2 leftmost “columns” that define counting numbers whose ranges can be defined by the user, where, for now, the timing of sounds goes that sounds start at [number].4 seconds and plays for 1.5 seconds
- there’ll be minimum and maximum special case entries available for user definition in the leftmost “column” that calls on the fourth soundfile, where, for now, the timing of sounds goes that sounds start at 0 seconds and 2 seconds respectively and plays for 2 seconds
- there’ll be a minimum special case entry available for user definition in the middle “column” that calls on a sound from the third soundfile, where, for now, the timing of sounds goes that sounds start at 3.1 seconds and plays for 1.8 seconds
- there’ll be 1 rightmost “column” that can have three entries defined
And that is as far as we go with “genericizations”, at this stage, with our project.
In our experience, what Javascript function is a big friend of “genericization”? We’d say Javascript eval function is our favourite here.
It’s funny to think that our HTML and Javascript and CSS audio_1_59.htm, vastly changed from yesterday as per this link, functions exactly the same in its default form, and you can continue to enjoy its accompanying default live run link, but it can, through the use of complex URLs (only, just at this early stage) be made to look quite different, with the same code, as you can see with this complex live run.
So, in summary, this leaves us with many more “live run” options, those being …
- Default live run
- Default live run with form
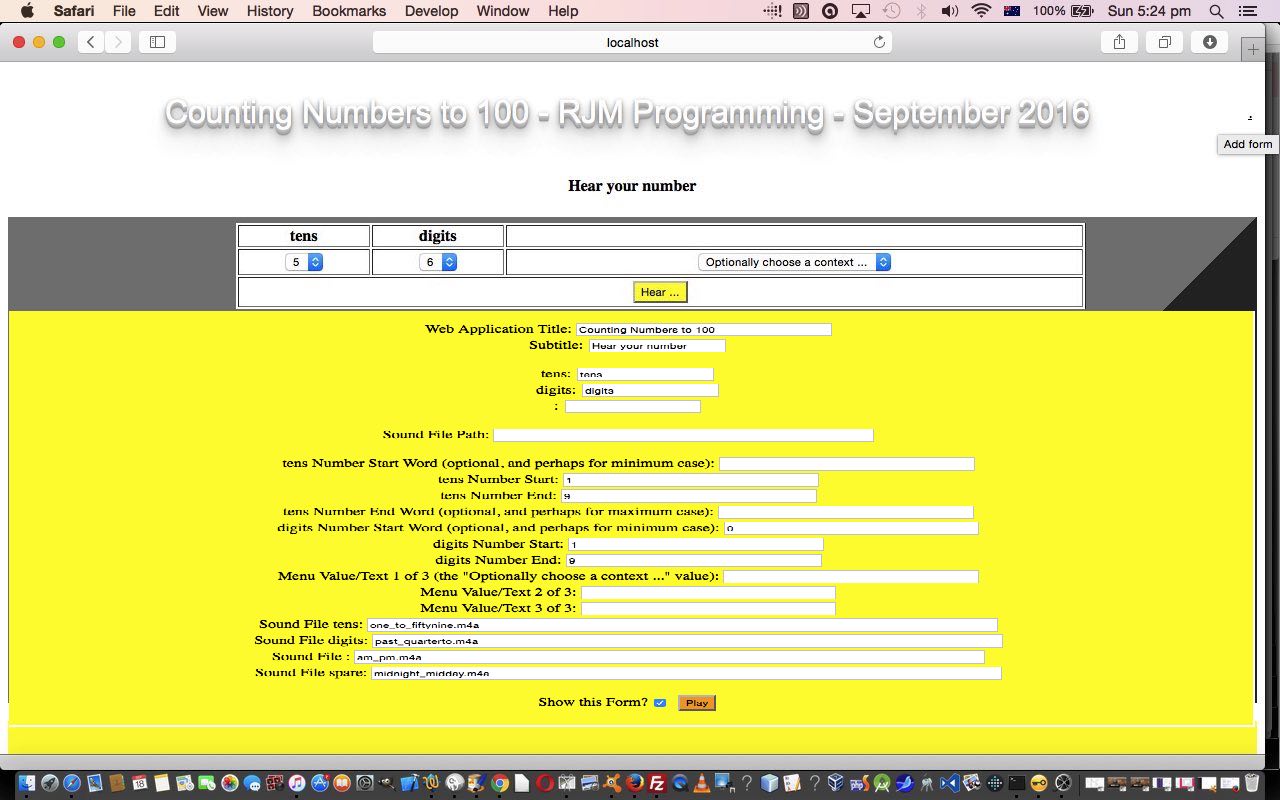
- Different run scenario Counting Numbers to 100
- Different run scenario Counting Numbers to 100 with form
Previous relevant Spliced Audio Number Announcements Tutorial is shown below.
We’ve got a “proof of concept” tutorial for you today, because we’ve got an idea for something, as we said some time back at Splicing Audio Primer Tutorial …
The first was a simulation of those Sydney train public announcements where the timbre of the voice differs a bit between when they say “Platform” and the “6” (or whatever platform it is) that follows. This is pretty obviously computer audio “bits” strung together … and wanted to get somewhere towards that capability.
… that will probably be blimmin’ obvious to you should you be a regular recent reader at this blog.
Do you remember what we, here, see as a characteristic of “proof of concept” at WordPress Is Mentioned By Navigation Primer Tutorial …
To us, a “proof of concept” is not much use if it is as involved as what it is trying to prove
… and do you remember how we observed at Windows 10 Cortana Primer Tutorial …
… because you can work Cortana without the voice recognition part, if you like, or if you have the urge to run for the nearest cupboard before being caught talking into a computer (microphone)
? Well, today, we’d like you to be patient about the lack of audio quality with our home made audio (see excuse 2 above) bit we are mainly interested in “proof of concept” issues (see excuse 1 above).
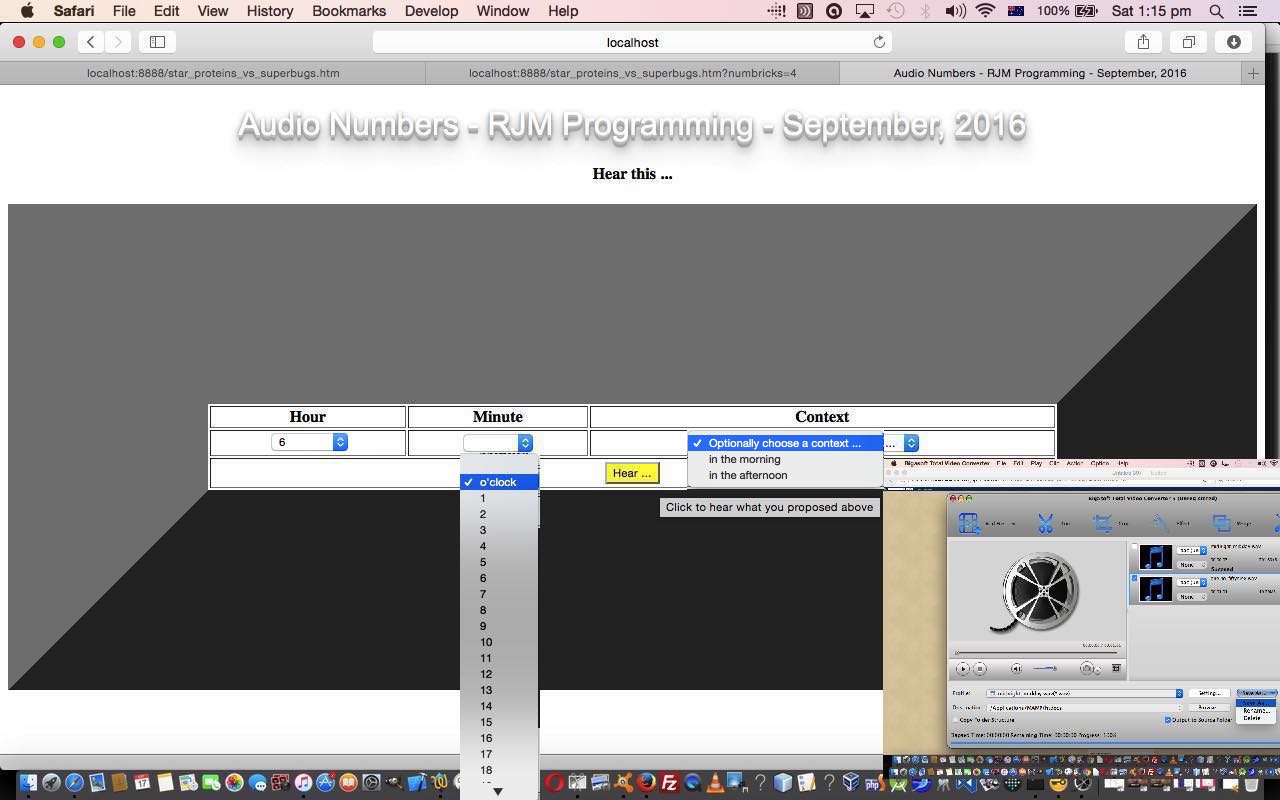
So what “ingredients” went into this “Audio Numbers” web application? As we did in Apple iOS Siri Audio Commentary Tutorial …
HTML audio elements that allow for an audio commentary of the 9 “subimages” … the content for which is derived on a Mac OS X by QuickTime Player‘s Audio Recording functionality, which we last talked about at this blog with QuickTime Player Video Flickr Share Primer Tutorial
… we do again today. On doing this we realized the recordings were not loud enough, so started down the road of R&D on this and got to the very useful Increase Audio Volume website tool that helped a little, and this manifests itself if/when you run our live run today, that if you pick “minute” numbers less than or equal to “30” they are a better better in volume than others, with the “Trial Version” of this software helping you out with “half file” enhancements. “Proof of concept”, remember? And so the aspects you’d change for your own purposes, are …
- the content (and more than likely, names) of audio files mentioned below …
- arrays of audio files …
var audiomedia=["one_to_fiftynine.m4a","past_quarterto.m4a","am_pm.m4a"];

var midmedia=["midnight_midday.m4a"];
… and it should be noted here, that a separate file for each unique sound, could be a good alternative design, and would stop failures to do with the slow loading speed of the home web server causing audio misfiring … and would mean, below, that “astart” is always “0” and “delay” should be set to the audio object’s duration parameter - variables “astart” and “delay” as per example …
      } else if (thingis.toLowerCase().indexOf('clock') != -1) {

        oaudio.src=audiomedia[i];

        astart=eval("3.1");

        delay=1.8;
… where “astart” reflects a start of play value and “delay” represents a length of play scenario in seconds, as we got going in the past when we presented Spliced Audio/Video Overlay Position Tutorial as shown below, where you can read more about the HTML5 Audio objects we used with this “proof of concept” project
Please note with the recording of “one_to_fiftynine.m4a”, that records numbers from 1 to 59, via QuickTime Player, we relied on the recording timer, to time our number recording with a second of duration to make the HTML and Javascript coding a lot easier!
So, as you can see, this is “proof of concept” preparation, and of you want to try it yourself, perhaps you’d like to start with a skeleton of today’s HTML and Javascript audio_1_59.html as a starting point?!
Previous relevant Spliced Audio/Video Overlay Position Tutorial is shown below.
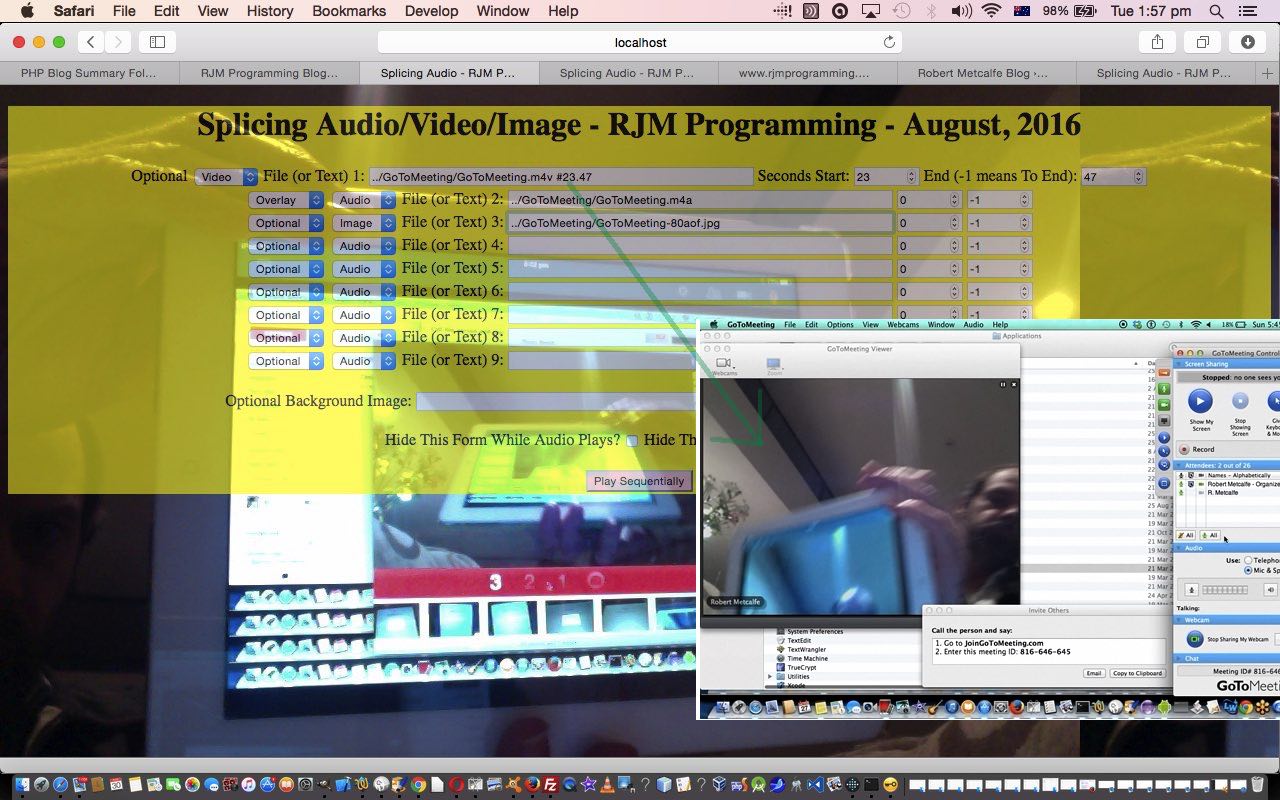
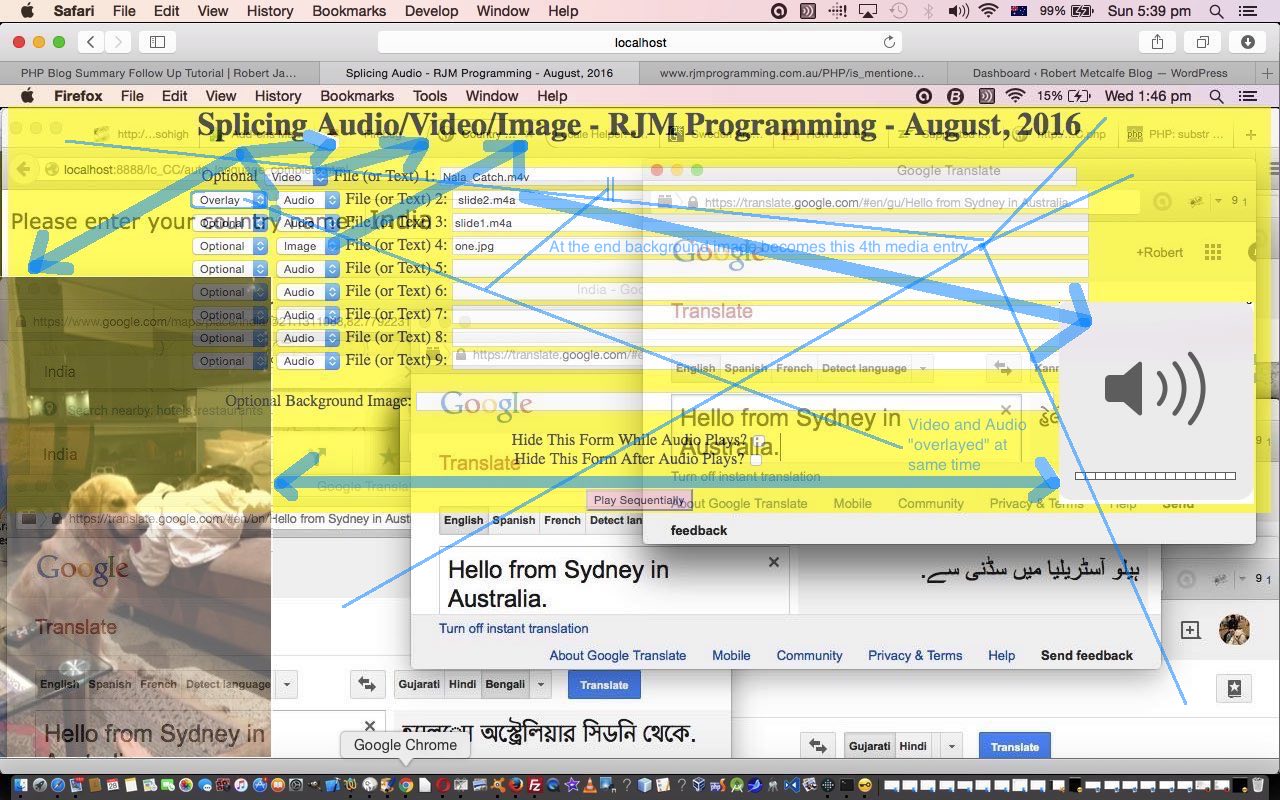
Today we’ve written a third draft of an HTML and Javascript web application that splices up to nine bits of audio or video or image input together, building on the previous Spliced Audio/Video/Image Overlay Tutorial as shown below, here, and that can take any of the forms …
- audio file … and less user friendly is …
- text that gets turned into speech via Google Translate (and user induced Text to Speech functionality), but needs your button presses
- video
- image … and background image for webpage
… for either of the modes of use, that being …
- discrete … or “Optional”
- synchronized … or “Overlay”
… all like yesterday, but this time we allow you to “seek” or position yourself within the audio and/or video media. We still all “fit” this into GET parameter usage. Are you thinking we are a tad lazy with this approach? Well, perhaps a little, but it also means you can do this job just using clientside HTML and Javascript, without having to involve any serverside code like PHP, and in this day and age, people are much keener on this “just clientside” or “just client looking, plus, perhaps, Javascript serverside code” (ala Node.js) or perhaps “Javascript clientside client code, plus Ajax methodologies”. In any case, it does simplify design to not have to involve a serverside language like PHP … but please don’t think we do not encourage you to learn a serverside language like PHP.
While we are at it here, we continue to think about the mobile device unfriendliness with our current web application, it being, these days, that the setting of the autoplay property for a media object is frowned upon regarding these mobile devices … for reasons of “runaway” unknown charge issues as you can read at this useful link … thanks … and where they quote from Apple …
“Apple has made the decision to disable the automatic playing of video on iOS devices, through both script and attribute implementations.
In Safari, on iOS (for all devices, including iPad), where the user may be on a cellular network and be charged per data unit, preload and auto-play are disabled. No data is loaded until the user initiates it.” – Apple documentation.
A link we’d like to thank regarding the new “seek” or media positioning functionality is this one … thanks.
Also, today, for that sense of symmetry, we start to create the Audio objects from now on using …
document.createElement("AUDIO");
… as this acts the same as new Audio() to the best of our testing.
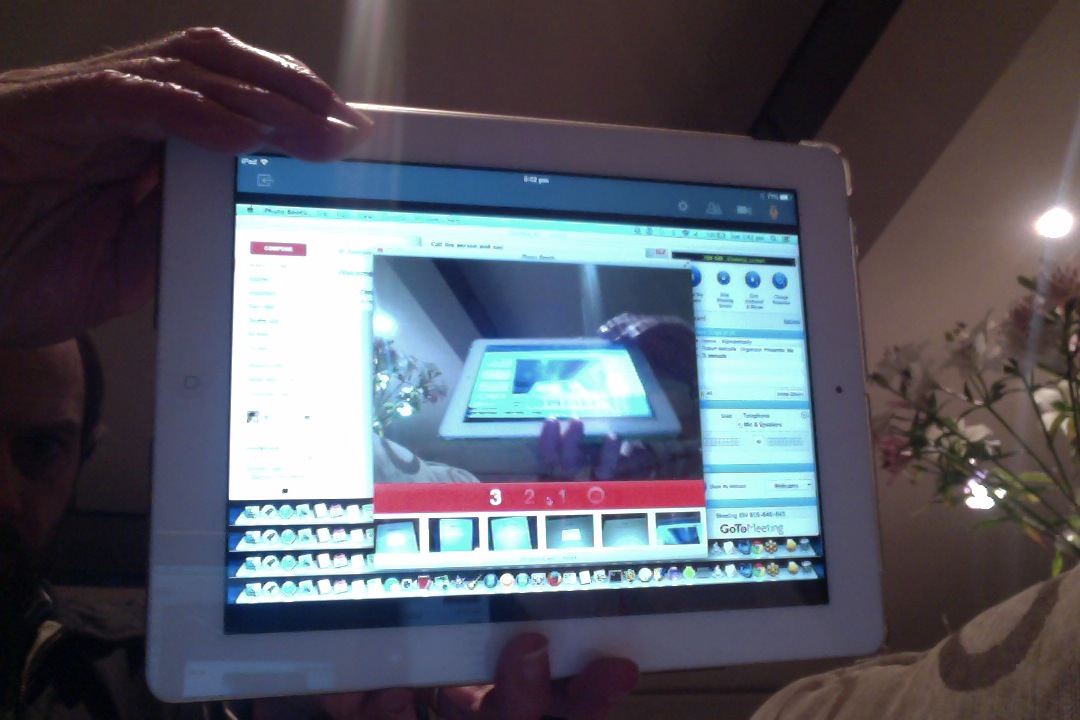
For your own testing purposes, if you know of some media URLs to try, please feel free to try the “overlay” of media ideas inherent in today’s splice_audio.htm live run. For today’s cake “prepared before the program” we’ve again channelled the GoToMeeting Primer Tutorial which had separate audio (albeit very short … sorry … but you get the gist) and video … well, below, you can click on the image to hear the presentation with audio and video synchronized, but only seconds 23 through to 47 of the video should play, and the presentation ending with the image below …
We think, though, that we will be back regarding this interesting topic, and hope we can improve mobile device functionality.
Previous relevant Spliced Audio/Video/Image Overlay Tutorial is shown below.
Today we’ve written a second draft of an HTML and Javascript web application that splices up to nine bits of audio or video or image input together, building on the previous Splicing Audio Primer Tutorial as shown below, here, and that can take any of the forms …
- audio file … and less user friendly is …
- text that gets turned into speech via Google Translate (and user induced Text to Speech functionality), but needs your button presses
- video
- image … and background image for webpage
… for either of the modes of use, that being …
- discrete … or “Optional”
- synchronized … or “Overlay”
The major new change here, apart from the ability to play two media files at once in our synchronized (or “overlayed”) way, is the additional functionality for Video, and we proceeded thinking there’d be an Javascript DOM OOPy method like … var xv = new Video(); … to allow for this, but found out from this useful link … thanks … that an alternative approach for Video object creation, on the fly, is …
var xv = document.createElement("VIDEO");
… curiously. And it took us a while to tweak to the idea that to have a “display home” for the video on the webpage we needed to …
document.body.appendChild(xv);
… which means you need to take care of any HTML form data already filled in, that isn’t that form’s default, when you effectively “refresh” the webpage like this. Essentially though, media on the fly is a modern approach possible fairly easily with just clientside code. Cute, huh?!
Of course, what we still miss here, is the upload from a local place onto the web server, here at RJM Programming, capability, which we may consider in future, and that some of those other synchronization of media themed blog postings of the past, which you may want to read more, for this type of approach.
In the meantime, if you know of some media URLs to try, please feel free to try the “overlay” of media ideas inherent in today’s splice_audio.htm live run. We’ve thought of this one. Do you remember how the GoToMeeting Primer Tutorial had separate audio (albeit very short … sorry … but you get the gist) and video … well, below, you can click on the image to hear the presentation with audio and video synchronized, and the presentation ending with the image below …
We think, though, that we will be back regarding this interesting topic.
Previous relevant Splicing Audio Primer Tutorial is shown below.
Today we’ve written a first draft of an HTML and Javascript web application that splices up to nine bits of audio input together that can take either of the forms …
- audio file … and less user friendly is …
- text that gets turned into speech via Google Translate (and user induced Text to Speech functionality), but needs your button presses
Do you remember, perhaps, when we did a series of blog posts regarding the YouTube API, that finished, so far, with YouTube API Iframe Synchronicity Resizing Tutorial? Well, a lot of what we do today is doing similar sorts of functionalities but just for Audio objects in HTML5. For help on this we’d like to thank this great link. So rather than have HTML audio elements in our HTML, as we first shaped to do, we’ve taken the great advice from this link, and gone all Javascript DOM OOPy on the task, to splice audio media together.
There were three thought patterns going on here for me.
- The first was a simulation of those Sydney train public announcements where the timbre of the voice differs a bit between when they say “Platform” and the “6” (or whatever platform it is) that follows. This is pretty obviously computer audio “bits” strung together … and wanted to get somewhere towards that capability.
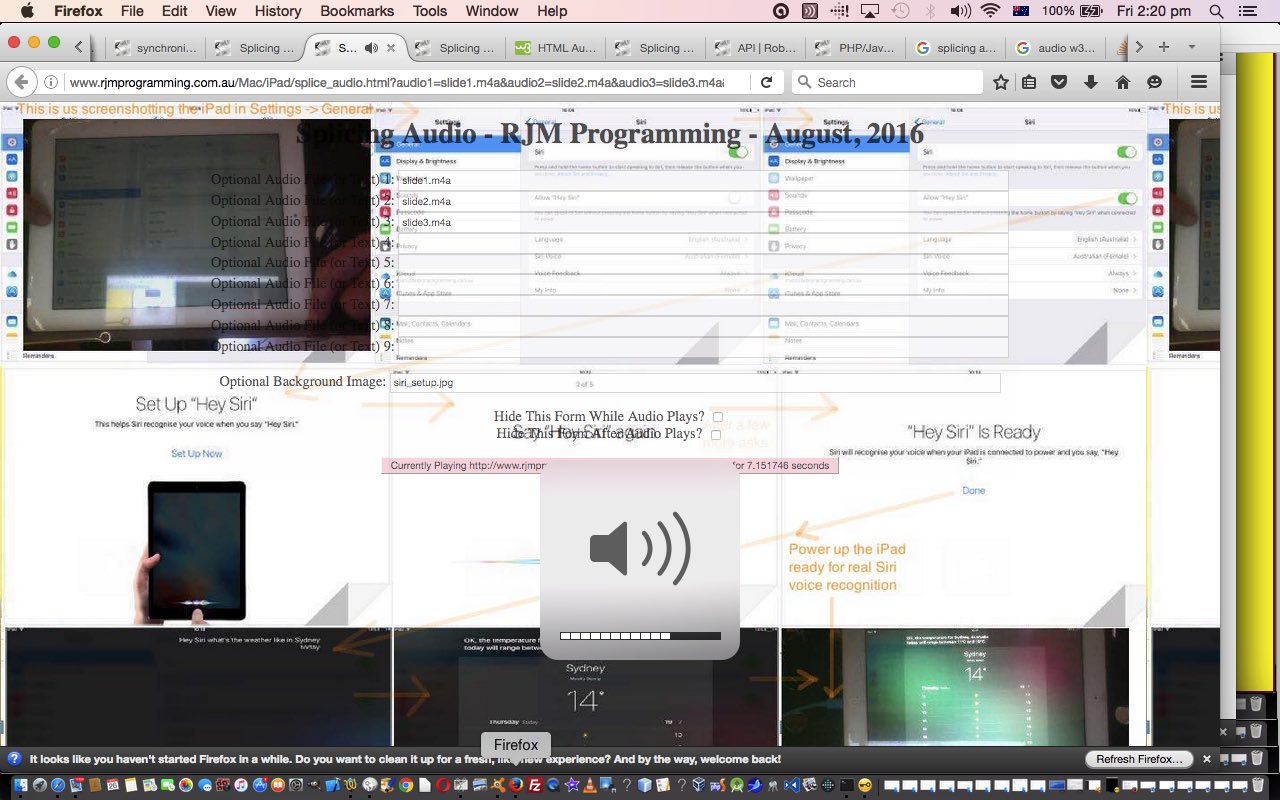
- The second one relates to presentation ideas following up on that “onmouseover” Siri audio enhanced presentation we did at Apple iOS Siri Audio Commentary Tutorial. Well, we think we can do something related to that here, and we’ve prepared this
cakeaudio presentation here, for us, in advance … really, there’s no need for thanks. - The third concerns our eternal media file synchronization quests here at this blog that you may find of interest we hope, here.
Also of interest over time has been the Google Translate Text to Speech functionality that used to be very open, and we now only use around here in an interactive “user clicks” way … but we still use it, because it is very useful, so, thanks. But trying to get this method working for “Platform” and “6” without a yawning gap in between ruins the spontaneity and fun somehow, but there’s nothing stopping you making your own audio files yourself as we did in that Siri tutorial called Apple iOS Siri Audio Commentary Tutorial and take the HTML and Javascript code you could call splice_audio.html from today, and go and make your own web application? Now, is there? Huh?
Try a live run or perhaps some more Siri cakes?!
- Audio with Background then Form for another, perhaps
- Audio with Background and Form showing the whole time
- Audio with no Background then Form for another, perhaps
- Just Audio
If this was interesting you may be interested in this too.
If this was interesting you may be interested in this too.
If this was interesting you may be interested in this too.
If this was interesting you may be interested in this too.
If this was interesting you may be interested in this too.
If this was interesting you may be interested in this too.
If this was interesting you may be interested in this too.
If this was interesting you may be interested in this too.
If this was interesting you may be interested in this too.

