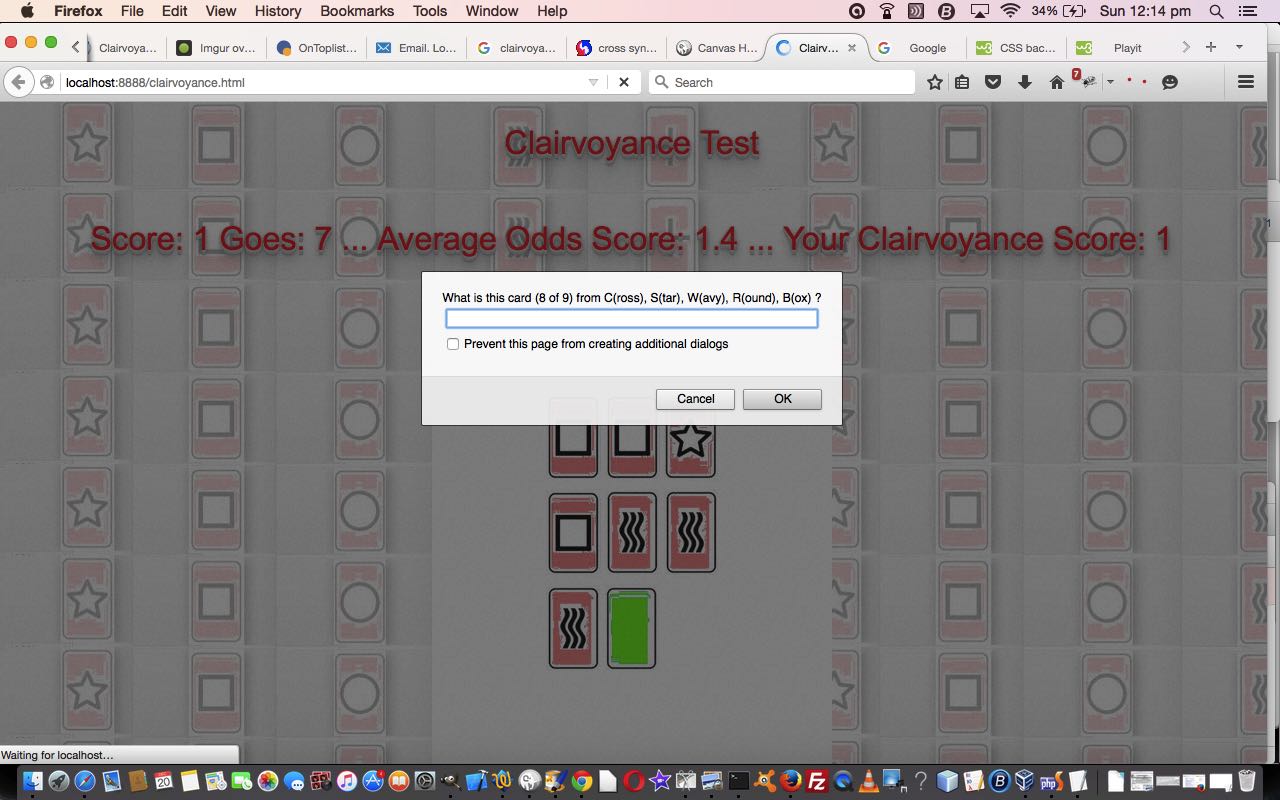
Today’s HTML and Javascript web application is a Clairvoyance Tester, but then I don’t have to tell you you’re clairvoyant, because you just knew I was going to say it anyway … as you knew that this blog posting was coming out today.
We wrote it to illustrate the good use a …
<body style="background-color: yellow;background: url('clairvoyance.jpg') repeat;background-position:10px 200px; ">
… background image can be put to, in conjunction with our document.write(prompt()) scenario that makes a web application feel a little like those interactive command line desktop applications in the days of yore, because when you have a web application launching straight into things, it can be a bit offputting to be asked something before being shown something, in these times outside the days of yore.
And yes, we tried once again for a better CSS solution using a fully opaque background image (and we haven’t given up) and got some semi-okay ideas going, but decided in the end to do the more straightforward approach of using the wonderful, marvellous, Gimp image editor to give the background image about 50% opacity, since it is so easy to do in Gimp (as we show with Gimp Transparency Primer Tutorial).
There was another CSS idea we tried for the first time with this too. While trying all the incarnations, as mentioned above, what was good to do, whether you are succeeding with “opacity difference” (between background and foreground) or not, is to place a very thick border of a different colour (we chose white) as a “buffer zone” between the background and foreground as per (our HTML for the major foreground HTML element of interest) …
<table id="mytable" style="background-color:white;opacity:1.0; border: 125px solid white;">
… which could have been enough to make it all work, even without …
- Semi opaque HTML body element (or even an HTML div element) overlayed on a fully opaque foregound … we left off the “quest” here
- Gimp transparency magic
So we’ll leave you with the HTML and Javascript source code you could call ??? (as if you needed to know) and (as if you need to have) a live run … anyone, anyone? … link.
If this was interesting you may be interested in this too.


 , since it is so easy to do in Gimp (as we show with
