There are quite a few important image editing concepts floating around today’s “Mondrian Fun” (of the blog posting thread off Gimp Guillotine Follow Up Email Attachment Tutorial) …
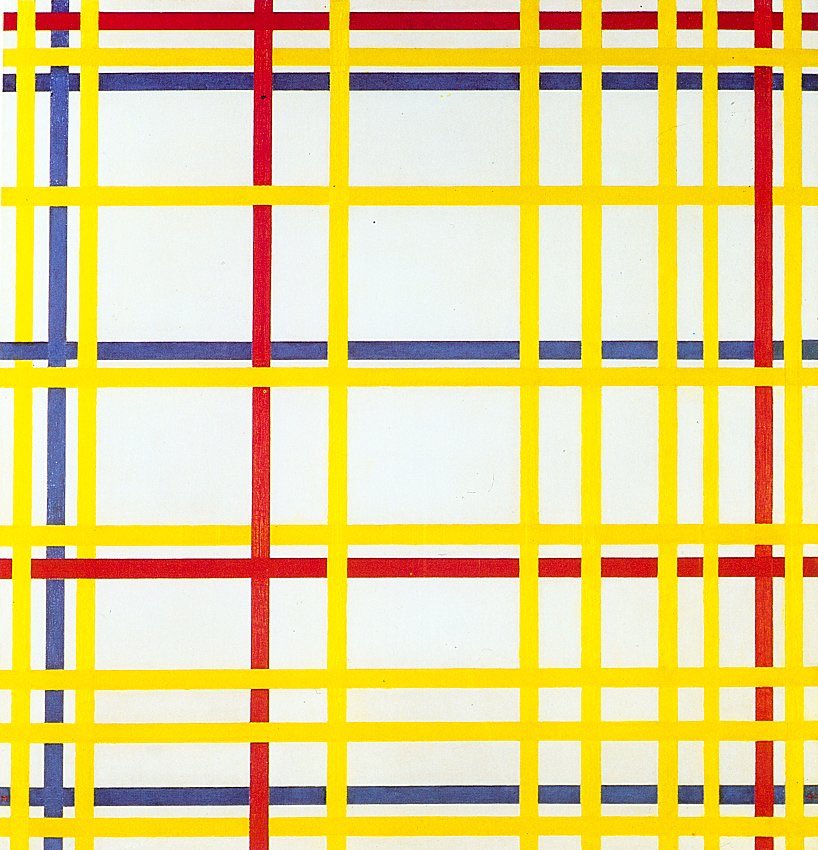
With this in mind, we almost immediately thought of the great Piet Mondrian and his rectangle paintings in primary colours, wondering if by now you could get image downloads of his work, given he died some time ago now. And yes, there at this Pixabay webpage, thanks, we were able to do that and download an image version of “Composition with Red Yellow and Blue” to open with GIMP.
Some of these ideas are …
- sophisticated image editors such as Gimp …
- capable of editing layers (as we noted with Gimp Layers Primer Tutorial), especially regarding png images … and concerning …
- transparent alpha channel layer
- mask colours (or make particular one’s pixels become transparent)
… and before we discuss limitations here, let’s just leave a minute to appreciate these great image editors like Gimp for these capabilities … amazing … however, we must mention the premise today, and the imperfections regarding Gimp image editing work here. In broad brush terms (and thanks to Gimp usage ideas here) what we wanted to show regarding this “Colour to Alpha” ideas we …
- started with the Mondrian inspired original image (because of its straightforward “primary colours feel”) as per …

- copied it off to 6 other png image files (three for just Red, Yellow, Blue and three for excluding Red, Yellow, Blue) … and for each …
- opened in Gimp (chose to “Convert” if offered) …
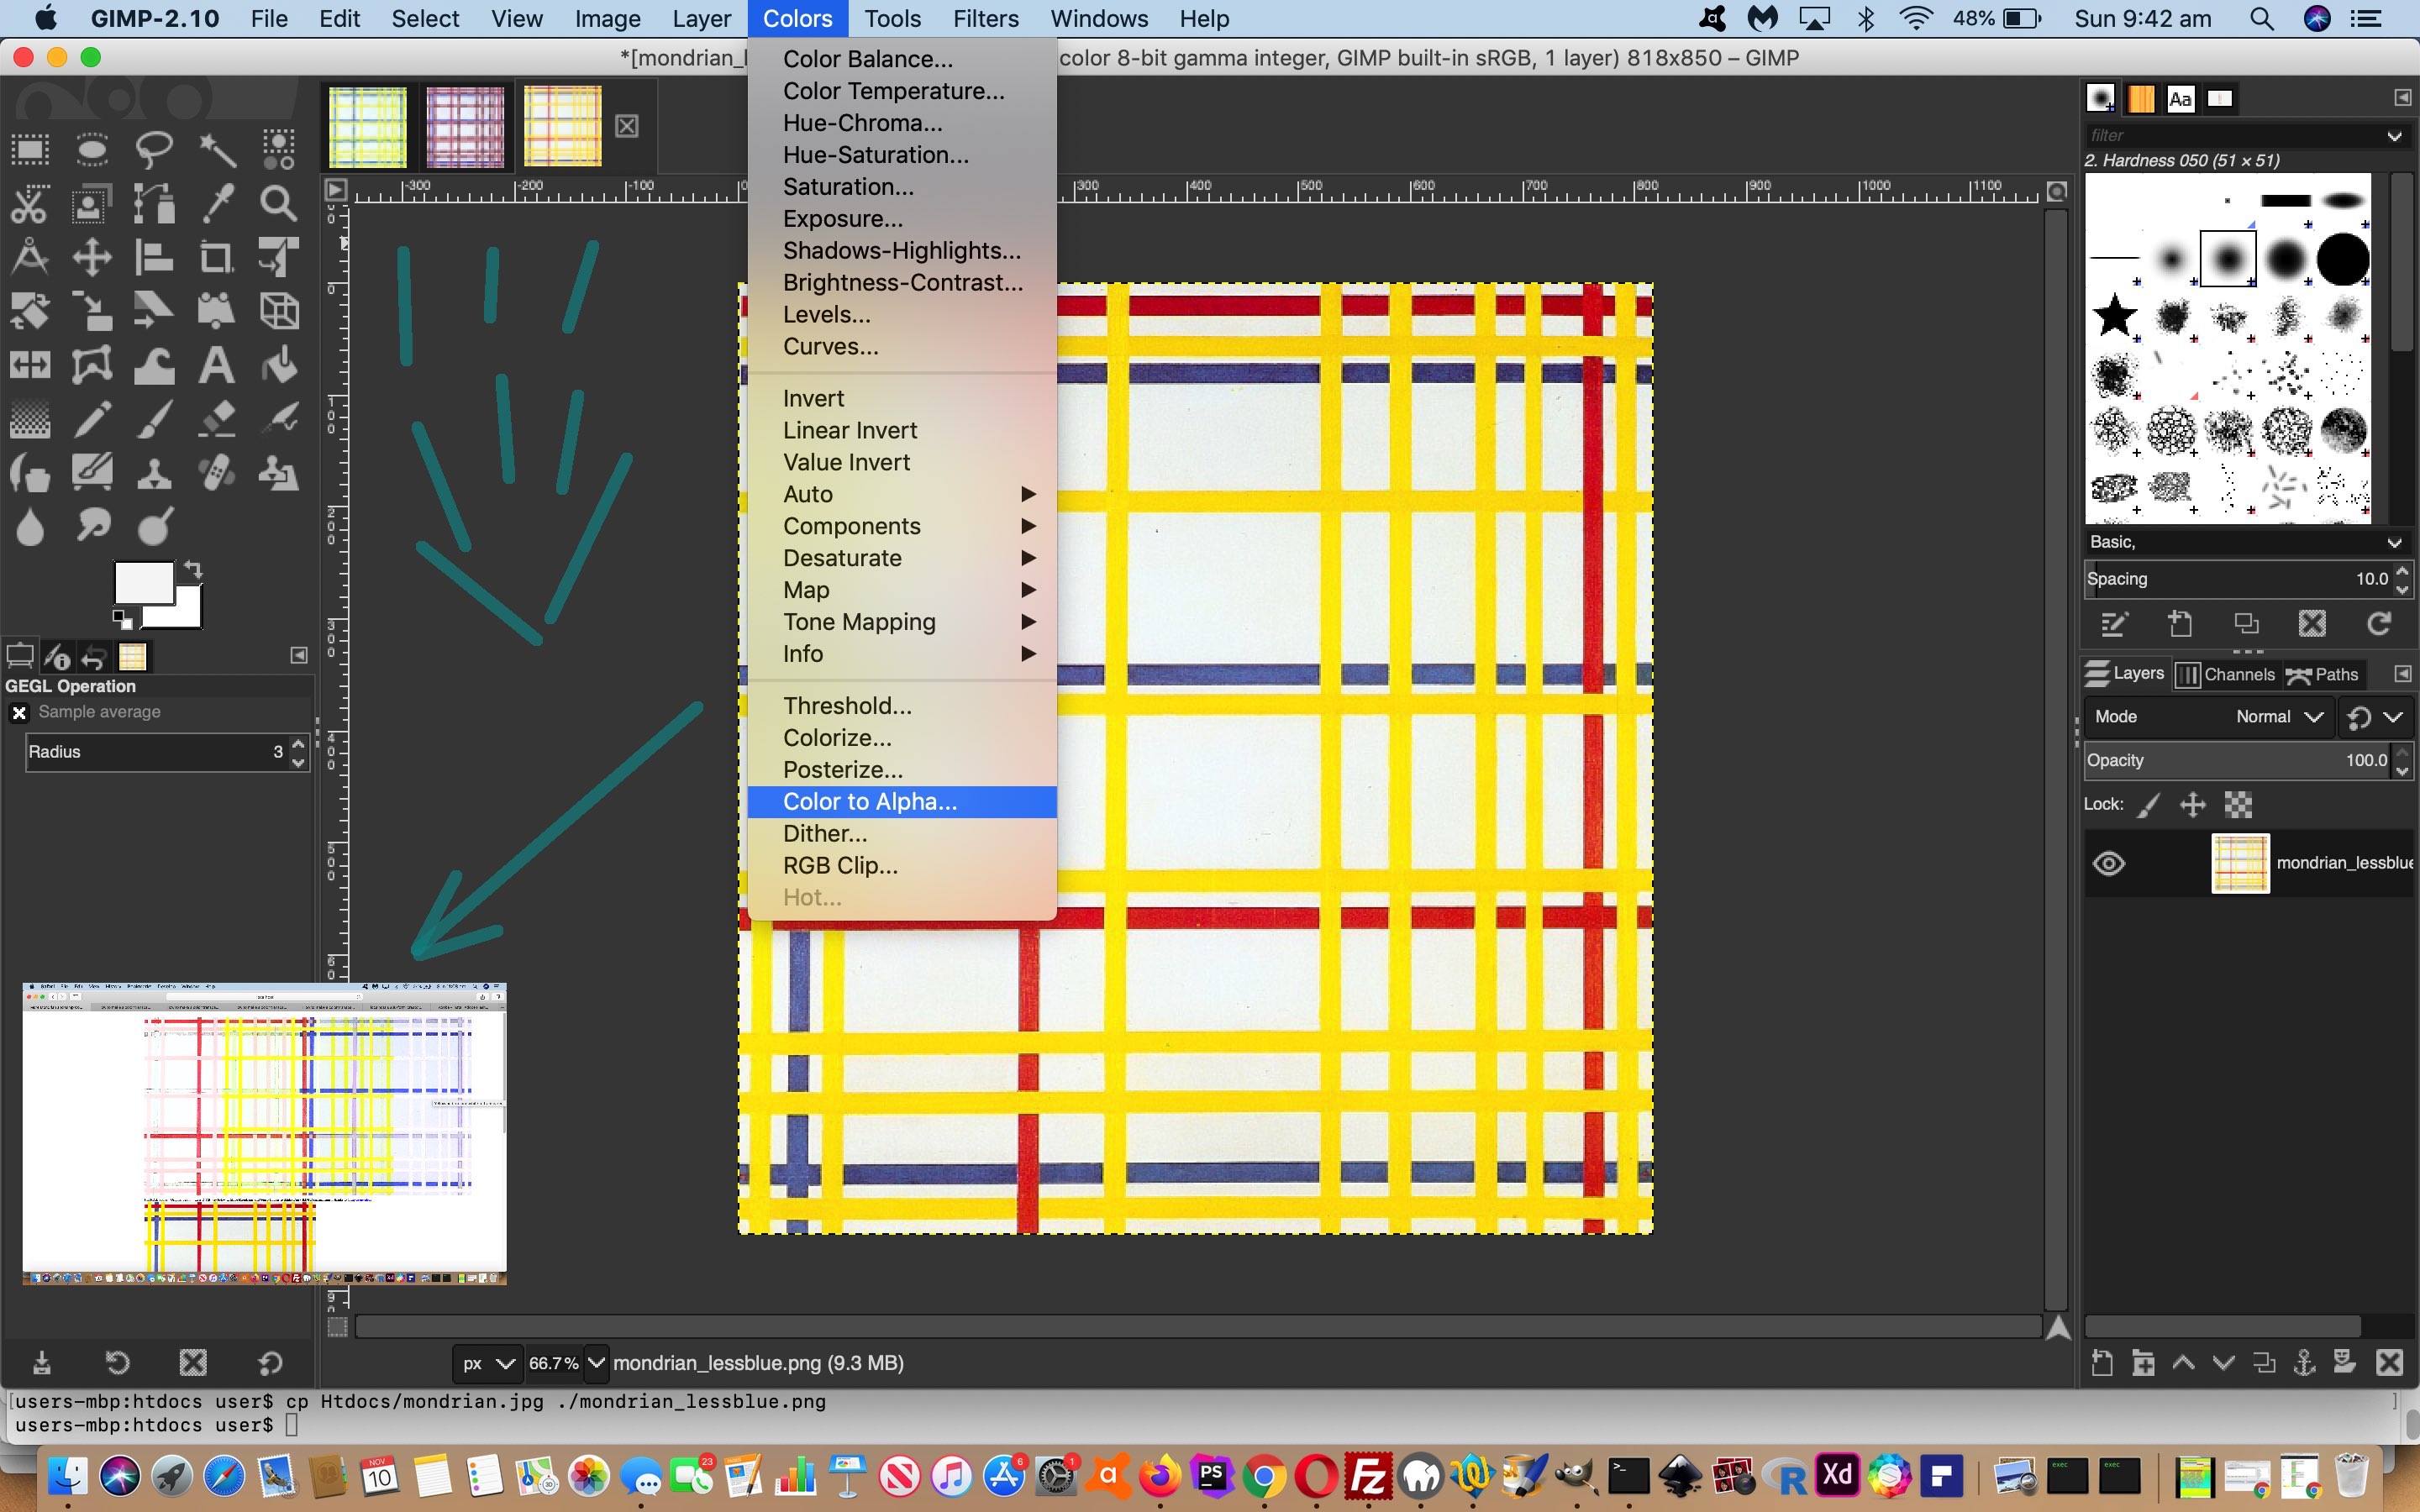
- Layer -> Transparency -> Add Alpha Channel …
- Colors -> Color to Alpha… (however many cycles of colour masking required, below)
- as required, change the default White ((#ffffff) colour button) and open chance to enter RGB (which we used defining Red (#ff0000) and Yellow (#ffff00) and Blue (#0000ff)) and click OK[s] to change those colour pixels found to transparent ones … until satisfied, when …
- File -> Export As… (png)
- Export button click
… setting up image (media) we could use to show the original Mondrian online image and how close we could get with the 2 other sets of 3 images, piecing the colours back together again (with less tears than for Humpty Dumpty … and no eggs were harmed in the making of this blog post). See mondrian_revisited.html in animated (“Just” then “Original” then “Excluding”) action below (and by the way, if nothing is animated below, to get a “rerun” of the animation, click here) …
… where you can see a bit of imperfection, perhaps attributable to …
- colour bleeding with original painting through to being an image representation online
- image representation online (and original painting) colours are not all those mathematically pure Red, Yellow, Blue (as RGB defined above)
- colour bleeding within the Gimp work
Nevertheless, it shows how image colour “masking” is very much a tool available to you as a media “overlay” thought to match the CSS “overlay” thoughts we often adopt here with web applications …
- position:absolute property … teamed with …
- top and left (px defined) properties
Interesting, huh?!
Previous relevant Gimp Layers Primer Tutorial is shown below.
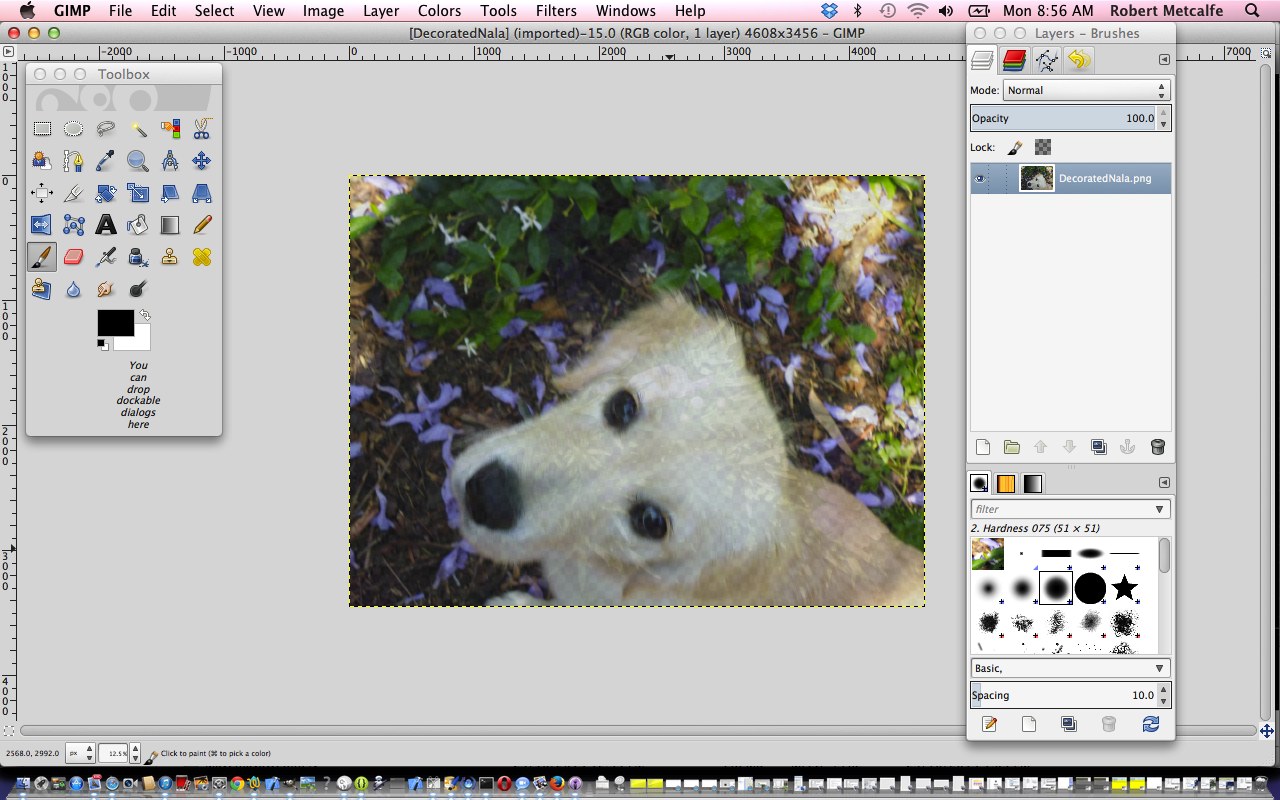
Here is a tutorial that gives you an insight into the massive possibilities of using a sophisticated image editor and use layers with various amounts of transparency, especially suited to use with png image files.
Transparency (or its obverse, opacity) can be used to have the one image achieve several “ends” (ie. purposes). Although it is a bit of a clumsy example in the tutorial, you can see that the technique can be used for artistic purposes … often called “Photoshopping” (named after the more famous, and also brilliant, rival product, Photoshop).
Lots of those classic “Photoshopping” techniques can be achieved in Gimp, and some other tutorials at this blog touch on that.
Am sure you can imagine what the concept of a layer is with regard to image manipulation. Within Gimp, for beginners not used to this concept, you find yourself underestimating and underplaying what can be achieved with the various layers of a multi-layered image. In simplistic terms each layer has the functionality in Gimp to be treated as a whole new image, and this is the best way to think of it when trying to achieve what you want to achieve with Gimp.
Link to Gimp “spiritual home” … here.
Link to Gimp forum … here.
If this was interesting you may be interested in this too.
If this was interesting you may be interested in this too.


