You might be wondering why the blog title “Developing Black and White Photos Primer Tutorial” when we haven’t talked about “SLR Cameras” or “Taking Photographs” before this and in preparation for “Printing Black and White Photos”. Well, the main reason is that today’s blog is an encouragement to those taking up Photography as a hobby interested in aspects of non-digital photography in that DIY (do it yourself) sense.
The reason we don’t talk about “SLR Cameras” (SLR being Single Lens Reflex) is because it is too big an arena of knowledge, but would encourage its knowledge for the black and white photo hobbyist because they “can” use 35mm black and white film … say “can” because a lot of SLR cameras now are digital, and you won’t have DIY there except to do with DIY web design or DIY “other” design.
The reason we don’t talk about “Taking Photographs” is that it is such a personal experience, and there is so much information already out there.
So we’ll test your enthusiasm today, or “curb your enthusiasm”, we hope not. You’ll know if you are interested … that is a common experience when talking about “Developing Black and White Photos” … it is often that it deeply interests or deeply bores. It must be borne in mind, that if it deeply interests then first off you need to know that you can access or preferably get to a camera store that can supply the chemicals to develop black and white film … and you may wonder “why black and white”? … well, colour can be done, but it is much more expensive and more difficult. The other thing to note “should you get hooked on the idea” is that the topic “Printing Photographs” opens up much more expense to the hobby once you start talking about an enlarger, timer, trays, more chemicals and photographic paper.
So, let’s start with our (mainly) pictorial presentation (made via the Mac desktop application PhotoBooth (with Auto Flip New Items selected)) of “Developing Black and White Photos” … take a look below …
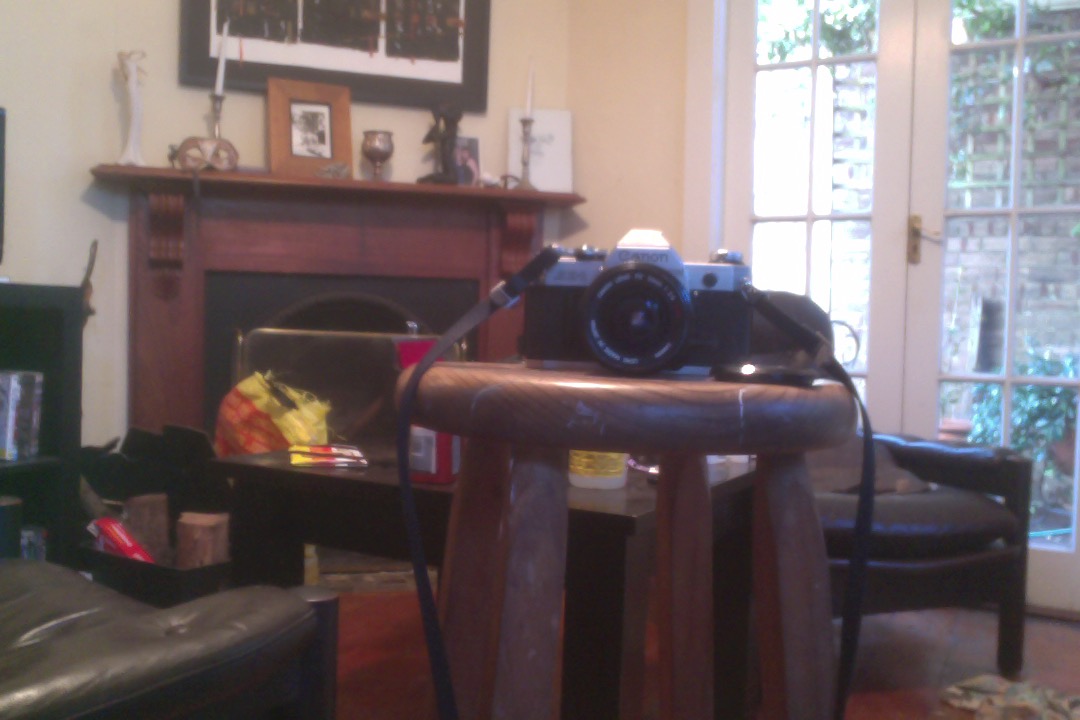 So here we are with you with your SLR having completed your photo taking session … |
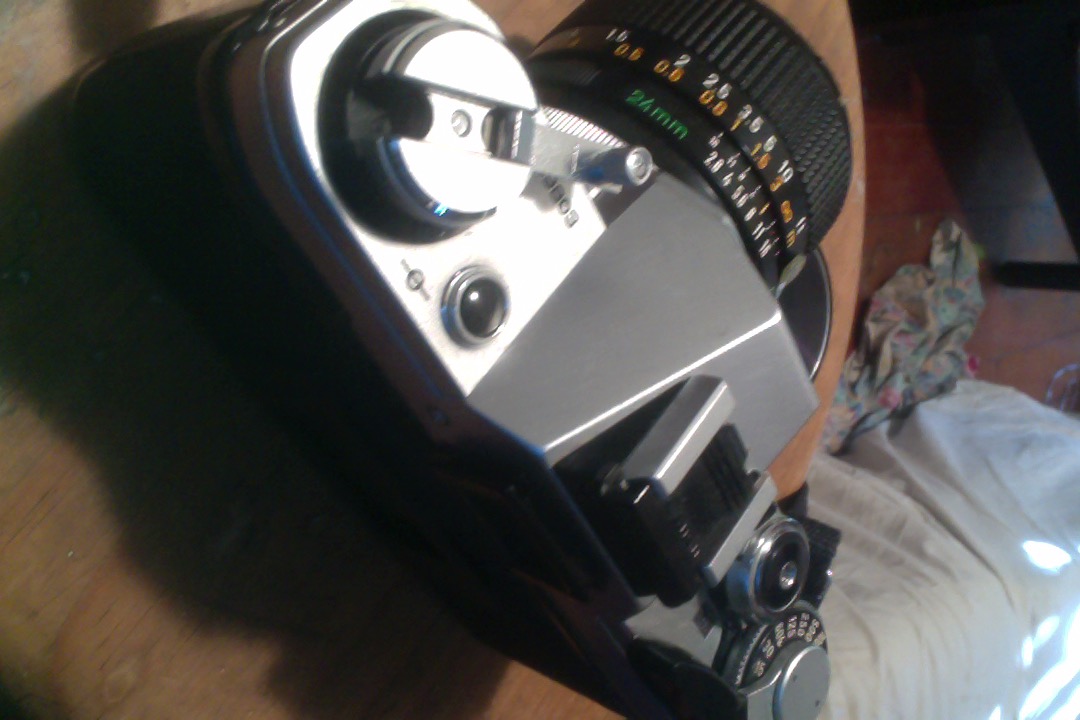 … the film roll is finished so we unroll the film from the camera (with the camera back closed … pleeeeeeease) … |
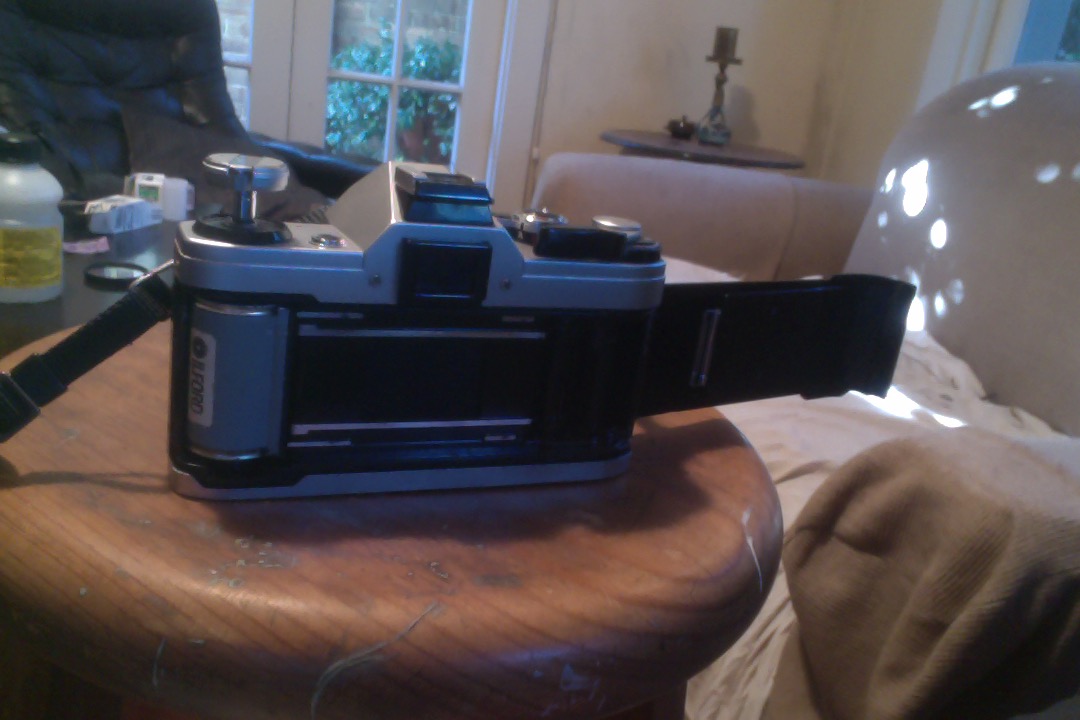 … voila … an Ilford 35mm film ready to be developed entirely within its canister … this is “slightly” sad, in that it can help to have some film hanging out of the canister, but, never mind, we can handle that, later. |
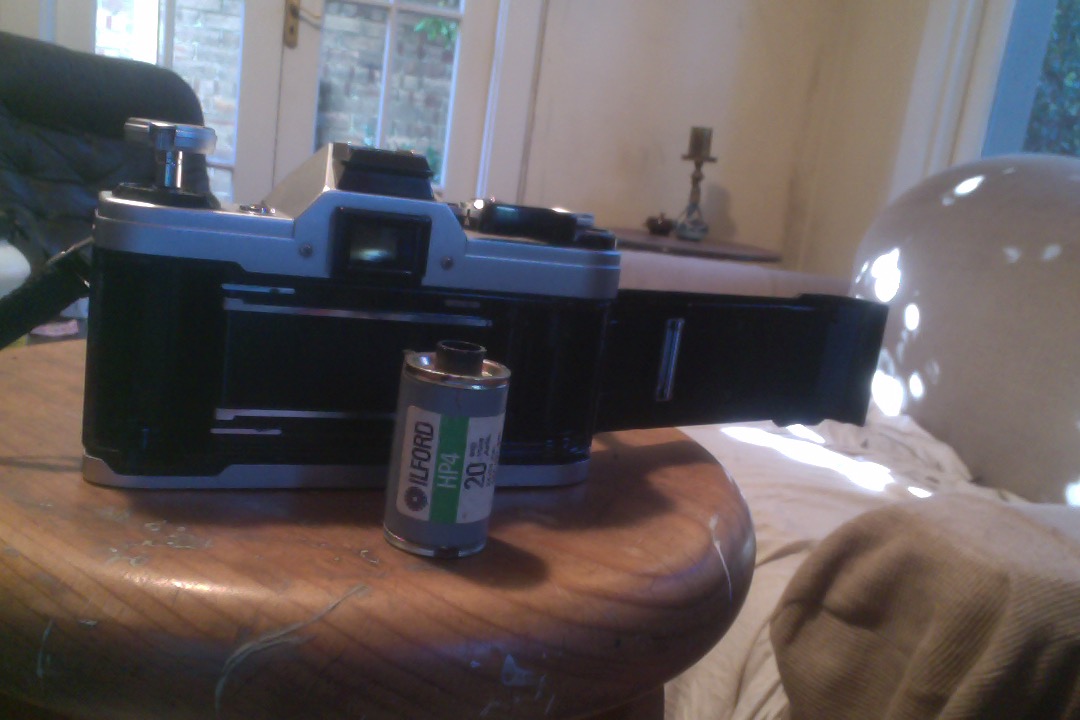 So this is where you become reinterested in what the film type is … Ilford HP4 … you were previously interested when loading the camera and setting the SLR for the film speed … now you are interested because it would have come in a box … |
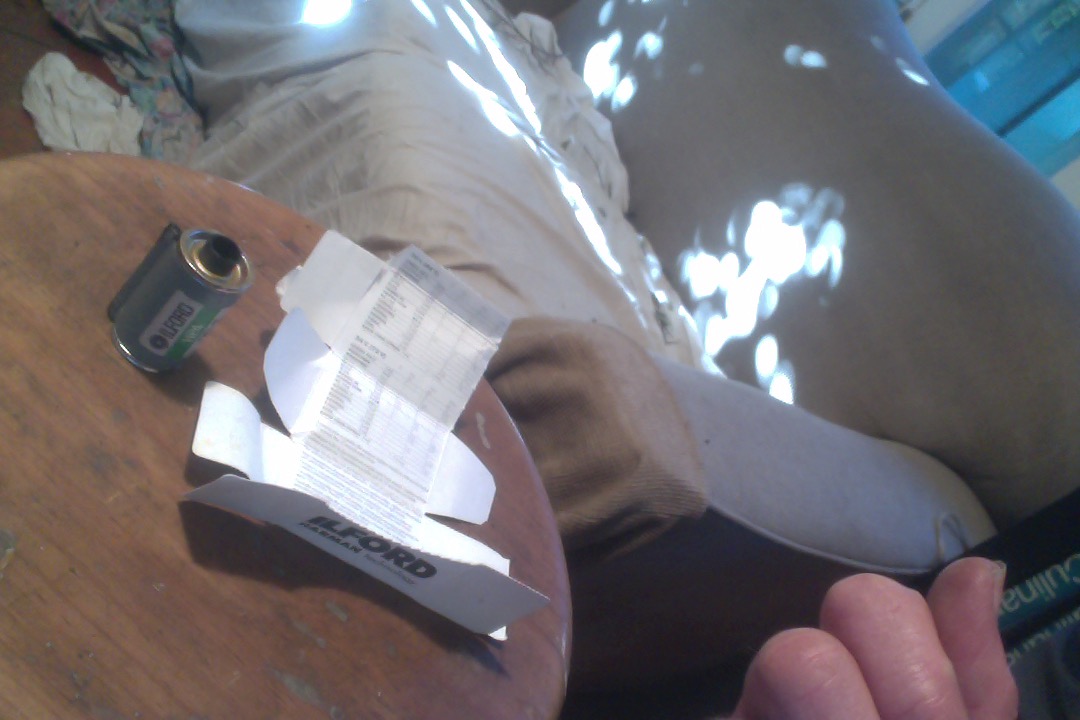 … that has great film developing information on it, or available somewhere in a book or on the net … and this is also useful to take to the camera shop as a means of knowing what chemicals you need as regards developer, and maybe stop bath (which we don’t do today), and definitely fixer, and perhaps photo flo (during the film wash). |
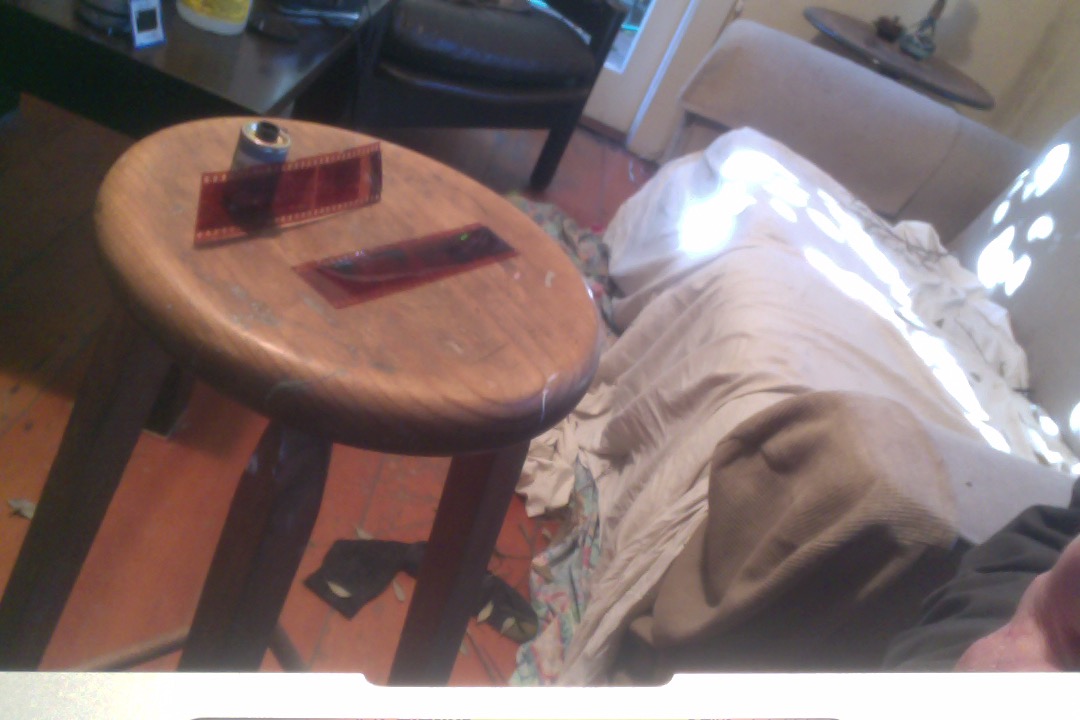 So, now, if this is your first time, you’ll be interested in what the film looks like … well, here, we show the size, as 35mm, with those familiar film-like properties you’ve probably seen, only, in your case, it will look more black and white (rather than the colour one shown today) … |
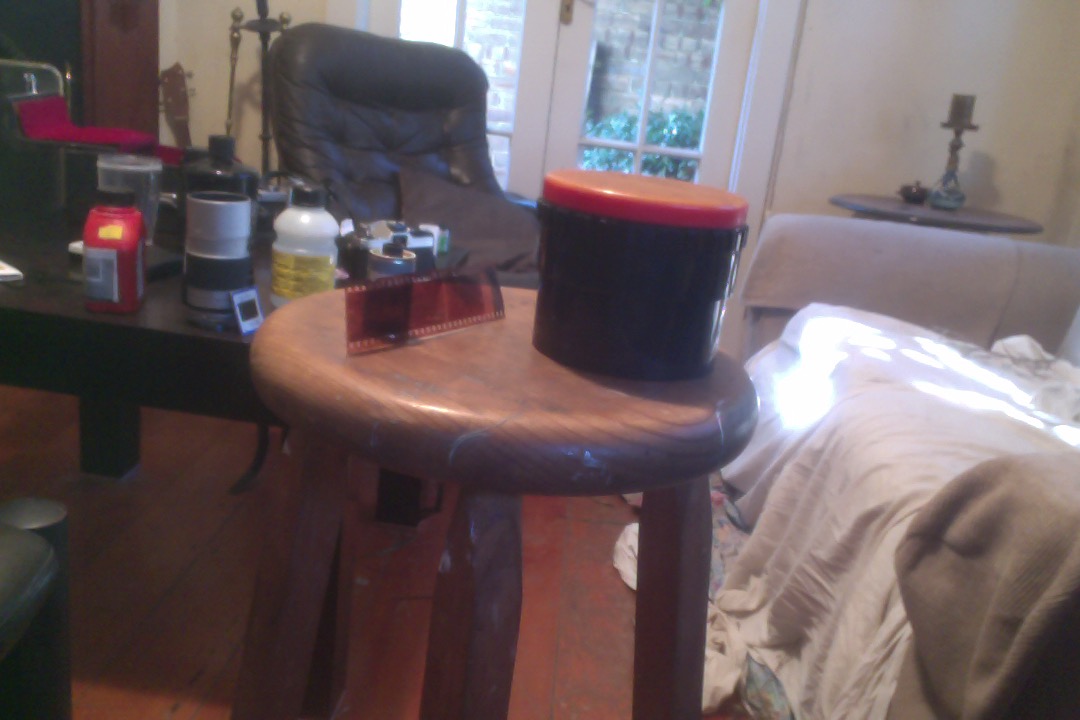 … and no doubt, if this is your first time, and you’ve gone to the camera shop and bought a developing tank (once, and probably still, a great brand here was Paterson) … ours is a single film tank, but you can buy multiple film tanks too … |
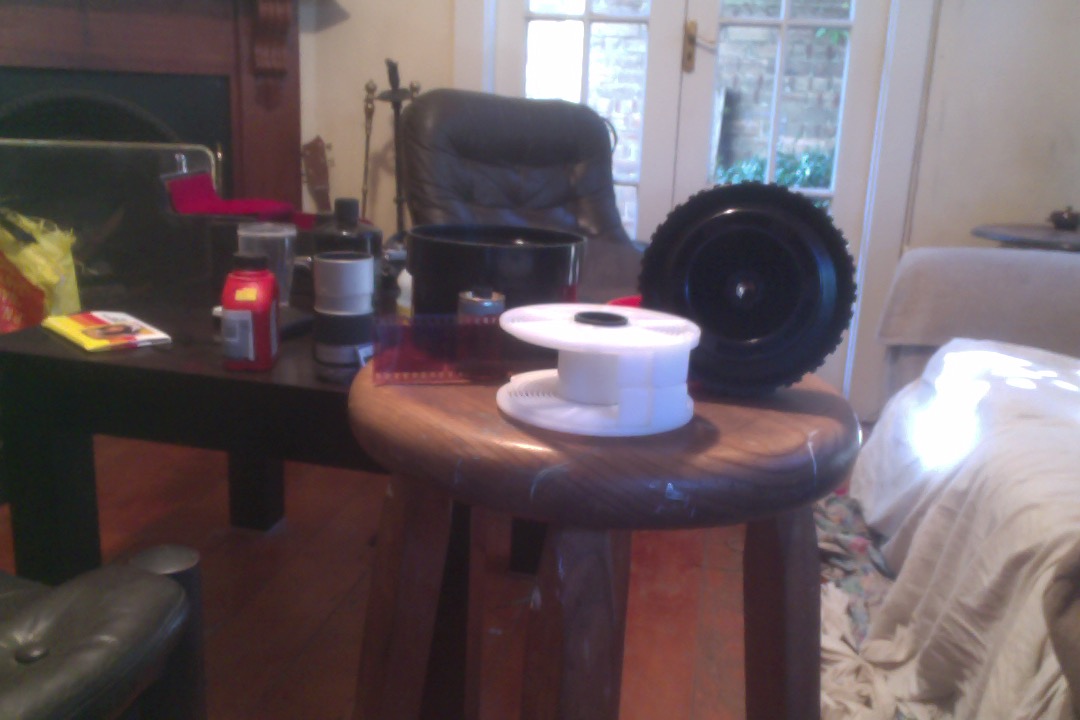 … you’ll be curious, in the light of day, when you can rehearse with an old 35mm film, how you can “spool” the film off the Ilford film canister’s roll onto the developing tank roll, especially if we tell you that later, you’ll want to be doing this same thing in total darkness … oops! … |
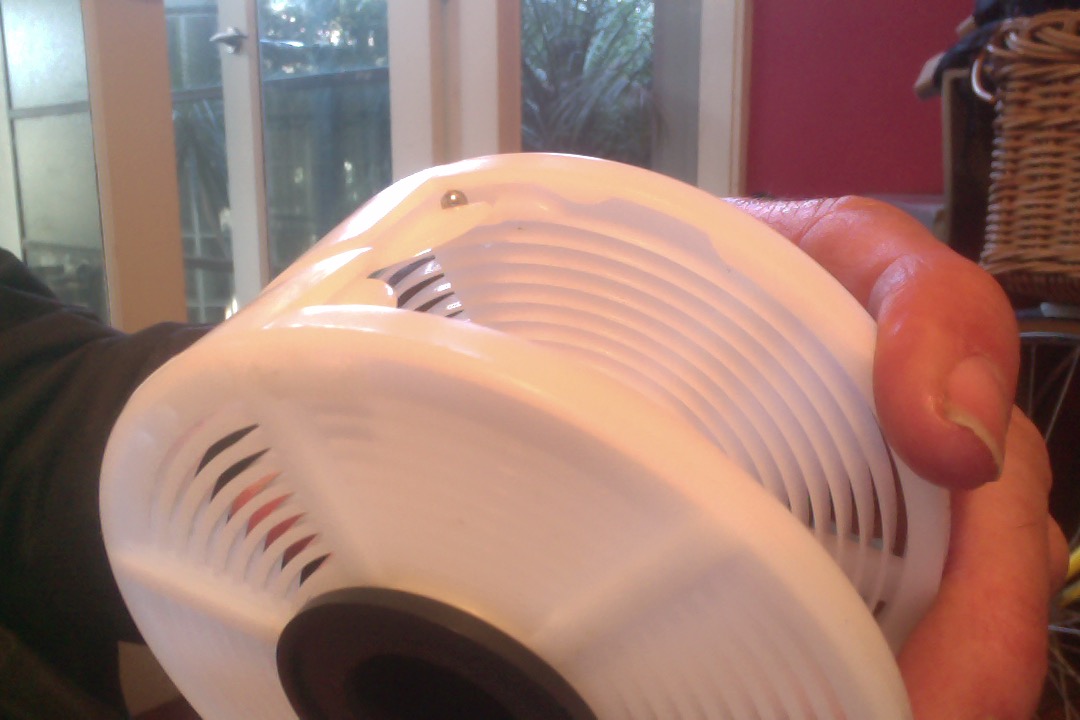 … have a look at the developing tank’s little notch to feed in the film and the little balls that will facilitate the feed you progress by swivelling the tank’s spooler in both hands … |
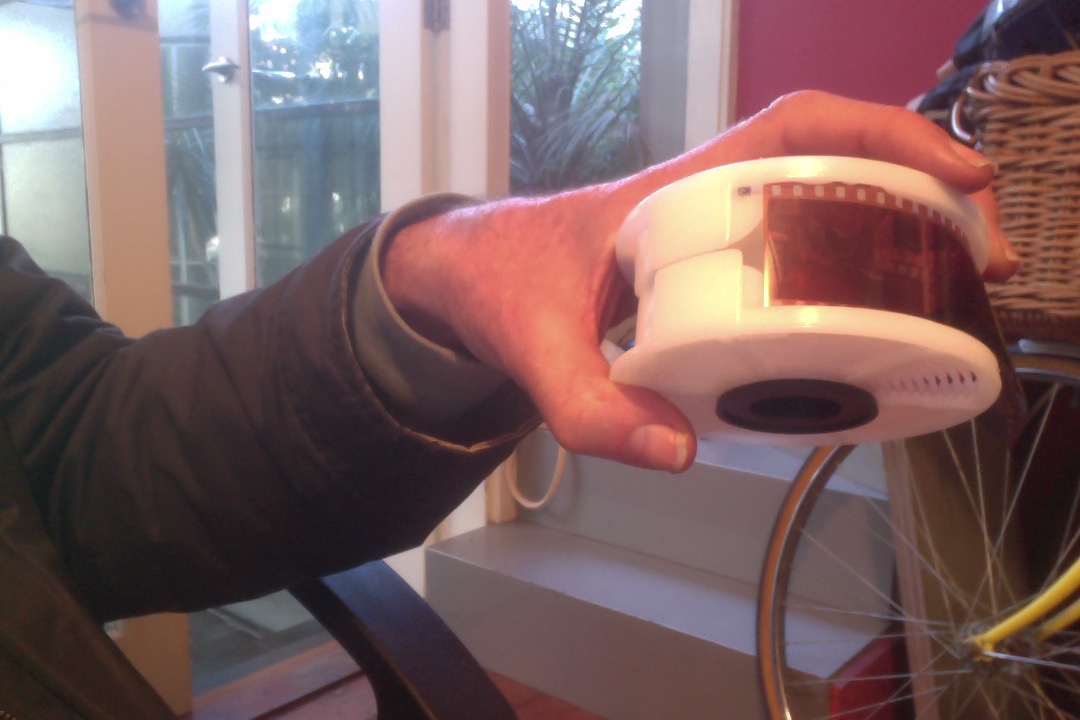 … so rehearse the feel of feeding the film in, and also try this with your eyes closed … |
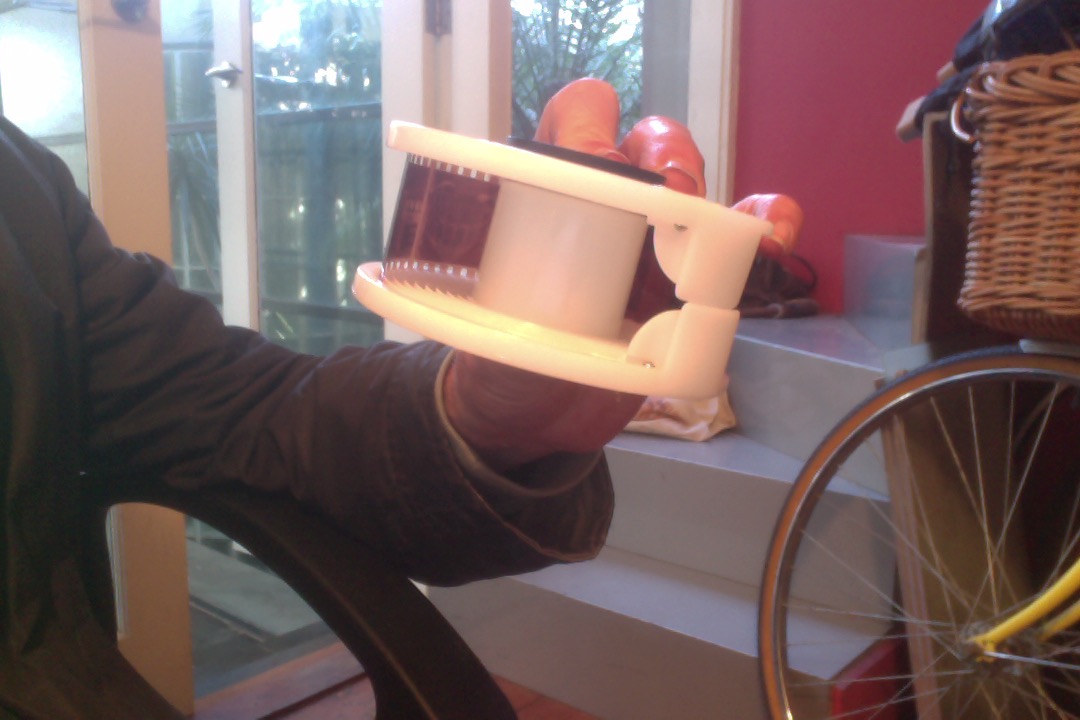 … now also try to feed it onto the developing tanks spooler completely with hand swivelling actions, and also try this with your eyes closed. |
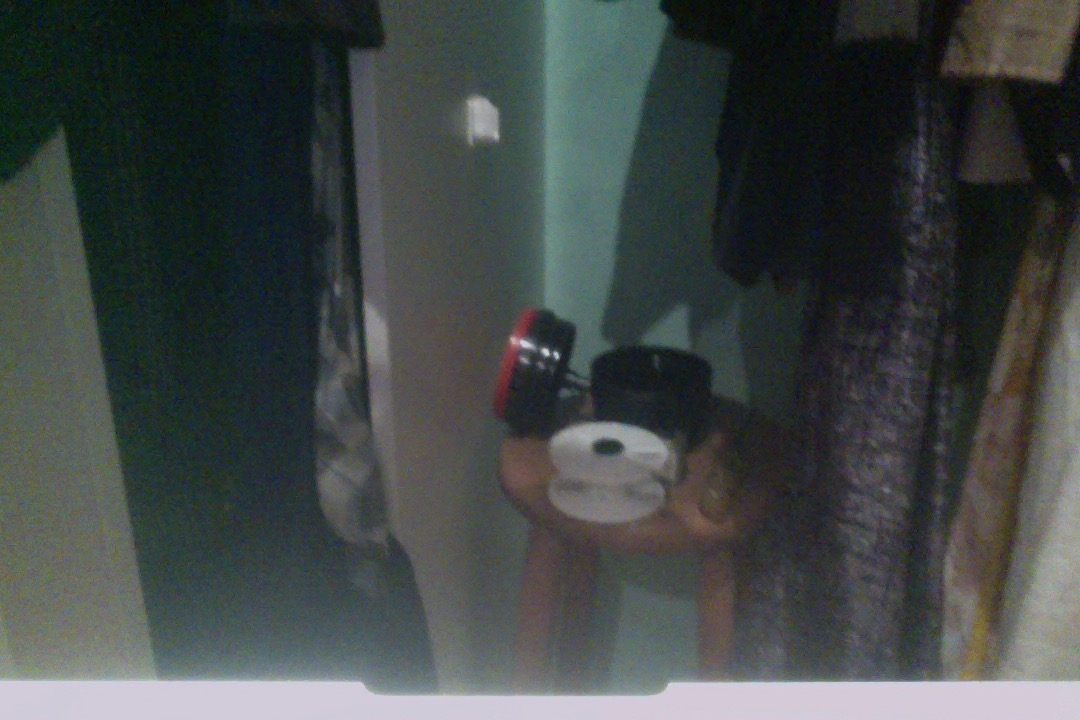 Okay, time for the |
 … good luck … over to you … |
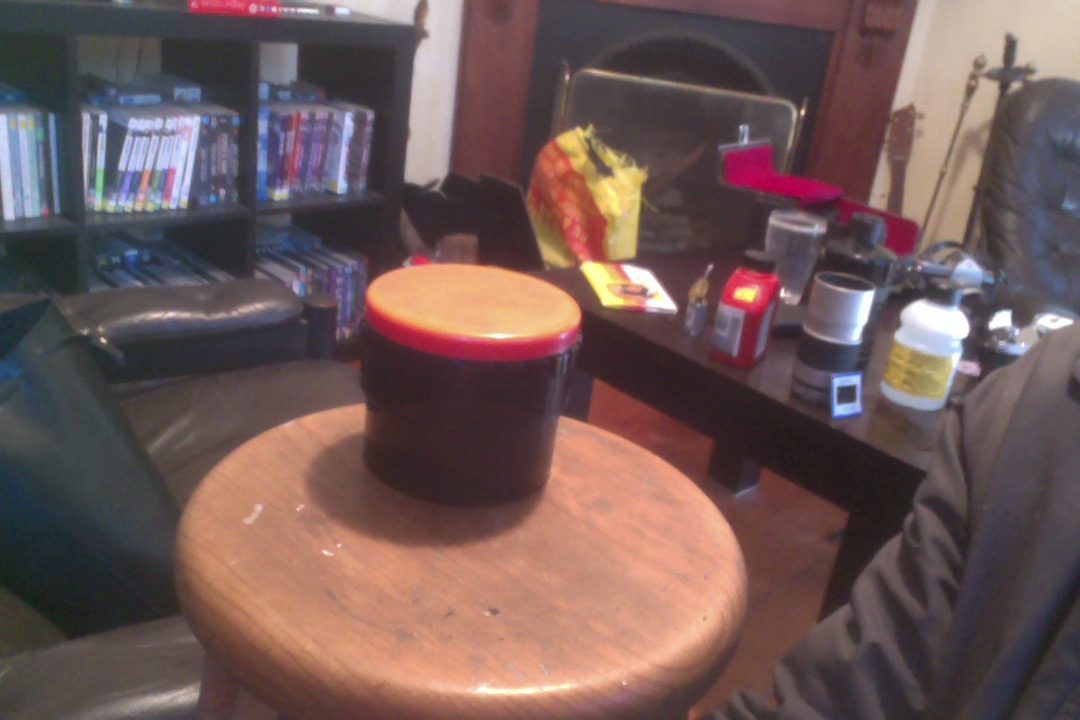 … congratulations, you have a 35mm film on the spool of a developing tank, which means everything else to Develop a Black and White Film can take place in the light of day … yayyyy!!! |
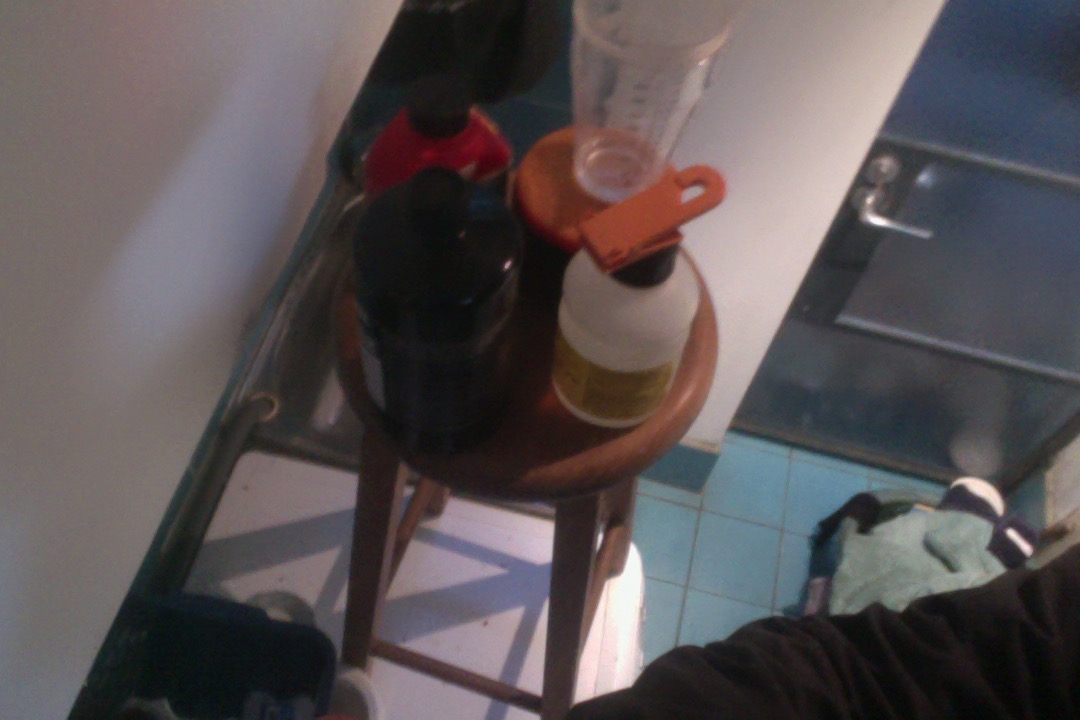 Okay, you can now take your time, but the next steps involve assembling the chemicals and liquid measurer, and (Ilford HP4) developing instructions (not shown), a watch (or timer, not shown), thermometer (not shown), clamping hook, and developing tank in your chosen “wet” area in a darkroom or perhaps a laundry (though, chemicals smell) … so, now, you can remove the developing tank’s orange lid (not the other please) that allows for the entry of liquids but not light … cute, huh?! … that’s why it cost a bit … |
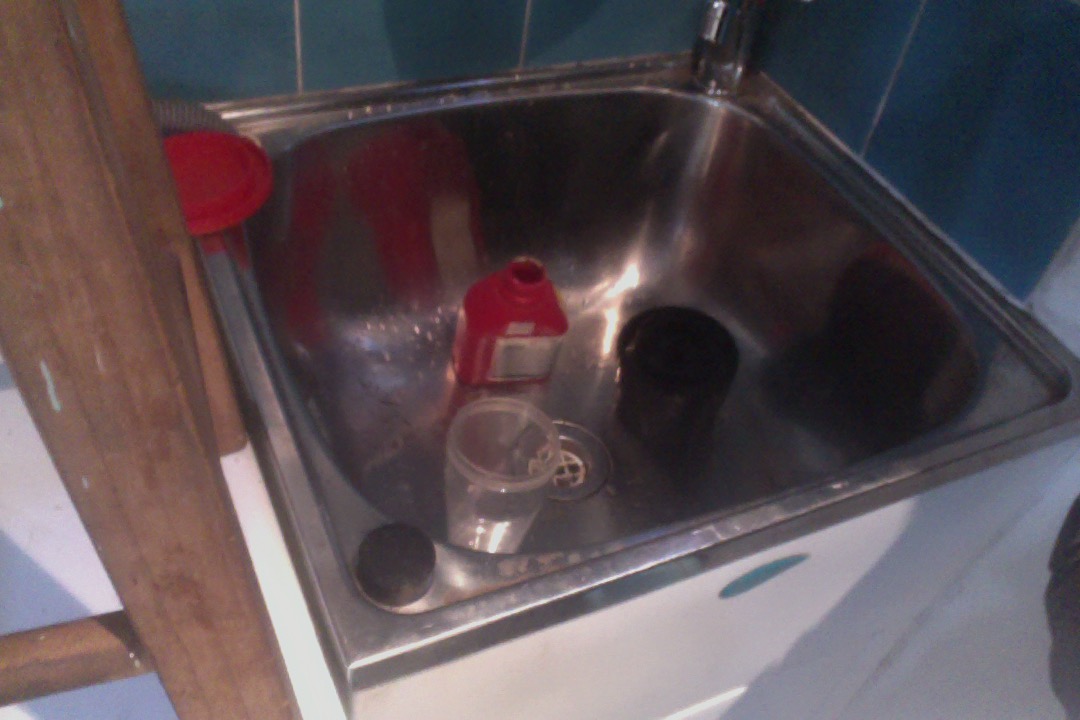 … and we do the developer steps as instructed … |
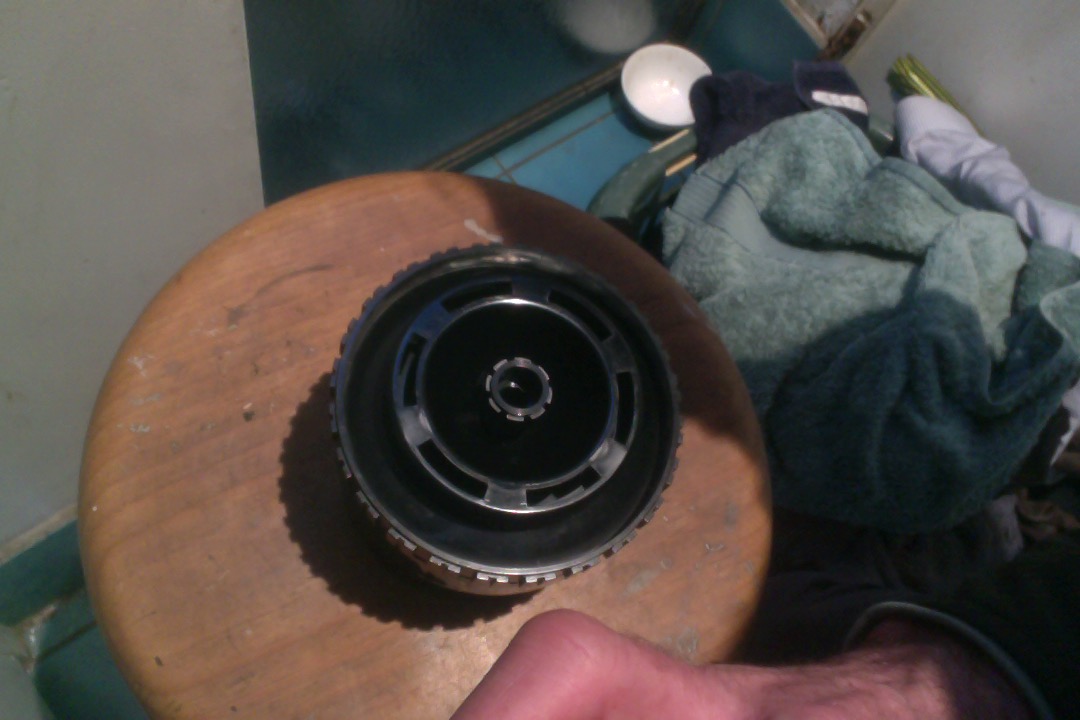 … bearing in mind, developing tanks provide a rod to do the stirring that will be advised about in the instructions … |
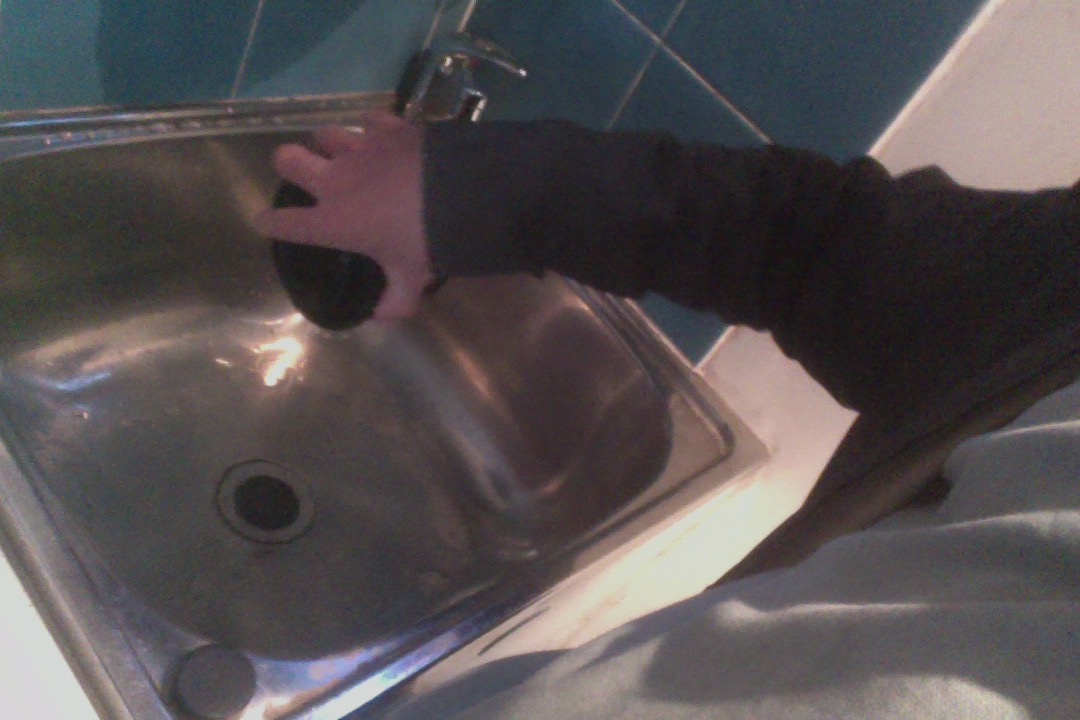 … pouring out the developer mix from the developing tank when finished … bear in mind if your “recipe” talks about a “stop bath” needed here, add that into your work (and purchases from the camera store, chemicals-wise) … |
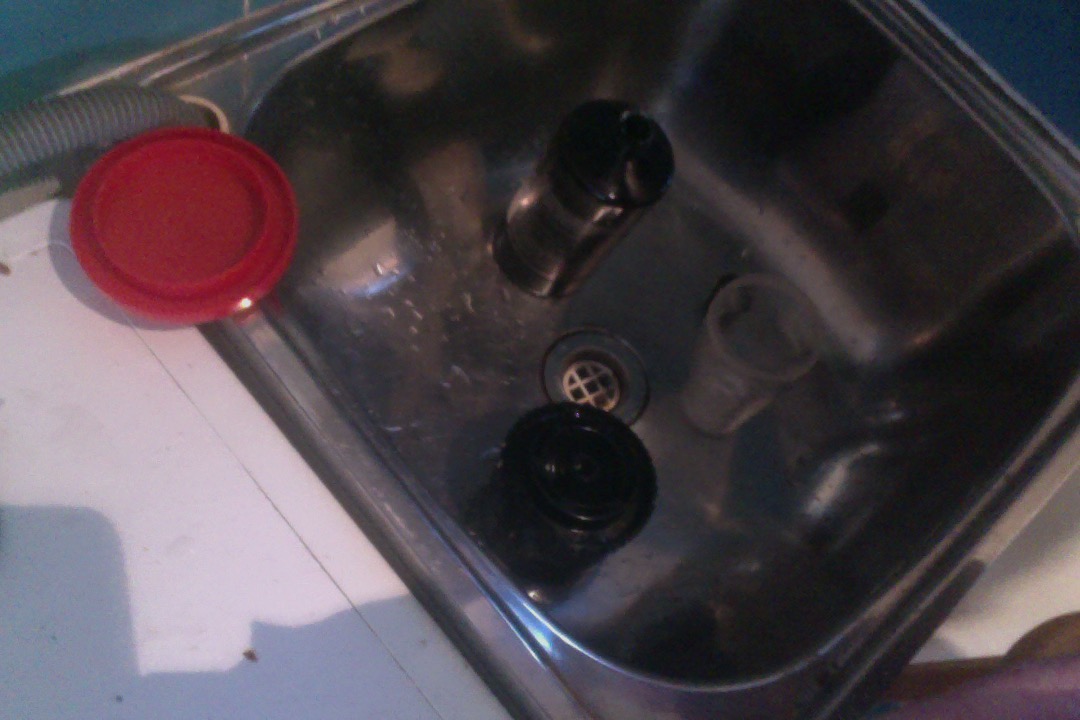 … and now we do the fixer steps as instructed … |
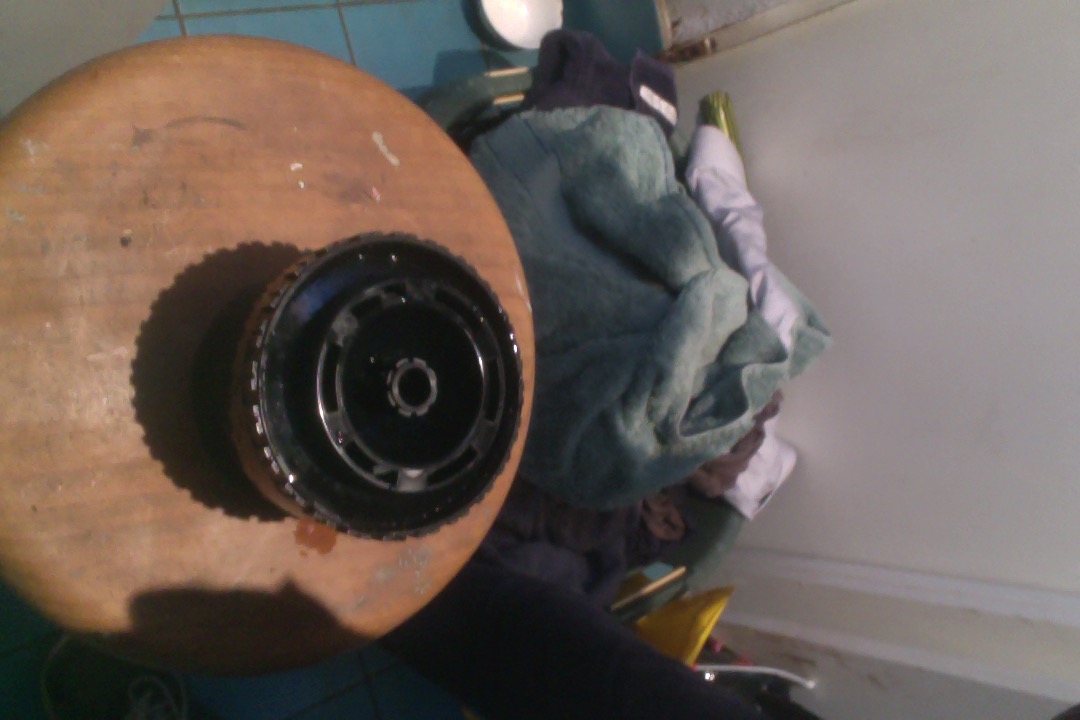 … with mixing … |
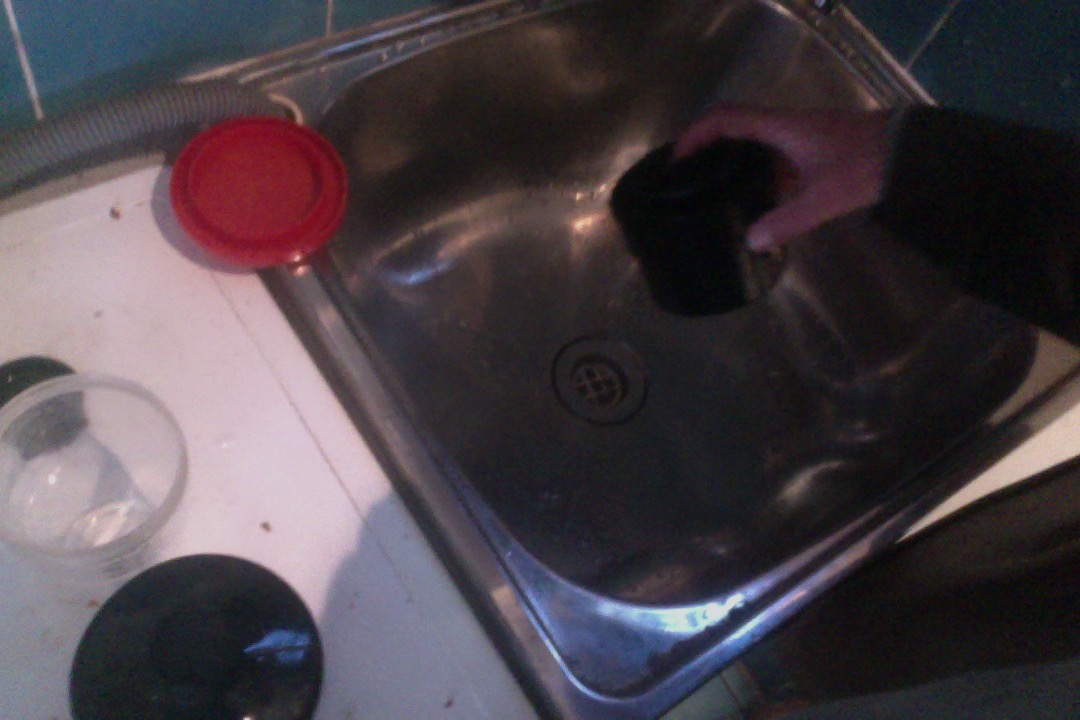 … pouring out the fixer when finished and … |
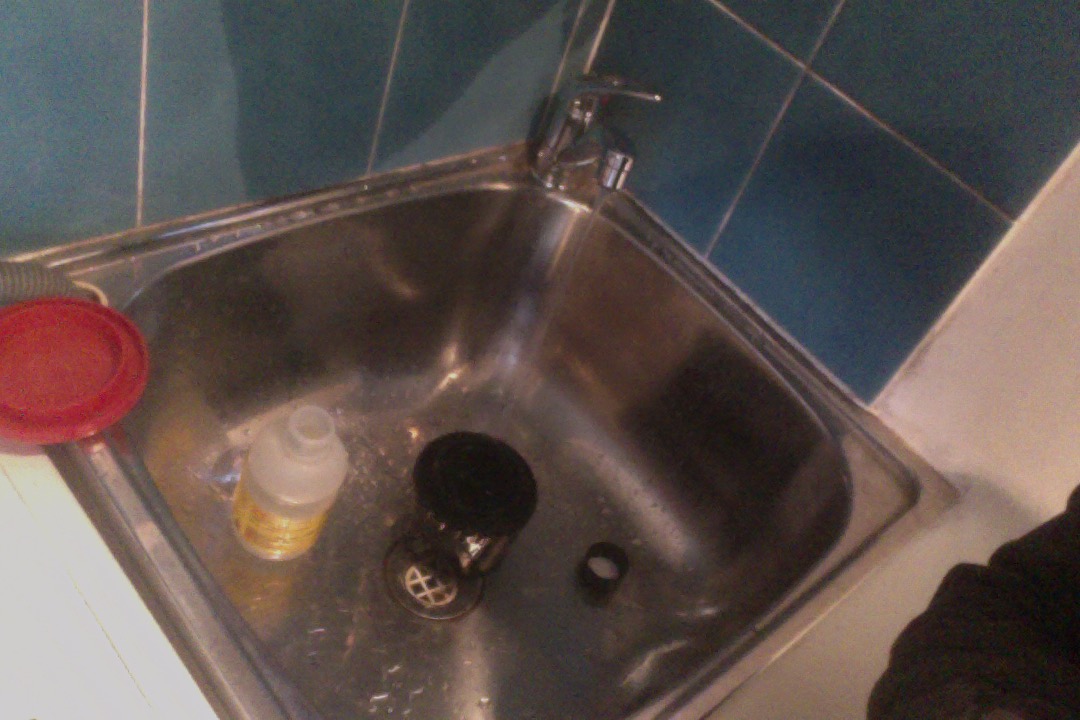 … washing the film in the developing tank (perhaps with photo flo) under flowing tap water … |
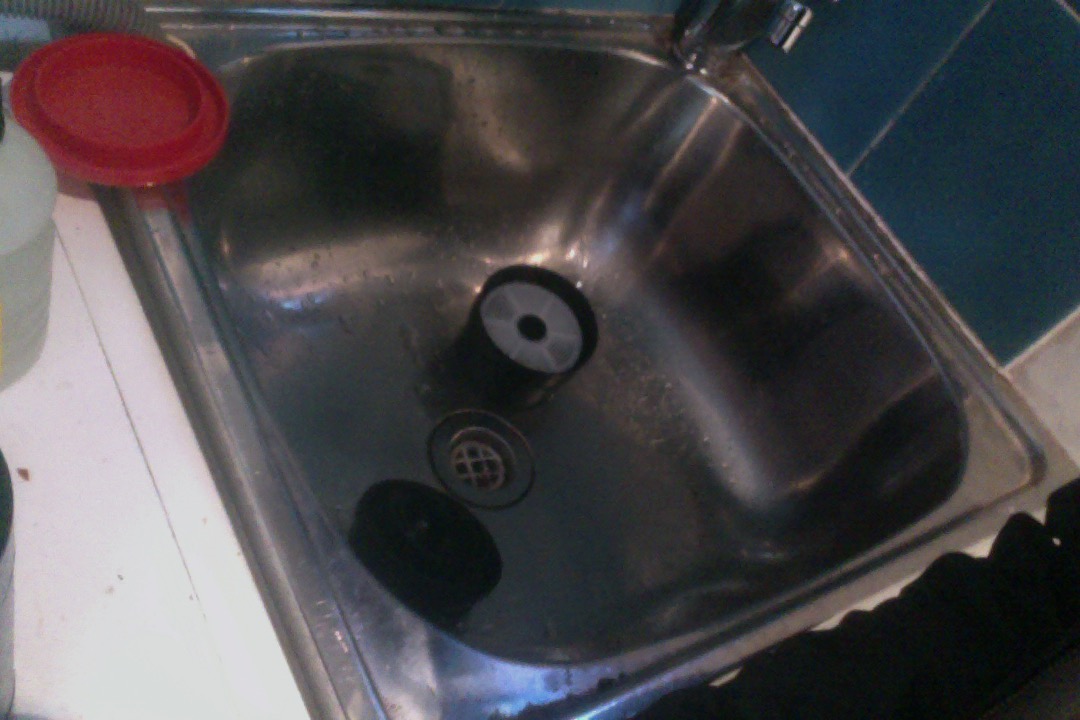 … at the end of which, means you can open the lid of the developing tank to get to the spooler and feed off the developed film … did it all work? … cue the Mission Impossible theme … |
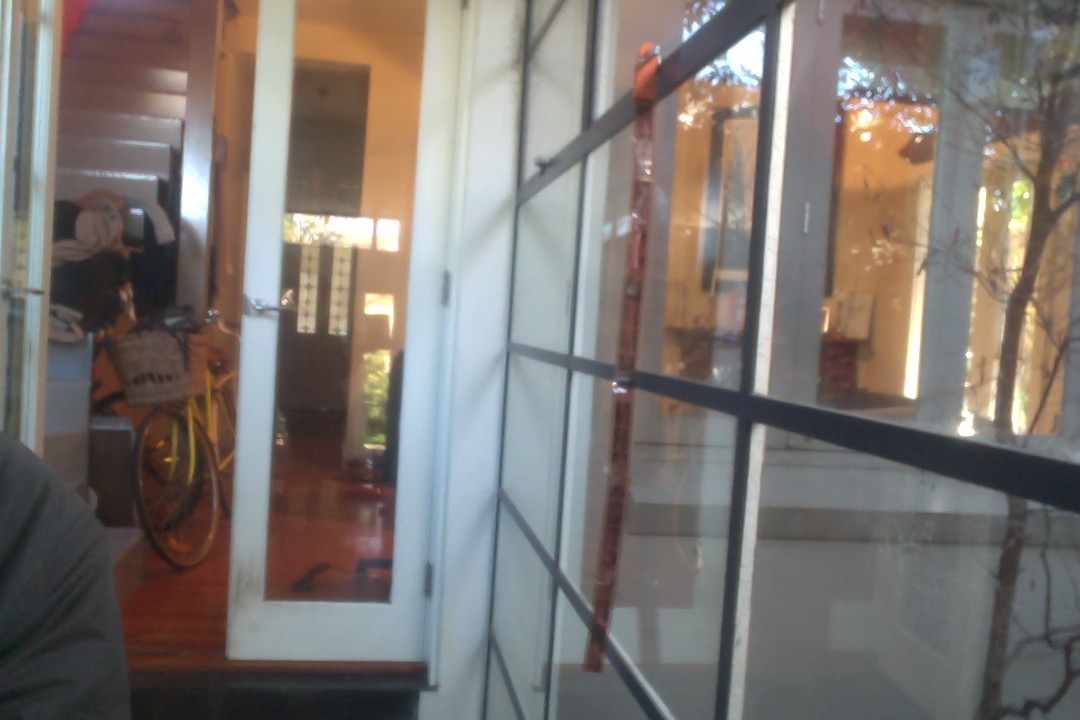 … and hang the film to dry in a not too dusty place using the clamping hook (probably outside the wet area) for a good long while … after which … |
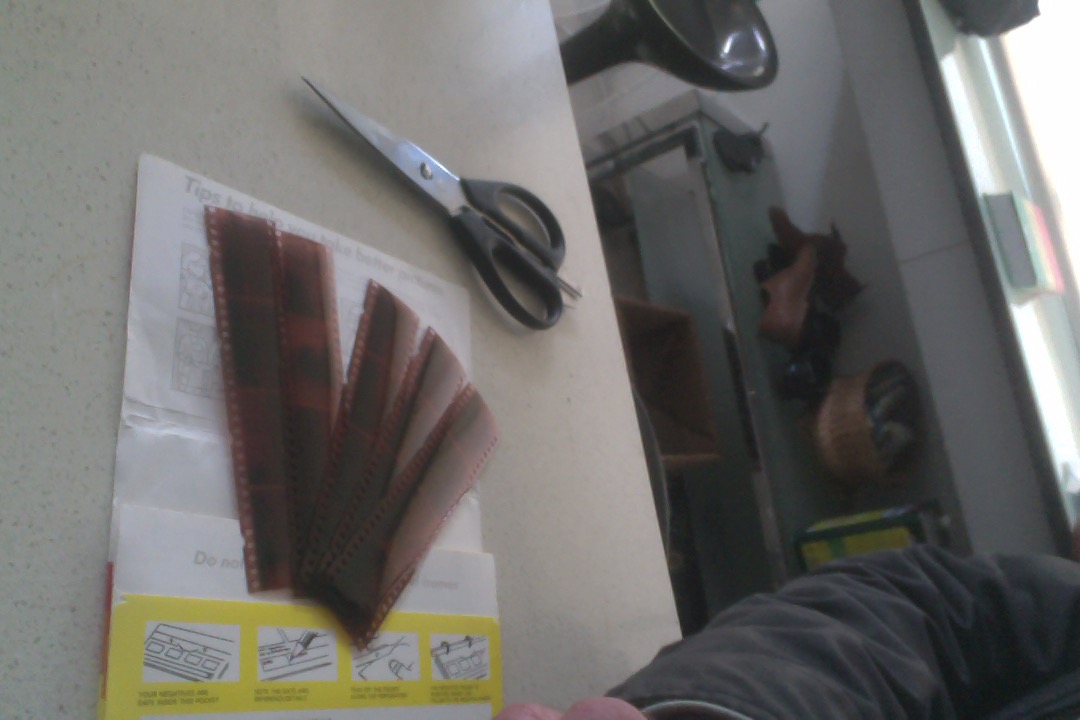 … the film (or negatives) can be cut, using scissors into lengths that suit your storage mechanism and bearing in mind that if they are too long, it is awkward to work with them using the enlarger, later, during the printing phase. |
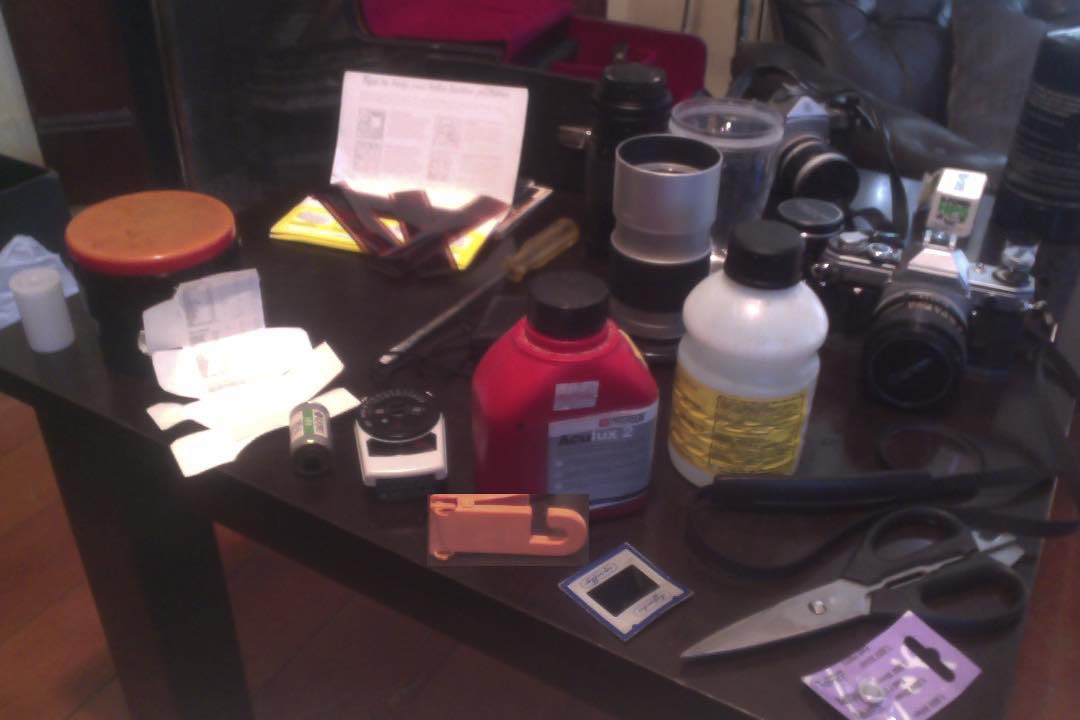 So lots of equipment, even before Printing Black and White Photos is considered. |
So … are you hooked?
If this was interesting you may be interested in this too.



Bonjour ! Attention ! Faites gaffe le site plante par moment chez moi !
Bonjour ! A revoir je pense niveau de certains mots!!!
wohh precisely what I was seeking for, thankyou for putting up.
I??ve been visiting your blog internet site temporarly now and i always look for a gem inside your new posts. Thanks for sharing.