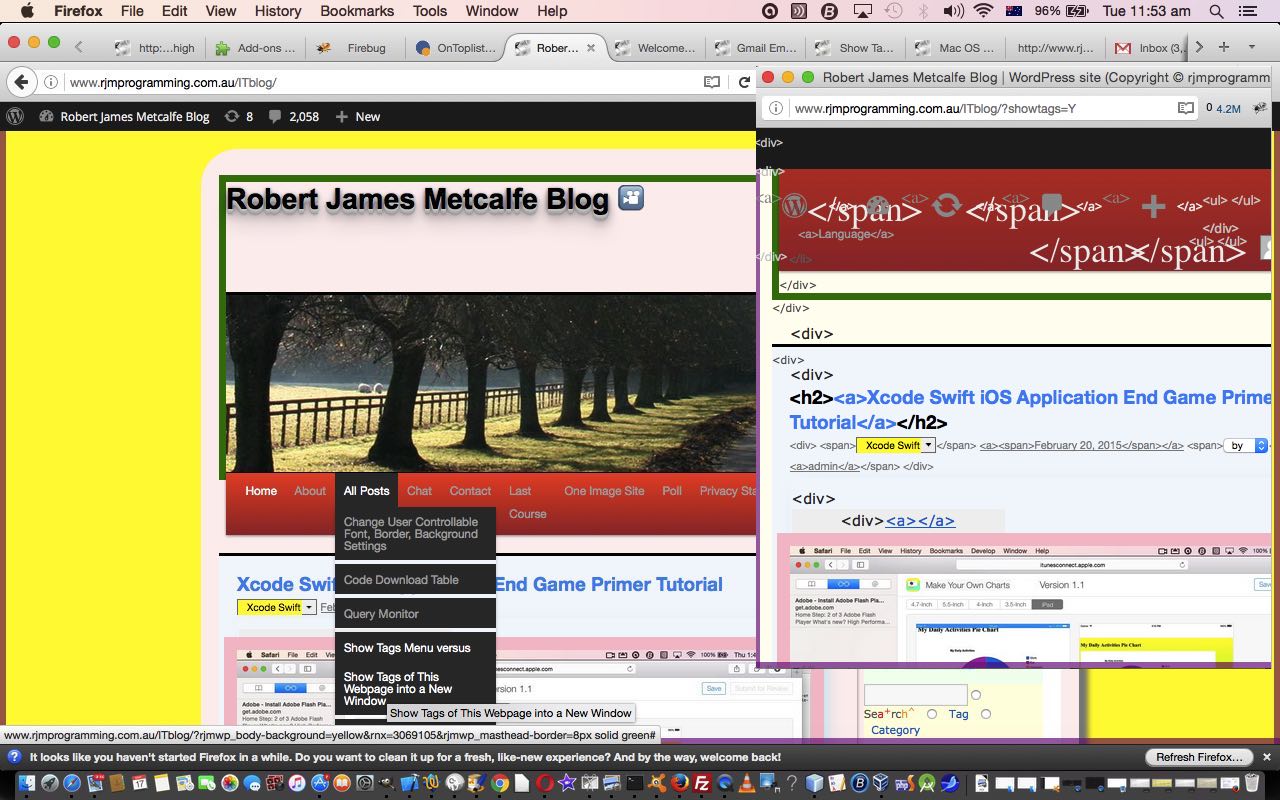
The fact that we find scope for so many CSS improvements and ideas around the menu system of our WordPress blog’s menu “Add Page” area and its submenus, is an indication of good and flexible web design, as we recently also saw with WordPress Show HTML Tags Primer Tutorial … thanks, WordPress!
Today we use PHP driven CSS to try to relax you users when you click on a menu and see a submenu “drop” down. Think, psychologically, you calm down a bit, here, if there is some extra space introduced … is an UX (user experience) opinion of mine, and you may well have a different one. Perhaps my opinion is swayed by the usual UX weakness we have about wanting to tell users as much as possible, and cramming things up … well, this morning, Nala told me there’d be “no more of that” … her exact woofs … and so … we digress, but … do you remember WordPress Bullet Point CSS Styling Emoji Tutorial? Today, we just build on the WordPress TwentyTen theme’s good ol’ header.php logic for that PHP driven CSS work to use the same techniques on a different CSS selection criteria … and so you see more WordPress design foresight, giving us lots of HTML classes to “hang our hats on” … merci, WordPress.
And how did we come by the discovery of these new CSS selection criteria? If you are a regular reader, we’d forgive you if you immediately blurted out Firefox’s FireBug add-on, and it is true that it’s hard to resist, but, today, perhaps you can see in today’s tutorial picture, a faint outline of Safari’s “out of the box” Web Inspector product that can help with this type of CSS investigation work, as well.
It’s not the science of green leaved piquancy exactly.
… but more the science of the fabulous CSS functionality involving :before and :after (selectors) and content: (property) usage … as you can surmise by the simplicity of the bold changes to WordPress TwentyTen theme’s good ol’ header.php below …
  $wsarray = array("", "01F311", "0026F3", "0026BD", "00263C", "00263D", "00263E", "01F311", "0026F3", "0026BD", "0026f5",

  "\xF0\x9F\x91\xA0", "\xF0\x9F\x91\x93", "\xF0\x9F\x90\x98", "\xF0\x9F\x90\x92", "\xF0\x9F\x8E\x89",

  "\xF0\x9F\x8D\xB0", "\xF0\x9F\x8D\xA9", "\xF0\x9F\x8D\xA8", "\xF0\x9F\x8D\xA7", "\xF0\x9F\x8D\xA3",

  "\xF0\x9F\x8D\xB1", "\xF0\x9F\x8E\x88", "\xF0\x9F\x8E\xA7", "\xF0\x9F\x8E\xA8", "\xF0\x9F\x8E\xB5",

  "\xF0\x9F\x8F\x88", "\xF0\x9F\x90\x99", "\xF0\x9F\x90\x9E", "\xF0\x9F\x90\xB6", "\xF0\x9F\x90\xBC",

  "\xF0\x9F\x90\xBE", "\xF0\x9F\x93\x8A", "\xF0\x9F\x93\xA2", "\xF0\x9F\x91\xBC", "\xF0\x9F\x90\xAB",

  "\xF0\x9F\x90\xA8", "\xF0\x9F\x90\x97", "\xF0\x9F\x8F\x80", "\xF0\x9F\x8E\xB7", "\xF0\x9F\x8E\xA9",

  "\xF0\x9F\x8D\xAE", "\xF0\x9F\x8D\x92", "\xF0\x9F\x8F\x80", "\xF0\x9F\x8C\x88", "\xF0\x9F\x9A\xB2",

  "\xF0\x9F\x9A\xA2", "\xF0\x9F\x9A\x99", "\xF0\x9F\x9A\x87", "\xF0\x9F\x9A\x8F", "\xF0\x9F\x9A\xA7",

  "\xF0\x9F\x9A\xAA", "\xF0\x9F\x9A\x83", "\xF0\x9F\x9A\x87", "\xF0\x9F\x98\x81", "\xF0\x9F\x98\x82",

  "\xF0\x9F\x98\xB8", "\xF0\x9F\x9A\x92", "\xF0\x9F\x9A\x87", "\xF0\x9F\x9B\x80", "\xF0\x9F\x8C\xB4",

  "\xF0\x9F\x8C\xB5", "\xF0\x9F\x8C\xB7", "\xF0\x9F\x8C\x9F", "\xF0\x9F\x8C\xBD", "\xF0\x9F\x8C\xBE",

  "\xF0\x9F\x8D\x84", "\xF0\x9F\x8D\xB7", "\xF0\x9F\x8D\x8F", "\xF0\x9F\x8D\x9F", "\xF0\x9F\x8D\xB5",

  "\xF0\x9F\x8C\x89", "\xF0\x9F\x8C\x8A", "\xF0\x9F\x8C\x8B", "\xF0\x9F\x8C\x87", "\xF0\x9F\x8C\x86",

  "\xF0\x9F\x8C\x81", "\xF0\x9F\x8C\x82", "\xF0\x9F\x8C\x82", "\xF0\x9F\x8C\x83", "\xF0\x9F\x8C\x84",

  "\xE2\x9B\xAA", "\xE2\x9B\xB2", "\xE2\x9B\xBA", "\xE2\x9B\x83", "\xF0\x9F\x9A\x80",

  "\xF0\x9F\x97\xBB", "\xF0\x9F\x97\xBC", "\xF0\x9F\x97\xBD", "\xF0\x9F\x97\xBF", "\xF0\x9F\x90\xA7",

  "\xF0\x9F\x99\x8B", "\xF0\x9F\x99\x88", "\xF0\x9F\x99\x89", "\xF0\x9F\x99\x8C", "\xF0\x9F\x98\x96");

  $ws = rand(0, (sizeof($wsarray) - 1));

  $cs = rand(0, 10);

  $csarray = array("black", "red", "blue", "purple", "maroon", "teal", "brown", "orange", "olive", "lime", "green");


  if ($wsarray[$ws] != "") {


  $wschild = rand(0, (sizeof($wsarray) - 1)); // page submenu spacing accentuation

  $cschild = rand(0, 10);

echo "


ul.children li.page_item:before {

    color: " .  $csarray[$cschild] . ";

    content: '\\" . $wsarray[$wschild] . " \\0000a0';

}


ul.children li.page_item:after {

    content: no-close-quote;

}


ul.noclass {

    list-style: none;

}


ul.noclass li:before {

    list-style: none;

    float: left;

    margin-left: -15px;

    color: " .  $csarray[$cs] . ";

    content: '\\" . $wsarray[$ws] . " \\0000a0';

    font-size: 1.2em;

    font-weight: bold;

}

// etcetera etcetera etcetera

";
It’s not EXACTLY relevant, but doesn’t it make you feel like singing Green Acres is the place to be … ?
All in all … gracias, WordPress. Realmente realmente realmente pensamos que hay que mantener esto en marcha.
Previous relevant WordPress Show HTML Tags Primer Tutorial is shown below.
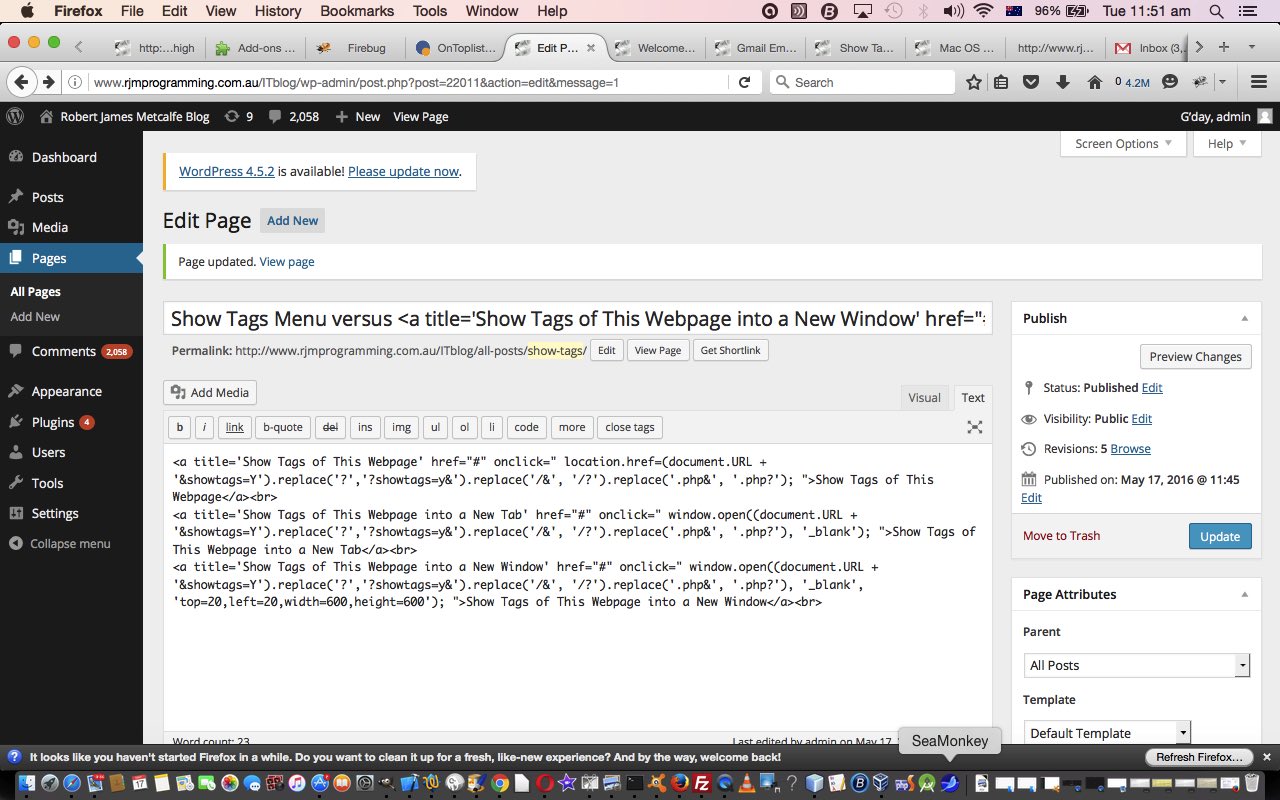
We’ve got one new concept and one concept revisited today with our work on some WordPress Blog functionality to allow users to show the HTML coding behind some of the HTML elements of the RJM Programming Blog webpage of interest. Say some because not all HTML elements lend themselves to allowing the functionality we’ve used to display the HTML involved. It is really only those HTML elements where their [element].innerHTML components can be displayable text that will show the HTML coding for today’s new functionality … even so, we think this could be a useful learning tool for users wanting to get ideas of what HTML elements go to make up what webpage look.
So today’s new concept, at least in relation to this blog’s postings from the past, is that it hadn’t occurred to us until today that the …
- WordPress TwentyTen theme’s top menu is constructed in such a way as to allow you to put “intelligence” into the “Add Page” Title that you enter … in other words you can include into the “Add Page” Title an HTML a tag, for example, that performs Javascript there and then on the webpage you are currently on, rather than navigating to a new “Add Page” menu page … which is of great interest to us with today’s work, because the user is likely to be reading a webpage of interest, now, that they want to see the internal HTML coding for, compared for them, in a new popup (window.open()) webpage, rather than seeing this for the “Add Page” menu webpage (we consider less interesting, but we’ll still allow in as your functionality usage choice)

… and, as we’ve talked about before, last, at this blog with … - WordPress Bullet Point CSS Styling Emoji Tutorial reminded us of the fabulous CSS functionality involving :before and :after (selectors) and content: (property) usage, which we put to use here … those of you into editing XML and using Epic may be “right at home” with these ideas … though what we do here with HTML is nothing as involved as Epic does for XML … we’re just into presenting a readonly guide, for curiosity’s sake
So what needed to change in good ol’ (TwentyTen theme’s) header.php to do this pretty simple change …
</script>

<?php

  if (isset($_GET['showtags'])) {

    echo "<link href='//www.rjmprogramming.com.au/HTMLCSS/showtags.css' rel='stylesheet' type='text/css'>";

  }

?>

</head>
… just asking for the address bar URL to contain a (PHP $_GET[‘showtag’]) showtag= part to the webpage call. It’s not the science of green leaved piquancy exactly.
And so if you want to see what we have here with extra HTML tagging shown, in a new popup window, try this live run link, and “chow for now”.
If this was interesting you may be interested in this too.
If this was interesting you may be interested in this too.


