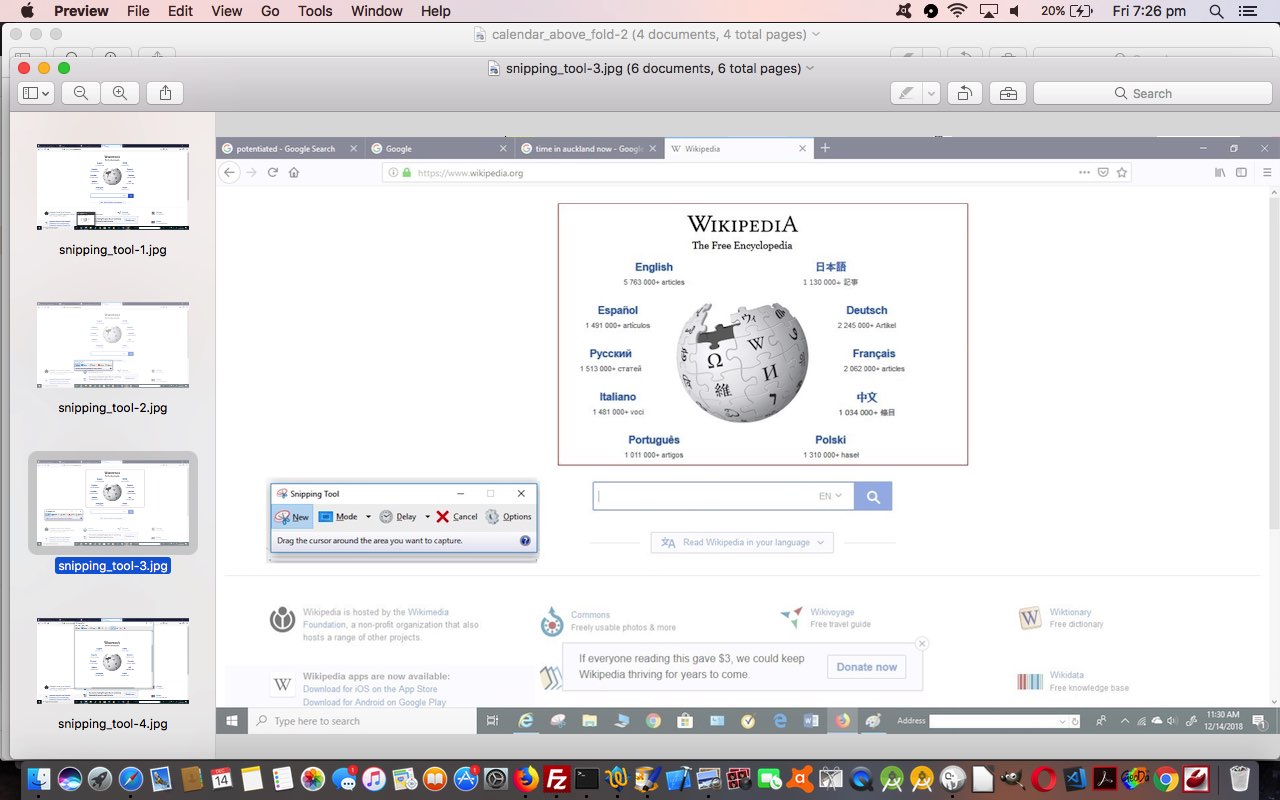
Are you often surfing the net, or doing something else on your Windows 10 PC, and come across a scenario where a “snippet” of the screen is something you’d like to screenshot and share with someone, or otherwise save as an image you can revisit later? Well, we’d recommend the “Snipping Tool” on Windows 10, and to have it conveniently placed in the Toolbar (as a Toolbar icon) to remind you of its existence, and brilliance!
You may recall us talking before about similar (software) products within the remit of the web browsers themselves, a case in point being Firefox’s My Shots, that we talked about with Firefox My Shots Primer Tutorial or Microsoft Edge’s Web Notes, that we talked about with Microsoft Edge Web Notes Primer Tutorial. But with Windows 10 Snipping Tools we’re talking about being able to capture partial screen shots with anything, not just within a window of a web browser (of a particular brand). This can be an ideal tool to …
- explain a procedure
- share with somebody a matter of interest
- piece together the images base necessary for a slideshow or video
… the possibilities are endless. Of course, with Windows, the keyboard PrntScn key can capture a whole window or screen, and may be perfectly suitable for a particular purpose here. But often, it is that “snippet” of the screen, perhaps involving multiple application windows, that should be the focus of attention, and the “Snipping Tool” can step in to help out here.
How can you use the Windows 10 “Snipping Tool” desktop application?
- click the toolbar Snipping Tool icon, or the icon elsewhere in a menu or on the desktop, that gets you to it …
- click the left hand “New” button
- the device screen fades a bit and a larger cursor appears ready for you to define …
- a top left and drag to bottom right “snippet” subwindow definition, shown to you by a red “snippet” bordered outline …
- a new “Snipping Tool” window opens, from which you can select from the …
- File (menu) the Save As (suboption) … at which you …
- type in the new image name and select a location to Save As on the hard disk (we’re recommending) and an image type
- Once here, you can, optionally, share this image as an email attachment or in an SMS (for many platforms) etcetera etcetera etcetera
To our minds, a very easy, and very useful, and very intuitive image manipulation tool.
If this was interesting you may be interested in this too.


One Response to Windows 10 Snipping Tool Primer Tutorial