We got a job recently to create a banner for RJM Programming. No worries, for our MacBook Pro runnning macOS Mojave 10.14.5. Think Pages or Gimp just for starters (or read this useful link). But our specification involved a requirement for 300×350 pixels, which is not a popular banner size. Of course, you can “work” desktop graphical editors to output data in a variety of formats and sizes, but we think it might be best to decide on a method that comes from a “300×350 banner” online search. And examining the resultant links got us to revisit the “vector graphics champion” freeware (and open source) Inkscape desktop application (added to our The Best Things In Life Are Free … list) we last talked about at Inkscape Vector Image Editor Primer Tutorial.
And so, with the great Inkscape, how did we create our 300×350 pixel banner below?

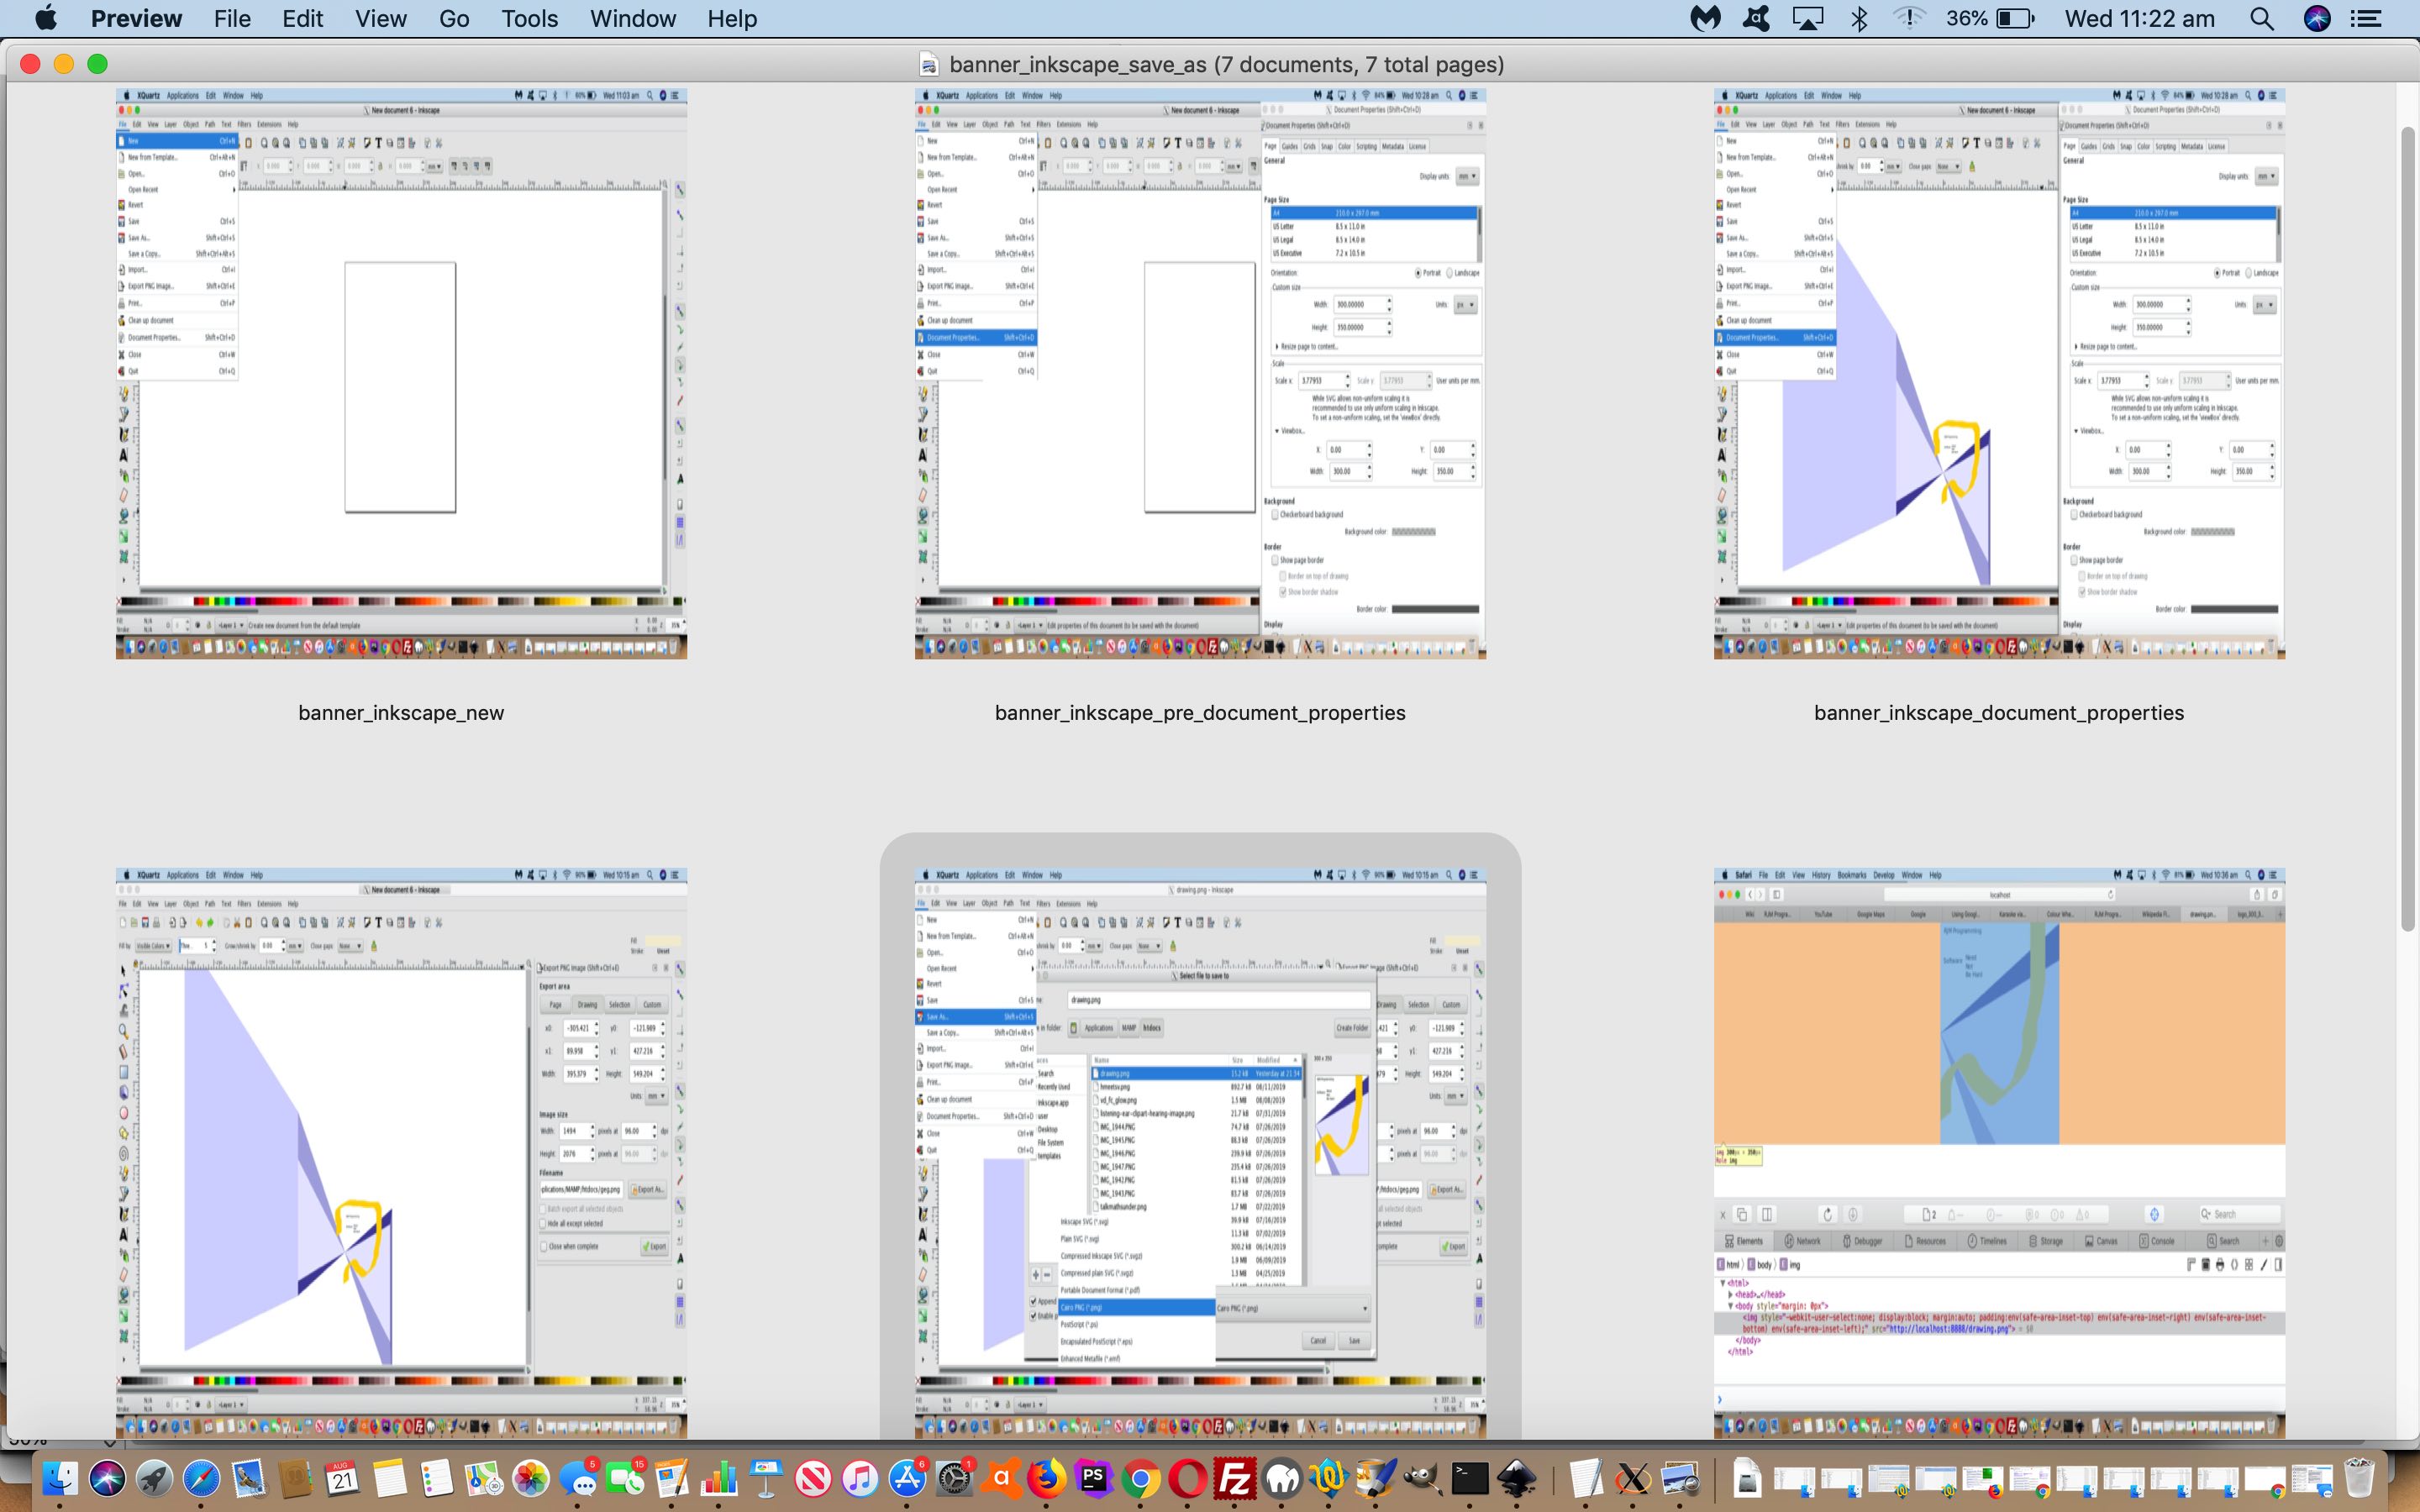
In broad brush terms …
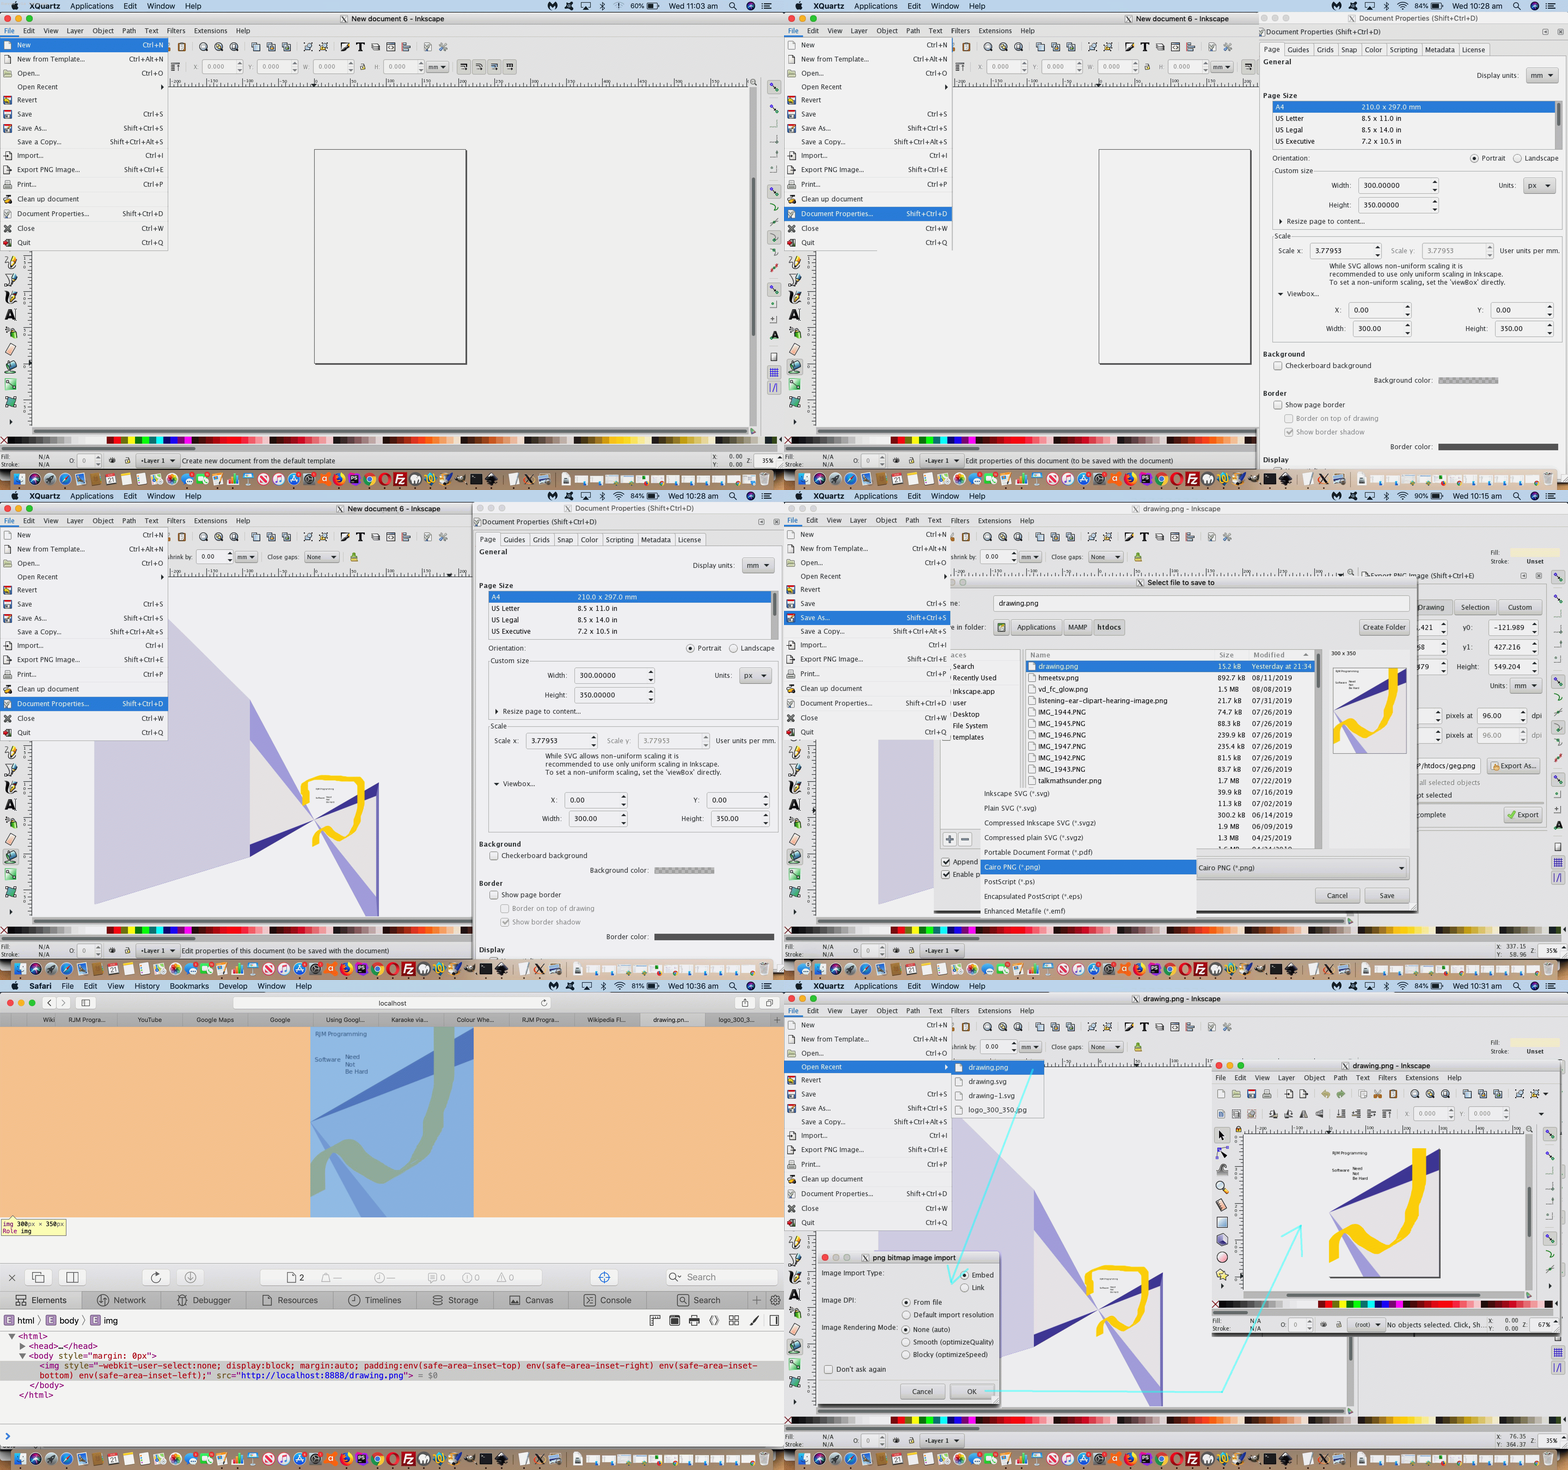
- Click the Inkscape icon (which, after install, we arranged to reside in the Dock down the bottom of the screen)
- File -> New … for blank vector graphics document … but we direct your attention to the “New from Template…” which could be really useful for you to avoid having to do the step below …
- File -> Document Properties … Custom Size: Units – pixels, Width – 300, Height – 350 … Viewbox: Width – 300, Height – 350 … Close the Document Properties window via red close icon at top left
- Did the vector graphics artwork, involving, for us, Create 3d boxes, Create and edit text objects, Draw calligraphic or brush strokes
- File -> Save As… this is where we learn that Inkscape may be a vector graphics editor, but that doesn’t mean you can’t Save As another image type, and so with the Type dropdown, we choose Cairo PNG (*.png) (from the default Inkscape SVG (*.svg) format) and after arranging a good path to save to, we entered Name: drawing.png … and clicked Save button
- Separately, to check the 300×350 pixel requirement, we open our MAMP directory /Applications/MAMP/htdocs/drawing.png as http://localhost:8888/drawing.png (in a Safari web browser window), open Develop -> Show Web Inspector and click the Inspect button to highlight our Inkscape created PNG image to confirm its size as 300×350 pixels
… and rest assured it is possible via Inkscape’s File -> Open… to open this (non-vector) PNG image that gets Imported back into the vector graphics that is Inkscape’s thangthing.

Did you know?
We’re runnning macOS Mojave 10.14.5 here on this MacBook Pro in August, 2019. Inkscape needs an X11 terminal application to interface to, that being (called) XQuartz in this day and age. But installing the 2.7.11 most recent XQuartz version, at the time of writing, caused issues with the Inkscape 0.92.2 installation. You’d click the Inkscape icon and in the dock it would jump up and down then effectively die. Even in Finder, Ctrl clicking to reveal Package Contents and get to the Unix executable in the Contents and then macOS folders, to click, same problem. But, thanks to the advice at this great link, we found that going back through the XQuartz version releases to its 2.7.9 version cleared up all these issues.
Previous relevant Inkscape Vector Image Editor Primer Tutorial is shown below.
As far as image editing goes at RJM Programming, we turn to …
- PaintBrush (the Mac OS X one) for more than 90% of the simpler work … and then use …
- Preview (Mac OS X) occasionally to do with resizing tasks … but, more often, for the rest of the work we use …
- Gimp (Mac OS X desk application as XQuartz or X11) for jobs requiring special effects or filters or opacity or colourization or hue control
But what if you want to “Export As…” SVG? None of the applications above, “out of the box” “Export As…” SVG. First off, let’s get a reason for this from this very useful link, thanks …
GIMP is a raster graphics editor application. SVG is a form of vector graphics. If you want to edit SVG files, you should install the inkscape package and use Inkscape instead.
Yes, the SVG image format is a vector graphics image format, and that is the difference. So we went along with the advice and used, for our Mac OS X system the DMG method of (free, open source) install at the Inkscape website to get things rolling along.
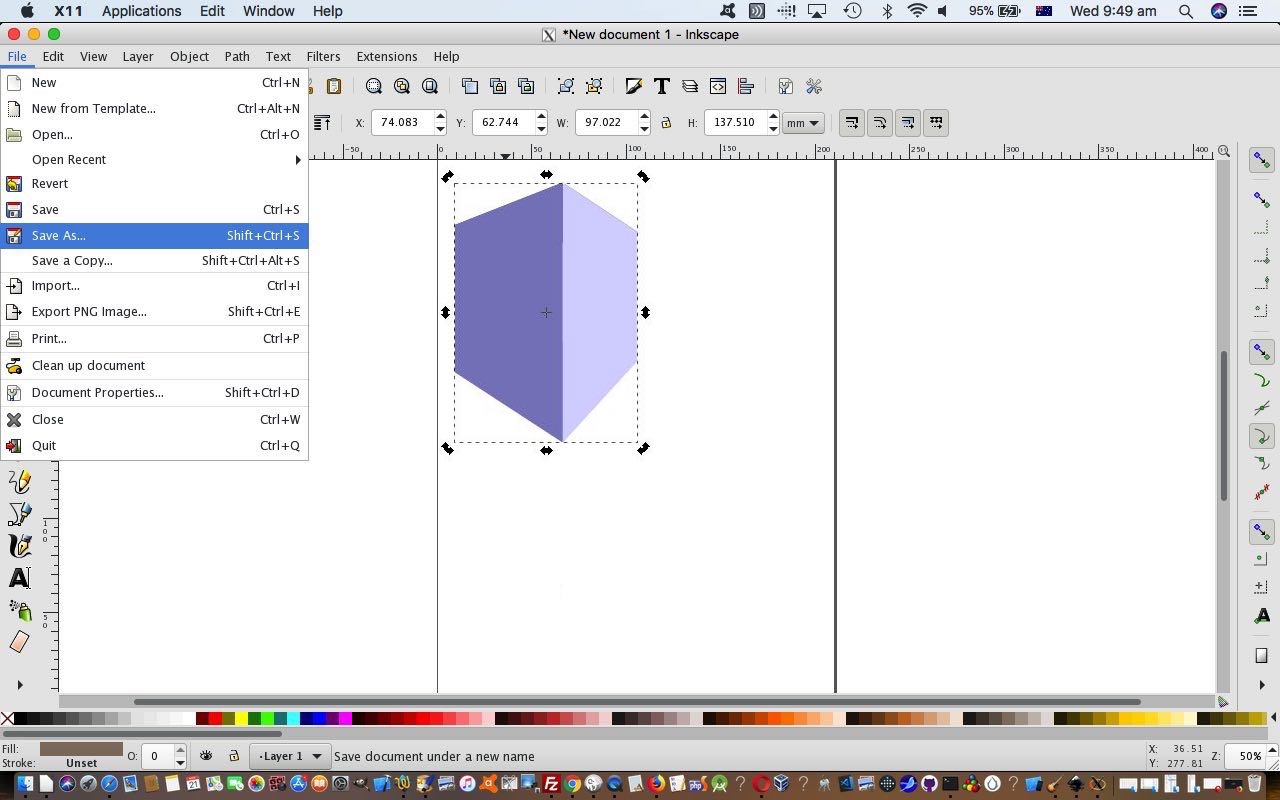
Today’s PDF slideshow takes it up from that point, showing us Creating a 3D Box and dragging our way to creating a 3D Box shape that we “Save As…” (because now we are well and truly in the “vector” woooorrrrrrlllllld) /Applications/MAMP/htdocs/drawing.svg … why? Well, it’s our way to remind you, as we so often do, that the MAMP local Apache/PHP/MySql web server document root, by default, points at /Applications/MAMP/htdocs/ and in a web browser, with MAMP activated, points at (the URL prefix) HTTP://localhost:8888/ and so us lobbing onto …
HTTP://localhost:8888/drawing.svg
… has you seeing what we saw on MAMP (and then we uploaded this to the RJM Programming website place you are accessing with the link above). What you need to do this is a (s)ftp desktop application like FileZilla. Web server maintenance 101.
If this was interesting you may be interested in this too.
If this was interesting you may be interested in this too.


