In this wooorrrrllllddd where so much information is available online, that old adage espoused by mathematics teachers ahead of examinations that went …
You’ll get part marks if you can show your working
… is more apt than ever. To get by in more and more complex environments, we’d be better off knowing what we need to know and leave room in the brain for other more crucial information, when it comes to information that is derivable when you have access to online resources.
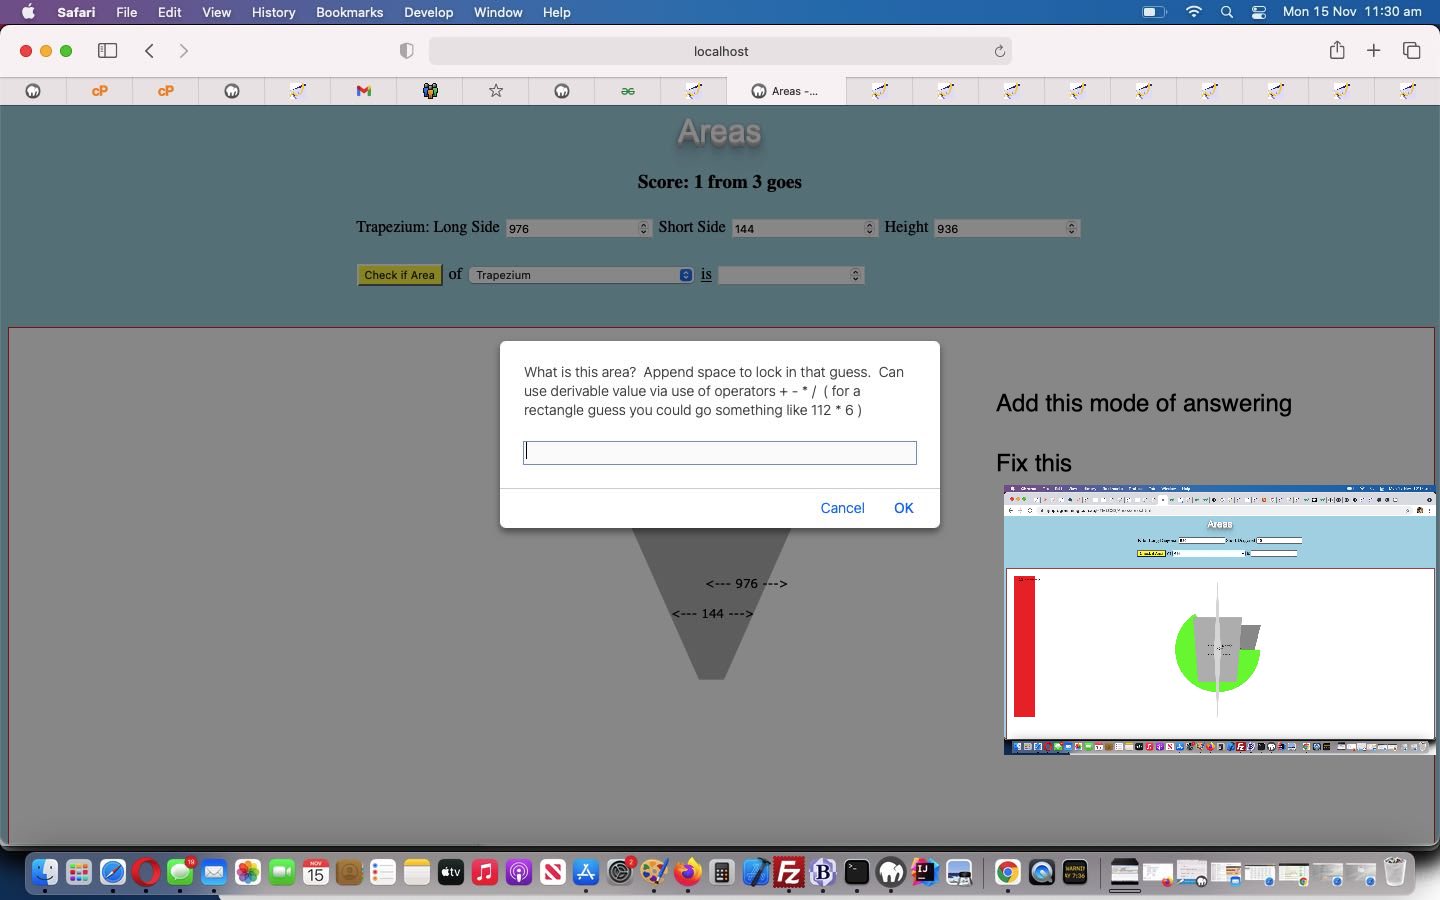
And so, on top of HTML/Javascript Areas Canvas Tutorial we’ve added a user input methodology whereby we accept Javascript prompt window entries such as …
453 * 45
… when presented with a Rectangle of length 453 and height 45 area problem, just as one example. In other words, to remember the formulae for area calculations is the most important aspect to this subject matter. This screams eval to us, (using) that very useful Javascript way to calculate “on the fly”. It means users could enter answers involving the mathematical (or should we say, Javascript) operators …
| Addition | Subtraction | Multiplication | Division | PI |
|---|---|---|---|---|
| + | – | * | / | Math.PI |
… available via a new “hardcoding becomes fleshed out ‘a’ link” HTML …
<input type='submit' onclick="checkarea(document.getElementById('sarea').value);" style="background-color: yellow;" id='submit' name='submit' value='Check if Area'></input> of <select id='sarea' onchange='makevisible(this.value);' title=''><option value='circle'>Circle</option><option value='sector'>Sector</option><option value='rectangle'>Rectangle</option><option value='triangle'>Triangle</option><option value='parallelogram'>Parallelogram</option><option value='kite'>Kite</option><option value='trapezium'>Trapezium</option><option value='rhombus'>Rhombus</option><option value='rectangle_lsector'>Rectangle and Quarter Length Sector</option><option value='rectangle_hsector'>Rectangle and Quarter Width Sector</option><option value='parallelogram_rectangle_cutout'>Parallelogram with Rectangle Cutout</option></select> <a style="cursor:pointer;text-decoration:underline;" onclick="ansviaprompt(pbits,'');" title="Answer via prompt and can allow eval derivations via operators + and - and * and / ">is</a> <input id='answer' name='answer' value='' type='number'></input>
… teamed with the new associated Javascript …
<script type=’text/javascript’>
function athen() {

  document.getElementById('submit').click();

}


function ansviaprompt(ebits) {

  var huhw=prompt(ebits, '');

  if (huhw == null) { huhw='';  }

  if (huhw != '') {

    document.getElementById('answer').value=eval('' + huhw.trim());

    if (huhw.trim() != huhw) {  setTimeout(athen, 2000);  }

  }

}
</script>
… could help enforce the more important knowledge faster and firmer in the changed areas.html live run link!
Previous relevant HTML/Javascript Areas Canvas Tutorial is shown below.
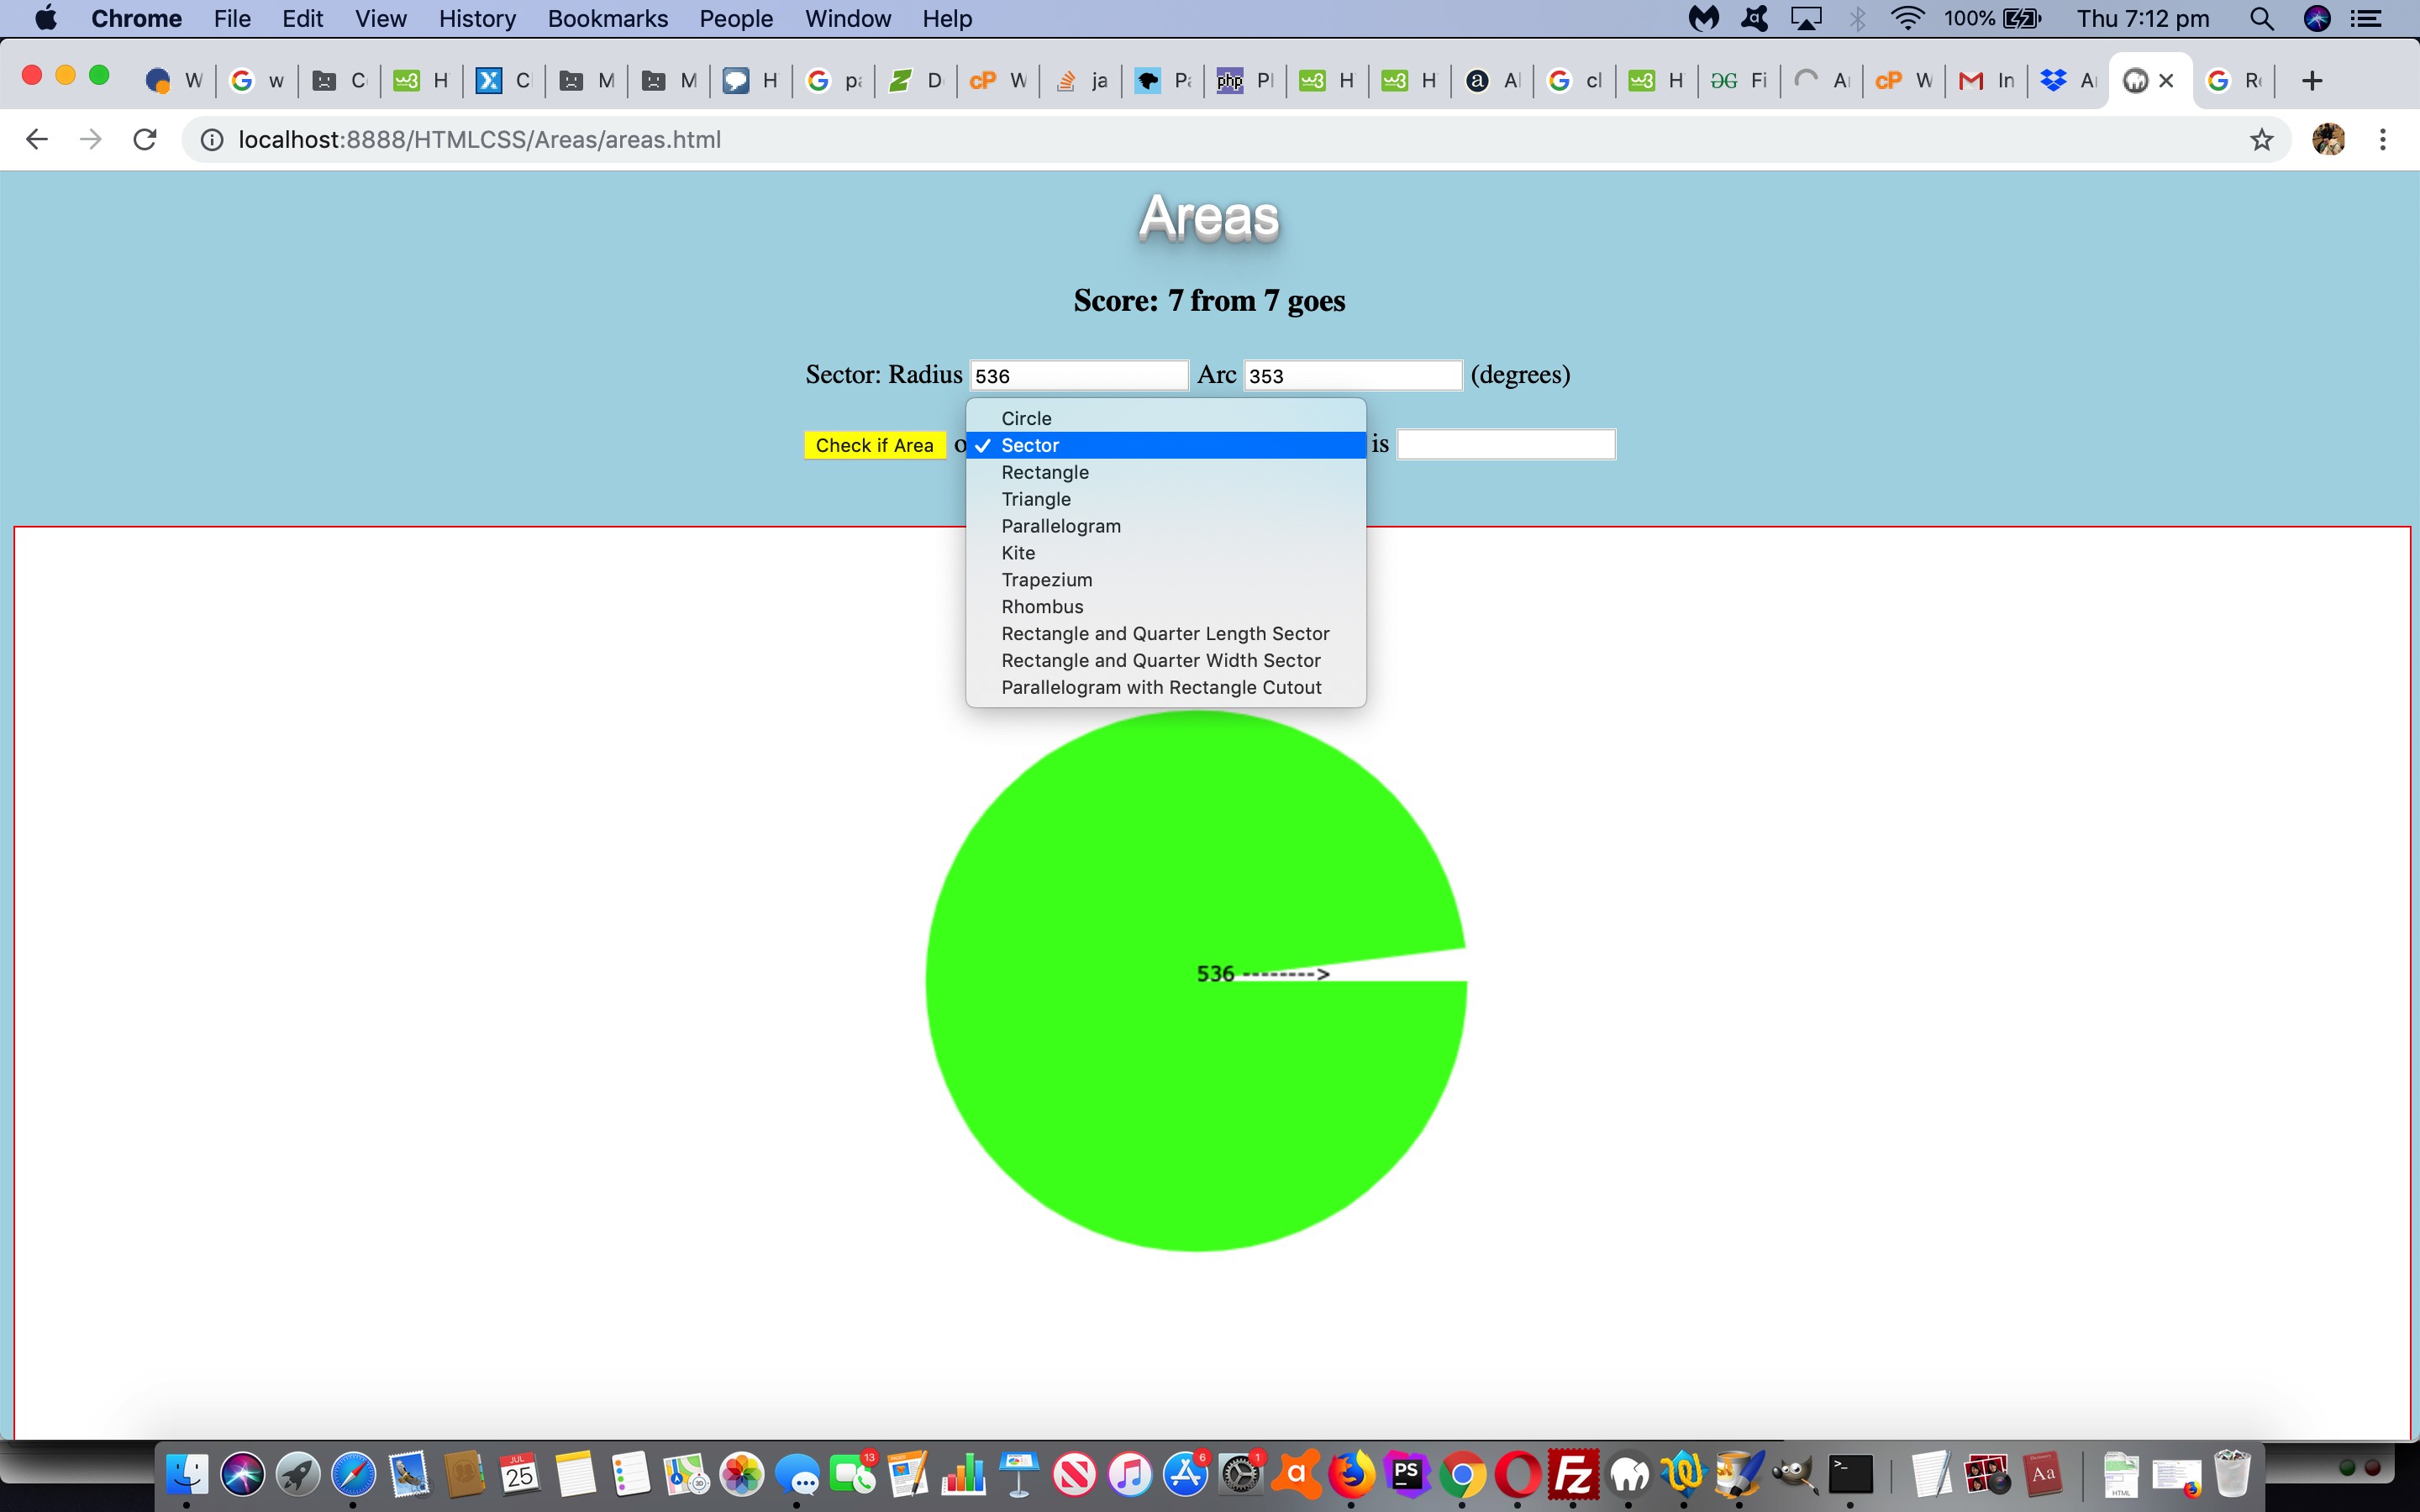
In revisiting the HTML/Javascript Areas Tutorial of some years back now, a recent common theme occurred to us … a lack of visuals. This game could be made much more interesting, we think, by showing a graphical view of a lot of the Area questions asked, being that so many of us benefit from an element of visual learning.
Now, here, as far as adding a graphical approach, off the top of our head, we can think of …
- SVG
- canvas
- horizontal rules (with graph “snap” background)
… and it’s the HTML5 canvas element we’ve plumped for today’s “graphical palette”.
We …
- create the HTML5 canvas element … right at the end of the body element (just before </body>) …
<script type='text/javascript'>

  document.write('<br><br><canvas id=ourcanvas width=' + ('' + eval(-15 + (window.orientation == 0 ? window.screen.height: window.screen.width)) + 'px').replace('pxpx','').replace('px','') + ' height=580 style="width:' + ('' + eval(-15 + (window.orientation == 0 ? window.screen.height: window.screen.width)) + 'px').replace('pxpx','px') + ';height:580px;border:1px solid red;background-color:white;"></canvas>');

</script>
- we establish some global variable assignments via … <body align=”center” style=”background-color: lightblue;” onload=” makevisible(ideas[snum]);“> …
var done=0;

var elem=null;

var context=null;

var cwidth=0, cheight=0;

var ideas = ["circle", "sector", "square", "rectangle", "triangle", "parallelogram", "kite", "trapezium", "rhombus", "rectangle_hsector", "rectangle_lsector", "parallelogram_rectangle_cutout"];

var done = 0;

var factor=1.0;

var cf = "12px Verdana";

var path=null;

var snum = Math.floor(Math.random() * ideas.length) + 0;

if (snum == 2) { snum=3; }


function makevisible(whichone) {

  var px=0, py=0, pxx=0;

  if (done == 0) {

   done = 1;

   document.getElementById('sarea').value = whichone;

   elem=document.getElementById('ourcanvas');

   context=elem.getContext('2d');

   cwidth=eval(-70 + eval(('' + elem.width).replace('px','')));

   cheight=eval(-90 + eval(('' + elem.height).replace('px','')));

  }

  // more below

}
- we intervene … for example below it is a “Sector” area question example …
if (whichone == "sector") {

      rnum = Math.floor(Math.random() * 1000) + 1;

      document.getElementById('sr').value = rnum;

      rnum = Math.floor(Math.random() * 359) + 1;

      document.getElementById('arc').value = rnum;

      hint = 'Hint: A = ' + Math.PI + ' * r * r * (a / 360.0)';

 factor=getFactor(eval(2 * eval('' + document.getElementById('sr').value)), eval(2 * eval('' + document.getElementById('sr').value)));

 context.font = cf;

 context.strokeStyle = '#FF0000';

 context.beginPath();

 context.moveTo(Math.round(eval(25 + eval(cwidth / 2))), Math.round(eval(25 + eval(cheight / 2))));

 context.lineTo(Math.round(eval(25 + eval(cwidth / 2))) + eval(rnum * Math.abs(factor)), Math.round(eval(25 + eval(cheight / 2))));

 context.arc(Math.round(eval(25 + eval(cwidth / 2))), Math.round(eval(25 + eval(cheight / 2))), eval(rnum * Math.abs(factor)), 0, eval(eval(eval(document.getElementById('arc').value) / 180) * Math.PI));

 context.lineTo(Math.round(eval(25 + eval(cwidth / 2))), Math.round(eval(25 + eval(cheight / 2))));

 context.fillStyle = '#40FF20';

 context.fill();

 context.fillStyle = "#000000";

 context.fillText("" + document.getElementById('sr').value + " -------->", Math.round(eval(25 + eval(cwidth / 2))), Math.round(eval(25 + eval(cheight / 2))), eval(rnum * Math.abs(factor)));

}
… calling that new Javascript function …
function getFactor(wis, lis) {

  var proposedfactor=eval(Math.max(cwidth, cheight) / Math.max(wis, lis));

  if (eval(Math.min(cwidth, cheight) / Math.min(wis, lis)) < proposedfactor) {

   proposedfactor=eval(-1 * eval(Math.min(cwidth, cheight) / Math.min(wis, lis)));

  }

  if (proposedfactor > 0.0) {

    if (eval(25 + eval(Math.abs(proposedfactor) * Math.round(eval('' + document.getElementById('l').value)))) > cwidth || eval(25 + eval(Math.abs(proposedfactor) * Math.round(eval('' + document.getElementById('w').value)))) > cheight) {

      while (eval(25 + eval(Math.abs(proposedfactor) * Math.round(eval('' + document.getElementById('w').value)))) > cwidth || eval(25 + eval(Math.abs(proposedfactor) * Math.round(eval('' + document.getElementById('l').value)))) > cheight) {

        proposedfactor*=0.8;

      }

      proposedfactor=-proposedfactor;

    }

  } else {

    if (eval(25 + eval(Math.abs(proposedfactor) * Math.round(eval('' + document.getElementById('w').value)))) > cwidth || eval(25 + eval(Math.abs(proposedfactor) * Math.round(eval('' + document.getElementById('l').value)))) > cheight) {

      proposedfactor=-proposedfactor;

      while (eval(25 + eval(Math.abs(proposedfactor) * Math.round(eval('' + document.getElementById('l').value)))) > cwidth || eval(25 + eval(Math.abs(proposedfactor) * Math.round(eval('' + document.getElementById('w').value)))) > cheight) {

        proposedfactor*=0.8;

      }

    }

  }

  return proposedfactor;

}
Before we go we want to show you the “triangle” intervention code snippet to introduce the really useful Path2D object (usage) …
if (whichone == "triangle") {

      rnum = Math.floor(Math.random() * 1000) + 1;

      document.getElementById('b').value = rnum;

      rnum = Math.floor(Math.random() * 1000) + 1;

      document.getElementById('h').value = rnum;

      hint = 'Hint: A = 0.5 * b * h';

 factor=getFactor(document.getElementById('b').value, document.getElementById('h').value);

 context.font = cf;

 context.fillStyle = "#AAAAAA";

 if (factor > 0.0) { // eval(25 + eval(Math.abs(factor) *

   factor/=6;

        		py=eval(eval(Math.abs(factor) * eval('' + document.getElementById('h').value)) / 1);

        		px=eval(eval(Math.abs(factor) * eval('' + document.getElementById('b').value)) / 1);

         		path=new Path2D();

        		path.moveTo(eval((cwidth/2)+25) + px,(cheight/2)+25);

        		path.lineTo((cwidth/2)+25,eval((cheight/2)+25));

        		path.lineTo((cwidth/2)+25,eval((cheight/2)+25) - py);

        		path.lineTo(eval((cwidth/2)+25) + px,(cheight/2)+25);

        		context.fill(path);

 context.fillStyle = "#000000";

 context.fillText("<--- " + document.getElementById('b').value + " --->", Math.round(eval(25 + eval(cwidth / 2))), Math.round(eval(45 + eval(cheight / 2))), eval(rnum * Math.abs(factor)));

 }
So here is the changed areas.html live run link.
Previous relevant HTML/Javascript Areas Tutorial is shown below.
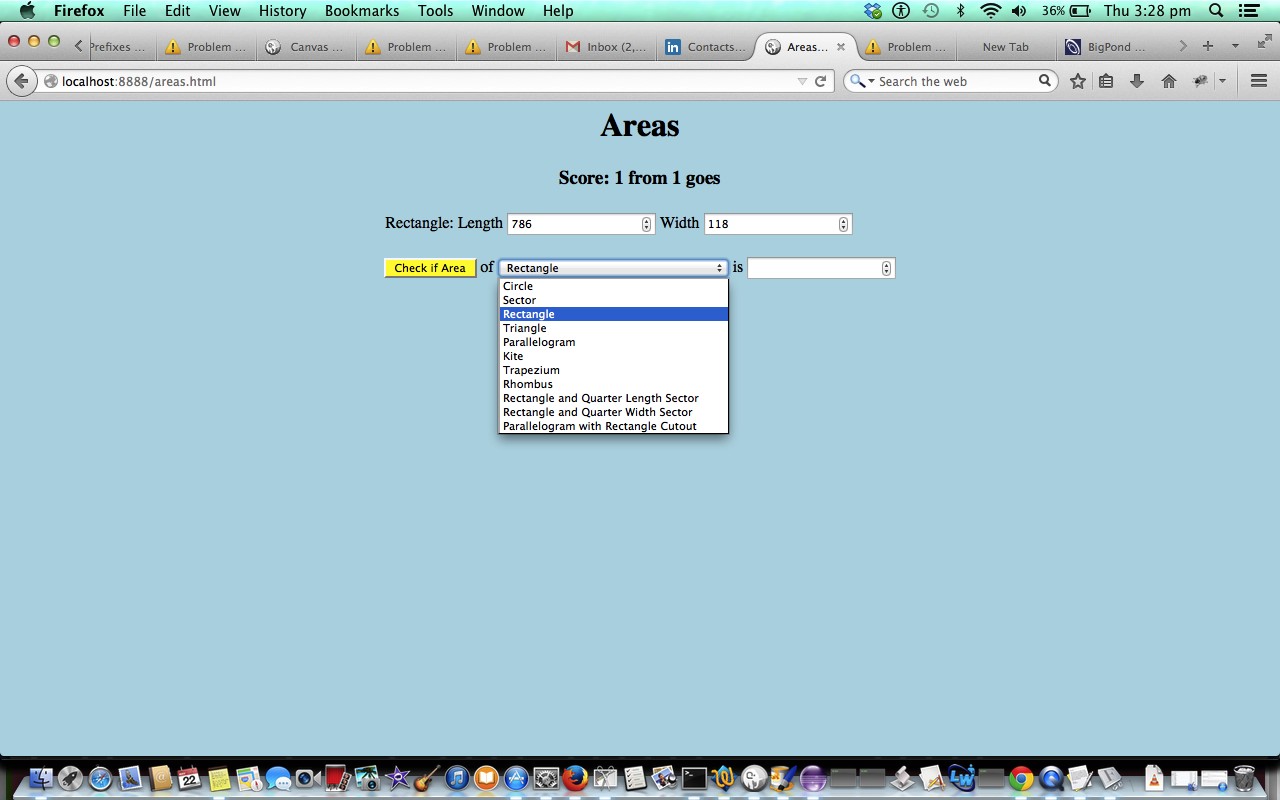
Here is a tutorial showing some client-side basics in HTML and Javascript that can test some fairly simple mathematical Areas questions for the user. The inspiration for this came from some homework of a student.
Link to some downloadable HTML programming code … rename to areas.html … and here is a live run link.
You’ll notice heavy use of the Javascript Math.random() function to supply some shape dimensions.
Please note that calculations involving PI would need a final accuracy to 0.01 to be deemed a correct answer. The answer “pork” will not be accepted, alas.
If this was interesting you may be interested in this too.
If this was interesting you may be interested in this too.
If this was interesting you may be interested in this too.


