We use a MacBook Pro (Mac OS X is macOS Sierra) to conduct most of the work we need to do on rjmprogramming.com.au and it is conventional in the sense it still uses a hard disk and we backup onto removable media. Even if we didn’t, if your default boot device gets a problem, we recommend you take some measures to look into the issue.
What were the symptoms (of this problem) for us? Occasionally …
- doing pretty uncontroversial things we’d get the rotating beach ball that stops you doing other things … and …
- sometimes after a good time at this the MacBook Pro would turn itself off … and what broke the camel’s back for us …
- on a power off restart the MacBook Pro would freeze at the 100% progress bar point with the Apple logo showing, but not moving onto the login screen
Reading advice from this Google search we cottoned onto the idea that we should reboot into Safe Mode …
Start or restart your Mac, then immediately press and hold the Shift key. The Apple logo appears on your display. If you don’t see the Apple logo, learn what to do. Release the Shift key when you see the login window.
… which we did and had the MacBook Pro freeze again at the 100% progress bar point with the Apple logo showing, and eventually turn itself off, again.
However, this Safe Mode may well have done something good, because the next normal restart attempt got through to the Login screen and into a functioning MacBook Pro, at surface value, anyway.
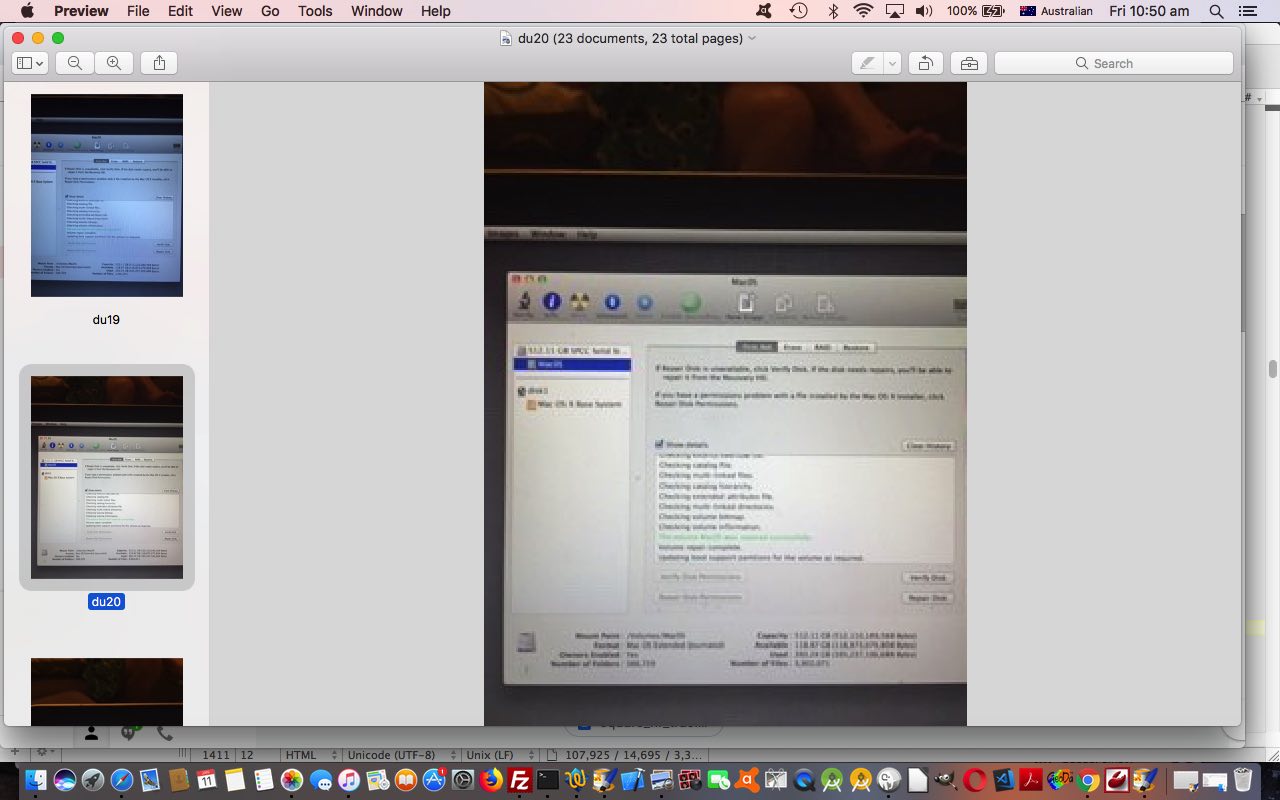
We suspected disk problems here, so went to Applications -> Utilities -> Disk Utility (like we did with Time Machine Backup and Disk Utility Primer Tutorial) to check this out via its First Aid button functionality. It advised a rerun of this same First Aid, this time from “Recovery” (where your usual default boot device can, temporarily, not be the boot device, while Disk Utility fixes problems on the default boot device) …
Restart your Mac in Recovery Mode by holding down Cmd+R immediately after the chime. You’ll boot into Recovery Mode and you’ll see Disk Utility as an option.
Today we show you via a PDF slideshow how that MacBook Pro Recovery restart Disk Utility run session’s First Aid’s …
- Verify Disk
- Repair Disk
… combination fixed our problems. We do not wish this on you, but you never know … it might be useful later on?!
Previous relevant Time Machine Backup and Disk Utility Primer Tutorial is shown below.
Yesterday was backup day on this MacBook Pro, but this time it is a full backup day. We’re trying out a backup media whose maker we used before, Seagate, but a different product, namely Seagate Wireless, though we opted today for the external media via (ubiquitous) black lead … aren’t leads wonderful?! “Wake me up from this non-Wireless dream!”
Anyway, it wasn’t an “out of the box” experience, now wouldn’t it be?! But it would be for your Windows users, and it’s not that we’re complaining … far from it … but it did bring about the need to use a Mac OS X utility we generally try to avoid … Disk Utility. In our books, things have come “to a pretty pass” when you need Disk Utility, but then to calm the nerves … how long ago were we all going format a: (or even that old favourite format b: at the drop of a (Melbourne Cup) hat) … around about the same time they adjust interest rates … but we digress.
46 years … oh, right then … that long ago … well … hasn’t time flown?!
And so that is the bullet we had to bite to get over doubts in our mind over getting the Mac OS X Time Machine backup working with the Seagate Wireless and the MacBook Pro using Mac OS X … and we ventured in this direction not by reading the product instructions (who does that?! … this comment is unsponsored and completely out of order), but advice on the net, usually, from forums. But actually there is credence in my attitude … after all, after the product release, who uses these products and has problems or not … users … so thanks to all those contributors to forums and blogs … keep those cards and letters rolling in.
Once we …
- turned on Seagate Wireless
 … even through the box!
 - plugged in Seagate Wireless with (ubiquitous) black lead
 … you must have blinked
 - backed up the data of the Seagate Wireless to our MacBook Pro hard disk

- ran Application -> Utilities -> Disk Utility … Erase tab -> Erase…

- set off Time Machine from Apple icon -> System Preferences -> Time Machine setting new Seagate Wireless as backup media

- sun come up … sun go down … red sky at night … shepherd’s delight

… a completed backup does tend to ease the mind, and is a thing you could do, left alone, but powered, overnight. In this mode (of use), ironically, it takes a lot less time. Conversely, doing it while you work is possible, but the backup takes longer.
If this was interesting you may be interested in this too.
If this was interesting you may be interested in this too.


