Recently, with YouTube iPhone Screen Recording via QuickTime Player Primer Tutorial as shown below, we discovered the incredibly useful inter-device Movie Recording “red blob” dropdown functionality of the QuickTime Player desktop application, that we use on a MacBook Pro using Mac OS X. That last time we used this functionality we were using it with an iPhone connected to the MacBook Pro via one of those very useful Apple white leads that are also used when recharging the iPhone. All that aspect to today’s idea of usage is the same, except that this time we are connecting to an Apple iPad tablet instead.
This time around, (dual) recording a procedure on the MacBook Pro that needs more than Screen Capture, but rather real life Movie Recording to get the gist, we are using …
- Get MacBook Pro
- Open desktop application QuickTime Player
- Get iPad
- Open the Camera app
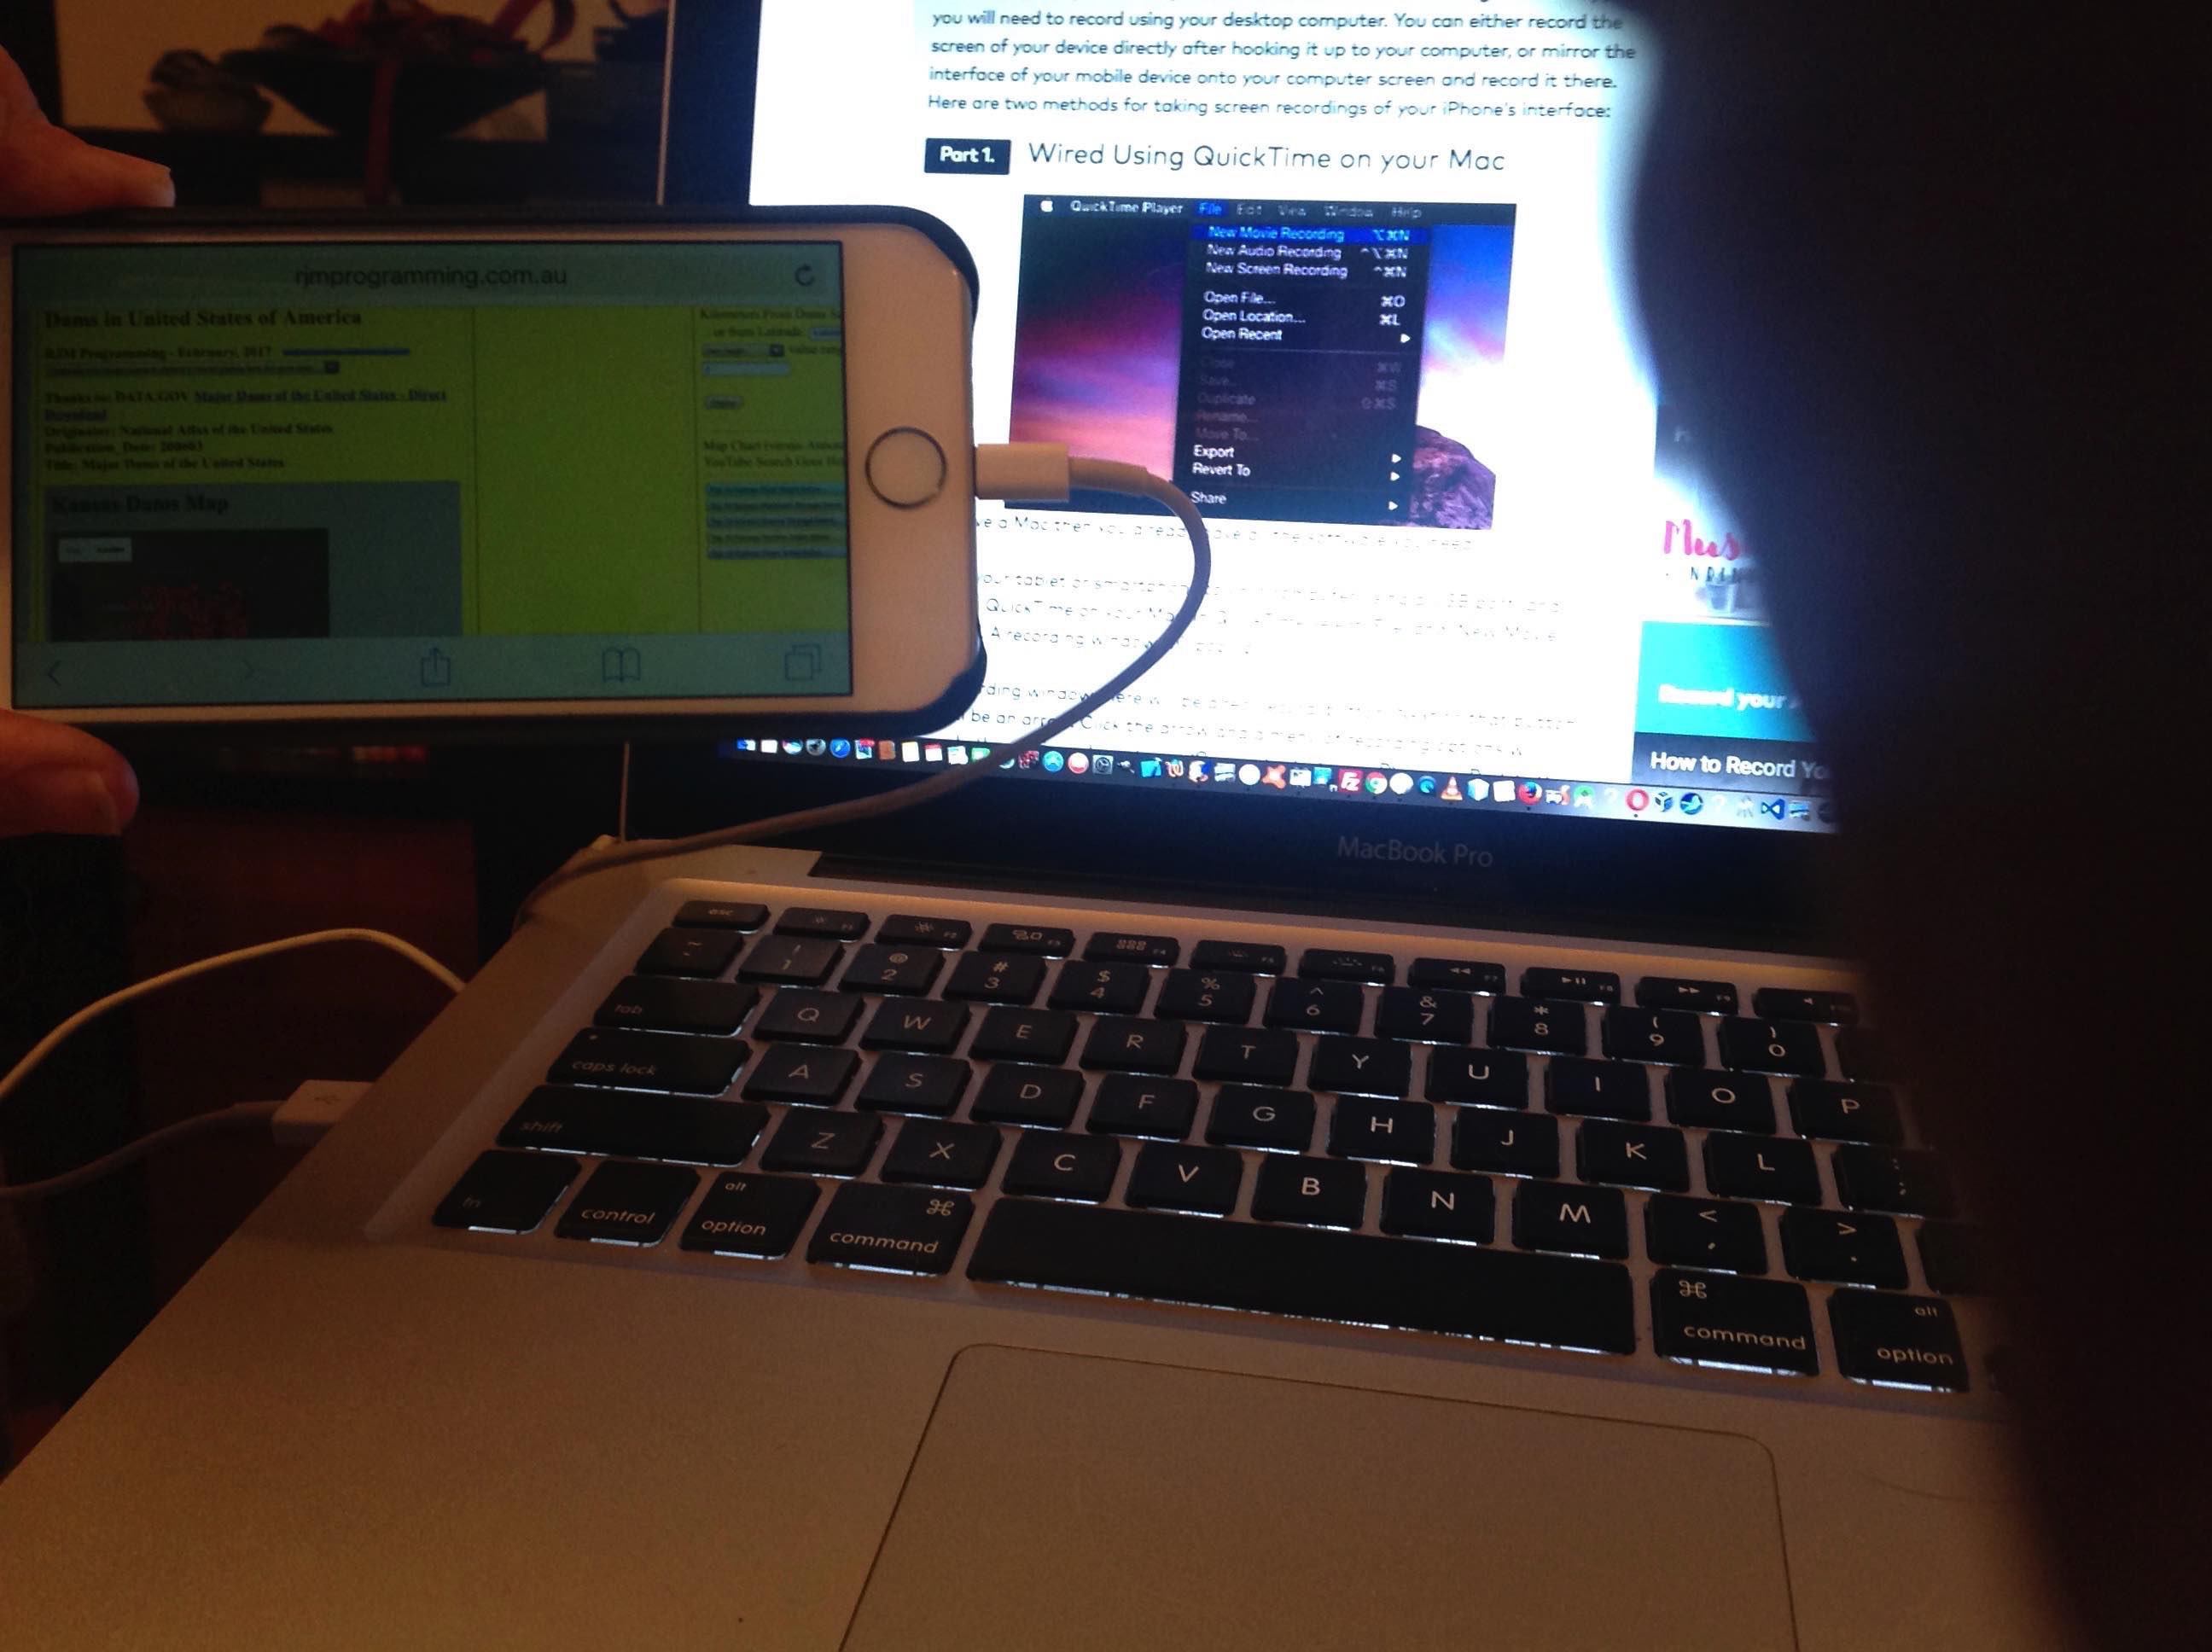
- Connect the iPad to the MacBook Pro using an Apple white lead
- The desktop application iTunes may open on the MacBook Pro and you can Cancel any Sync or Download ideas presented, as you see fit
- On the MacBook Pro in the QuickTime Player desktop application, choose File -> New Movie Recording
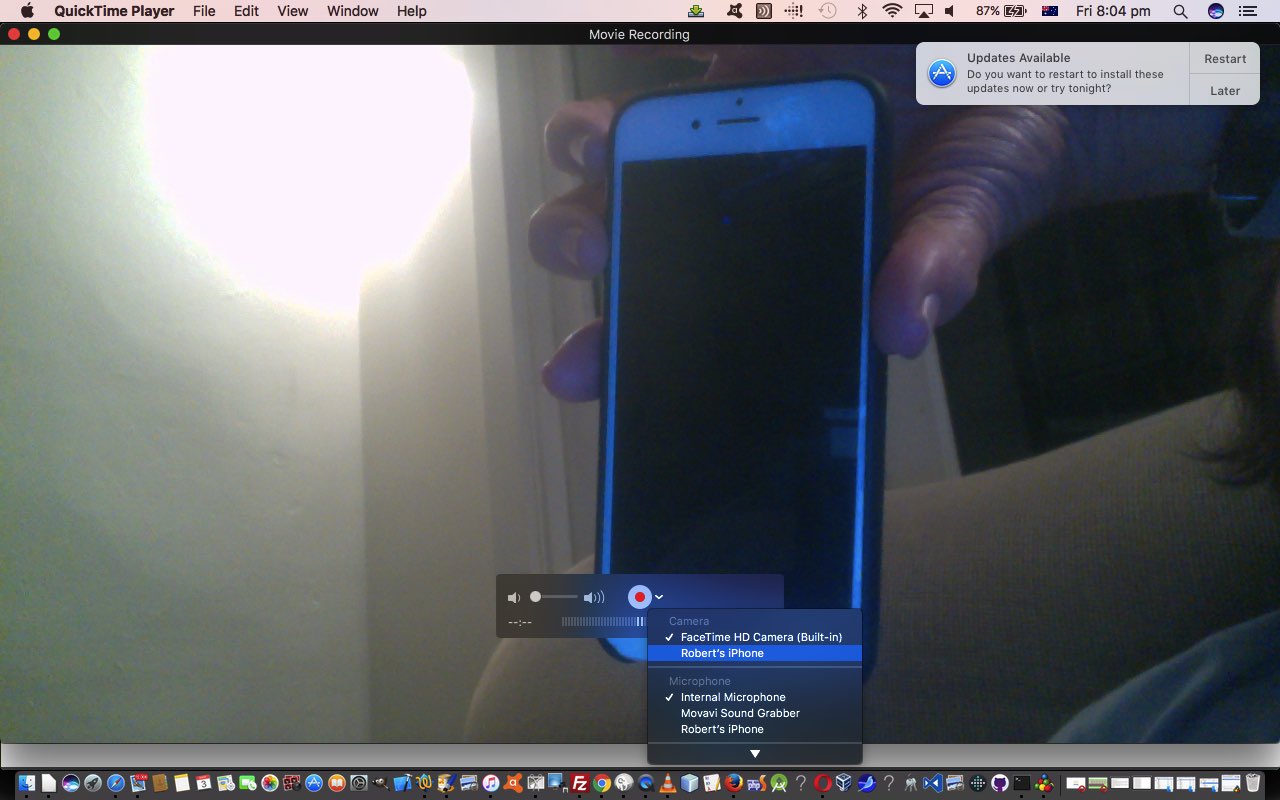
- Pulldown the dropdown to the right of the “red blob” recording button, and select that iPad (which is called “Robert’s iPad) for either/both of Camera and Audio selections (and today we select “Robert’s iPad” just for Camera)
- At the iPad Camera app, pick the Video option
- Point the iPad (video) camera at the MacBook Pro screen and keyboard, perhaps involving facing the back of the iPad (where the camera is) to face the MacBook Pro
- Click the iPad (video) camera app’s version of the “round red blob” recording button
- Click the “red blob” recording button back at the MacBook Pro QuickTime Player desktop application
- On the MacBook Pro, perform the procedure you want to show and document, noting that keyboard involvement could be filmed and be relevant, as well as what shows on the MacBook Pro’s screen
- When finished with the procedure steps of interest, click the “black blob” stop recording button back at the MacBook Pro QuickTime Player desktop application
- Click the iPad (video) camera app’s version of the “square red blob” stop recording button
- In the iPad’s Photos app you will have the Movie Video Recording to use as you wish
- In the MacBook Pro you will have QuickTime Player’s version of the Movie Video Recording which can then have File > Export output it in a better variety of ways, including to the MacBook Pro’s iTunes application, and this or the Movie Recording on the iPad could be sent to YouTube, as required
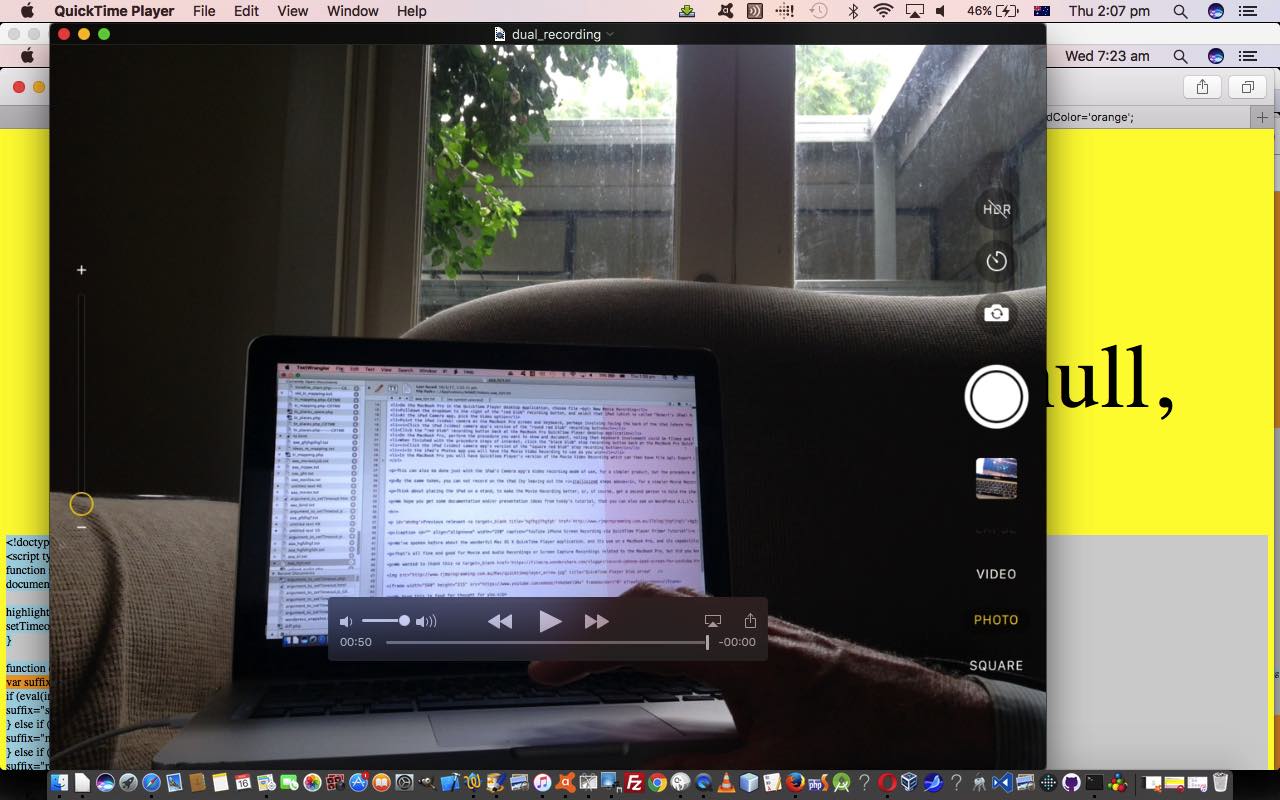
This can also be done just with the iPad’s Camera app’s Video recording mode of use, for a simpler product, but the procedure above has greater Export possibilities (as you can see regarding the “much reduced in file size” (less than a sixth of the size)) presentation (of us plugging in the blog posting content of that previous blog posting into the TextWrangler editing session of us piecing together today’s blog posting, illustrating Mac OS X keyboard Select All (via Command A), Copy (via Command C) and Paste (via Command V)) today, which is an example of File > Export to iPad,iPhone,iPod touch & Apple TV.. export from .mov to .m4v video format) because of the interface established to the QuickTime Player MacBook Pro desktop application.
By the same token, you can not record on the iPad, by leaving out the itallicized steps above, for a simpler Movie Recording product that ends up just existing on the MacBook Pro’s QuickTime Player application, as we did with today’s presentation.
Think about placing the iPad on a stand, to make the Movie Recording better, as we did with today’s presentation, or, of course, get a second person to hold the iPad (video) camera, to record.
We hope you get some documentation and/or presentation ideas from today’s tutorial.
Stop Press
Tomorrow we “visually” crop (not the other “crop”) this video, and share on YouTube, a sneak peek being …
Previous relevant YouTube iPhone Screen Recording via QuickTime Player Primer Tutorial is shown below.
We’ve spoken before about the wonderful Mac OS X QuickTime Player application, and its use on a MacBook Pro, and its capabilities to upload videos to YouTube.
That’s all fine and good for Movie and Audio Recordings or Screen Capture Recordings related to the MacBook Pro, but did you know you can Screen Capture an iPhone (or iPad) by using a Mac USB white lead hooked up from the MacBook Pro to that other device, in our case an iPhone 6. So we record a session playing the Target Word Game you can read more about at PHP Target Word Game Mobile Friendly Tutorial.
We wanted to thank this great link, thanks, for the idea to use QuickTime Player for this job, never having used that arrow next to the red recording “blob” before. Makes me want to re-view The Blob in case I missed some useful subliminally embedded arrow.

We hope this is food for thought for you.
If this was interesting you may be interested in this too.
If this was interesting you may be interested in this too.


