It doesn’t take an Einstein to tell you that to keep reading and revisiting topics in I.T. is a good thing to do, if you have the time. We’ve been revisiting the Google Chart API documentation, specifically the Timeline Chart section today, and see ways to improve our PHP web application interface to this chart.
We saw …
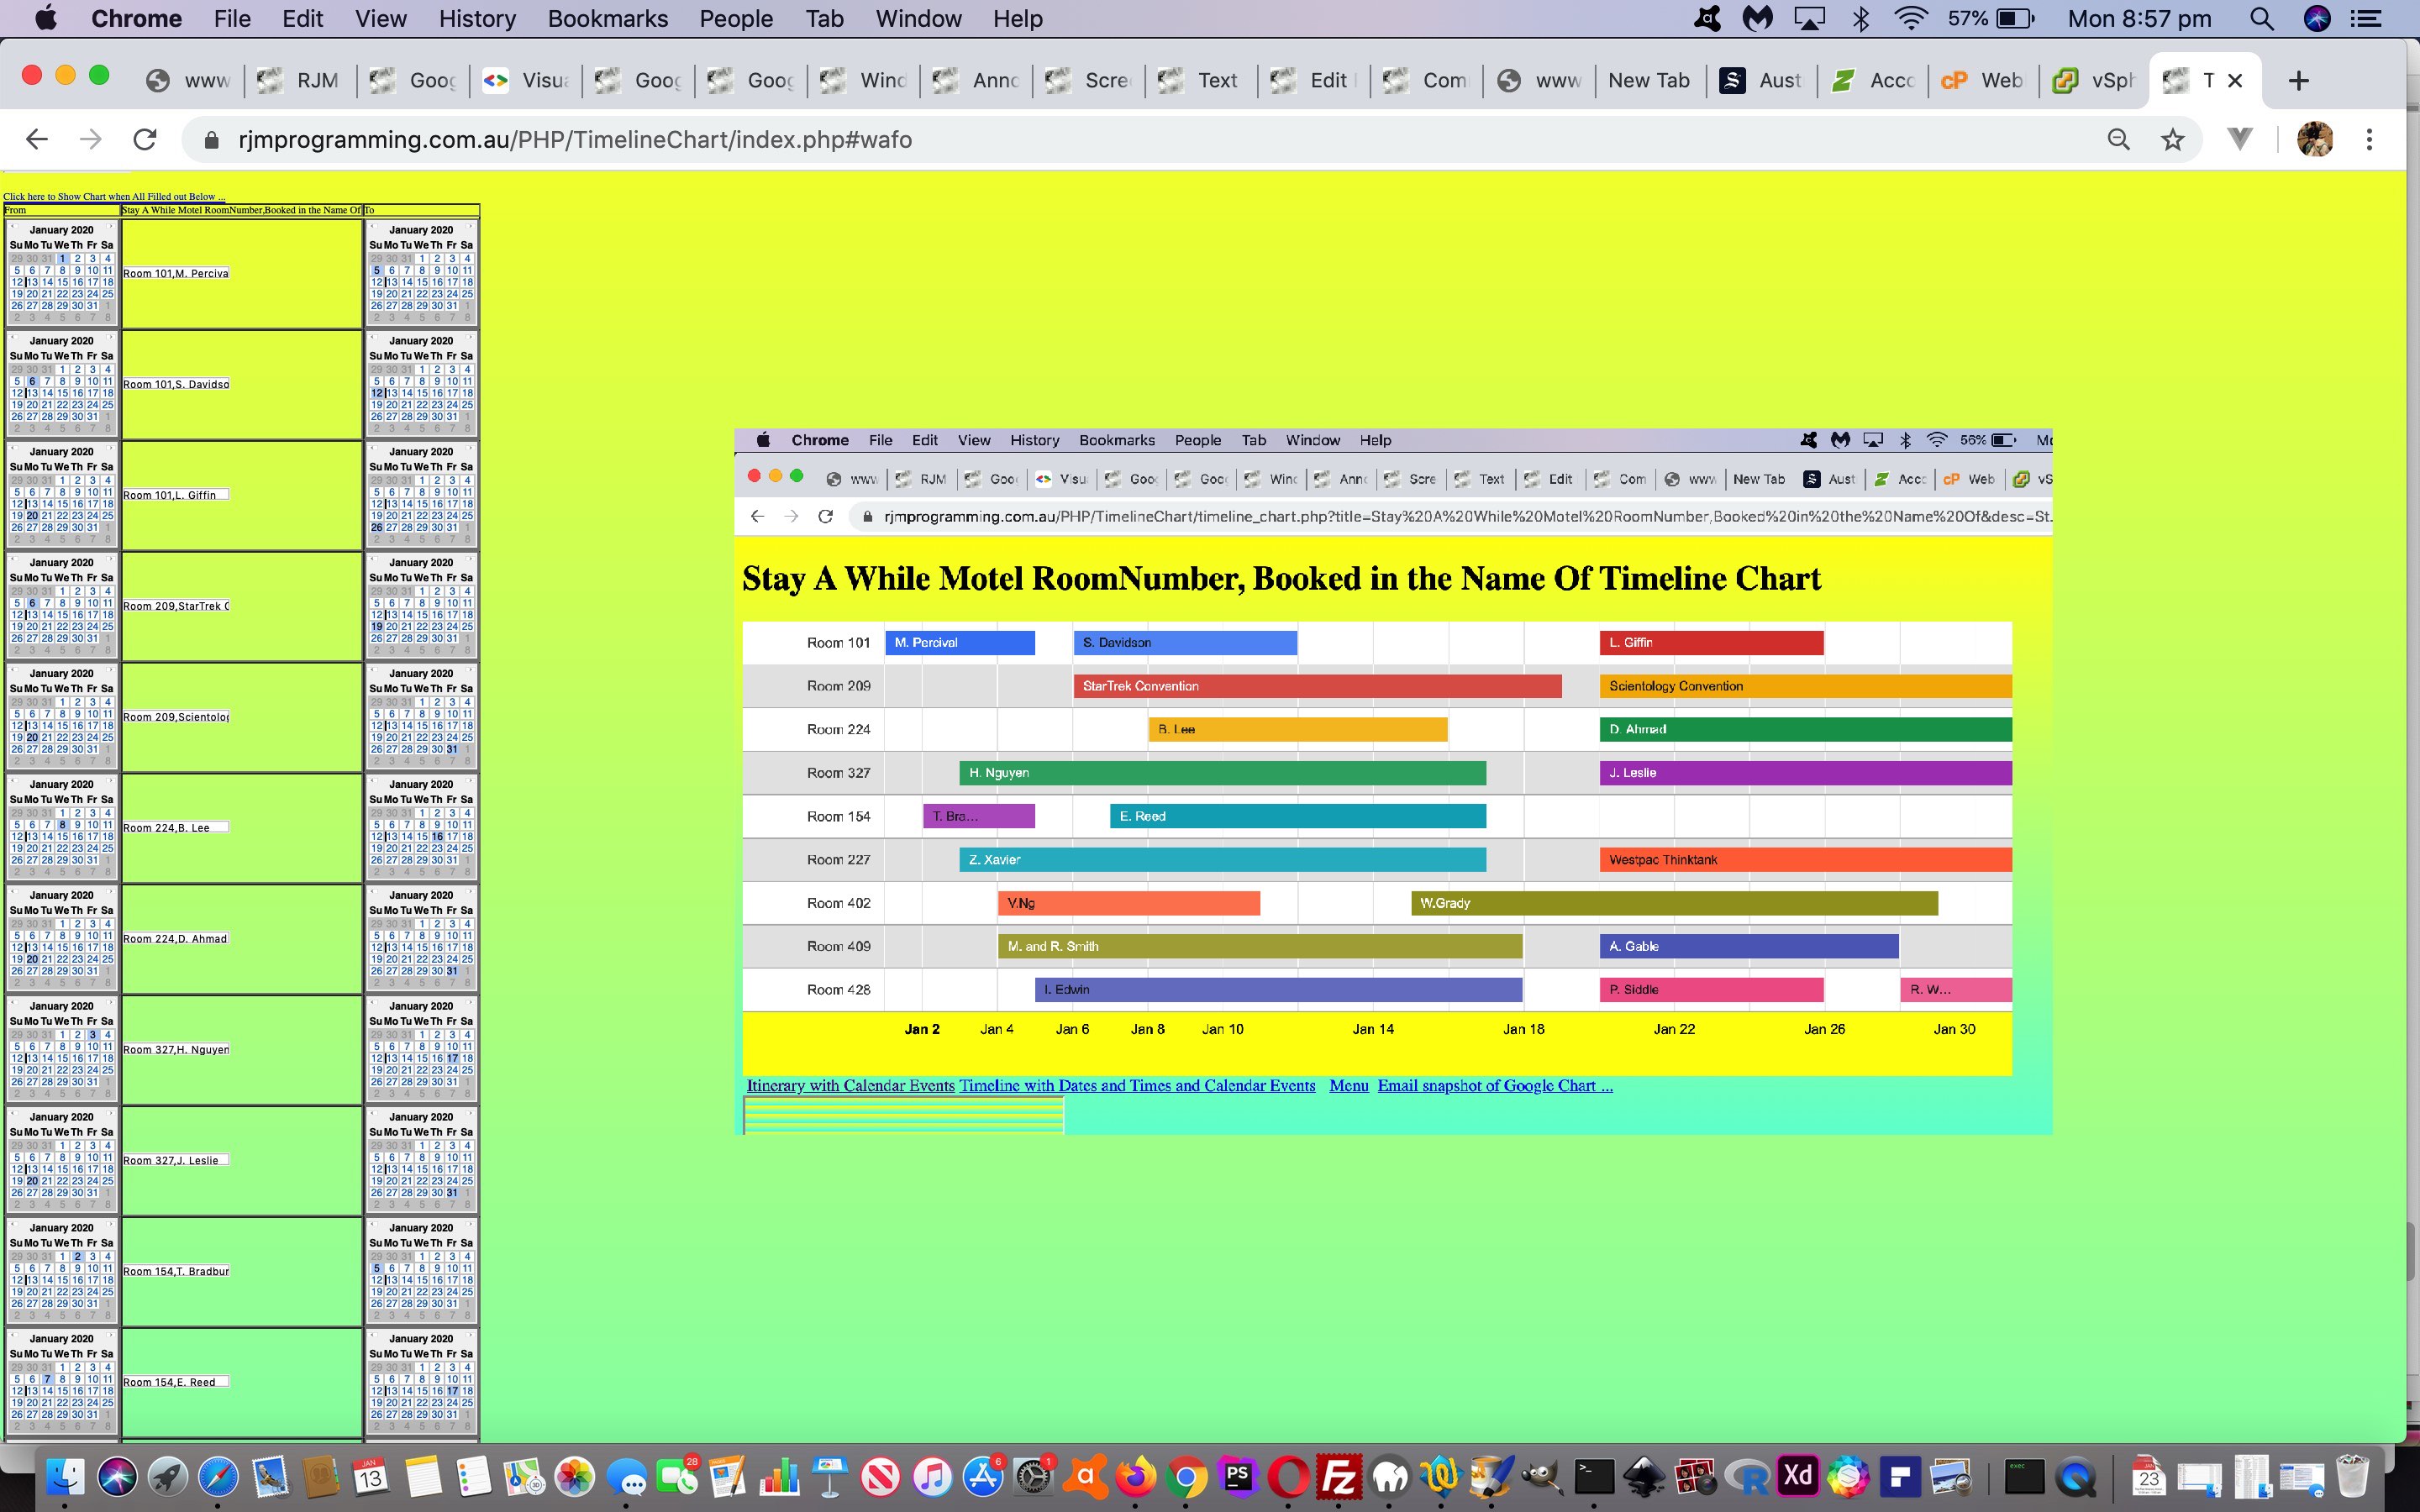
- that we could allow a user to tailor their own prefixing “label” (type of) data column … so that the two “title” type columns the user comma separates would appear to the left and on top of the timeline graphics, respectively … like with our “Stay A While Motel Room Number,Booking in the Name Of tutorial picture today …
- cater for SSL https: and http: protocol calls of the Timeline Chart with no “Mixed Content” implications
… and we considered multi-line textarea changes, but the lack of room on the chart itself precluded us from going ahead with that part of the work.
Now adding a column is no big deal data structure wise, but the tweaks required to continue with functional and accurate “Select” event logic needed some of the old “alert” commented out codelines we had left (in the PHP code) to be resurrected for an hour, to sort out the logic. Honestly, we’d have used a debugger if that would have been a better way, but this is not always the case. Lots of programmers use “console.log” instead of the Javascript alert box, and yes, that can be good practice. The two can have different affects in that if the “onfocus” event is involved, to whack in an “alert” box might introduce confusion, and if “focus” is an issue with a bug, it would definitely be safer (and “coding fairer”) to use “console.log”. Either way, the proliferation of “alert” codelines pointed us to where issues might arise, and probably saved a lot of time, in this way.
So see what we’ve been up to timeline wise since HTML5 Time Tag Timeline Tutorial with the changed timeline_chart.php‘s live run.
Previous relevant HTML5 Time Tag Timeline Tutorial is shown below.
The recent HTML5 Time Tag Primer Tutorial introduced the time tag, an HTML5 initiative, into our frame of reference here at this blog. As soon as date and/or time come into the picture the “when” of life comes into focus, and the use of the fourth dimension. As such, this HTML time tag can be the launching pad for interfacing to other “when” based web applications we’ve developed here.
With this in mind we …
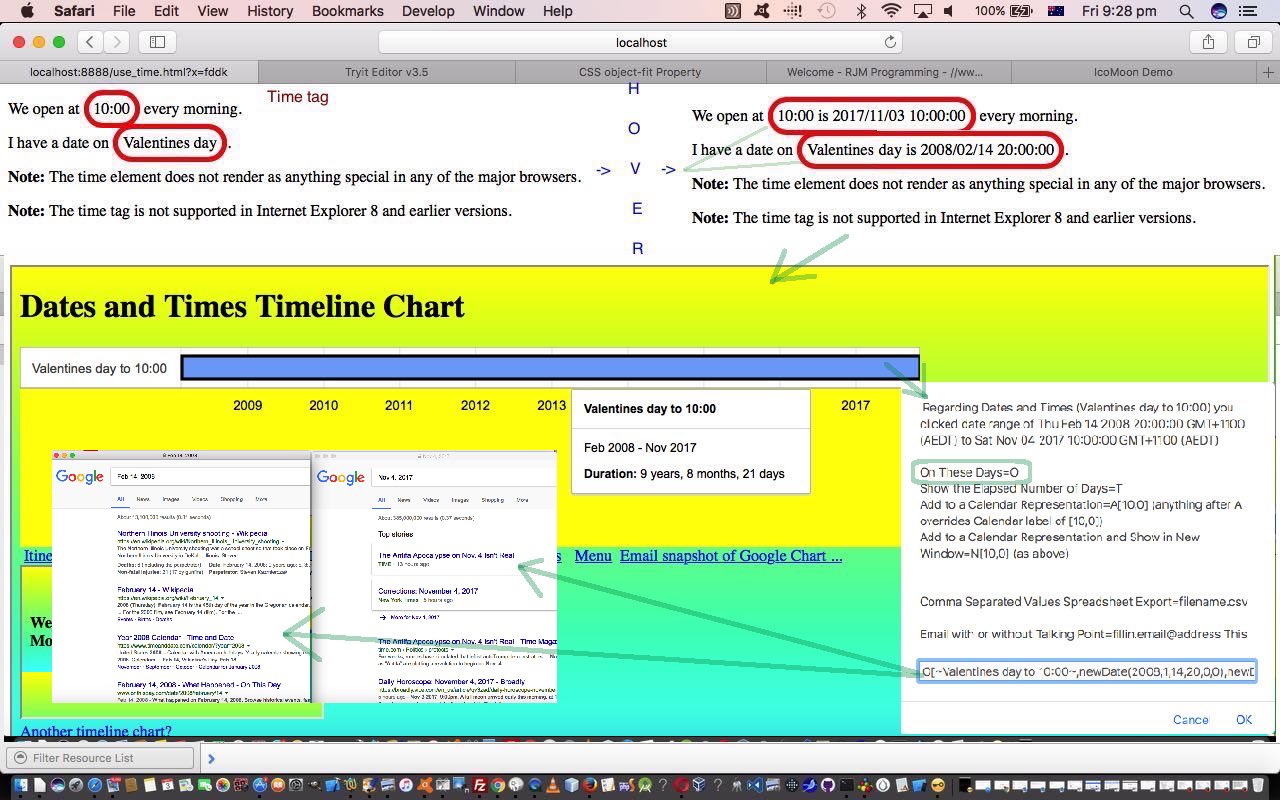
- interface use_time.htm‘s live run to the Google Chart Timeline Chart interfacing timeline_chart.php‘s live run
- take the opportunity, while the HTML is so separated from the Javascript (and CSS) in this project to move the Javascript to an external Javascript use_time.js (causing the HTML and CSS to shrink in this way)
With changes like this it can be important to leave the door open for people to not access this new Timeline (in an HTML iframe element), in terms of backward compatibility “friendliness”, and we allow for that via either/both bold (part of) ways below …
- HTML and CSS parent use_time.htm calling supervised Javascript use_time.js via …
<script type='text/javascript' src='use_time.js?notimeline=y'></script>
… and/or … - web browser address bar URL such as …
HTTP://www.rjmprogramming.com.au/HTMLCSS/use_time.htm?notimeline=y
But we are of the view that interfacing to other web applications with synergies is generally a good thing to do, and can inspire other ideas to develop regarding improvements to functionality.
Previous relevant HTML5 Time Tag Primer Tutorial is shown below.
You might be forgiven reading this webpage about the time tag introduced with HTML5 that it is not of much use, because it doesn’t show any distinguishing feature yet, in any of the web browsers.
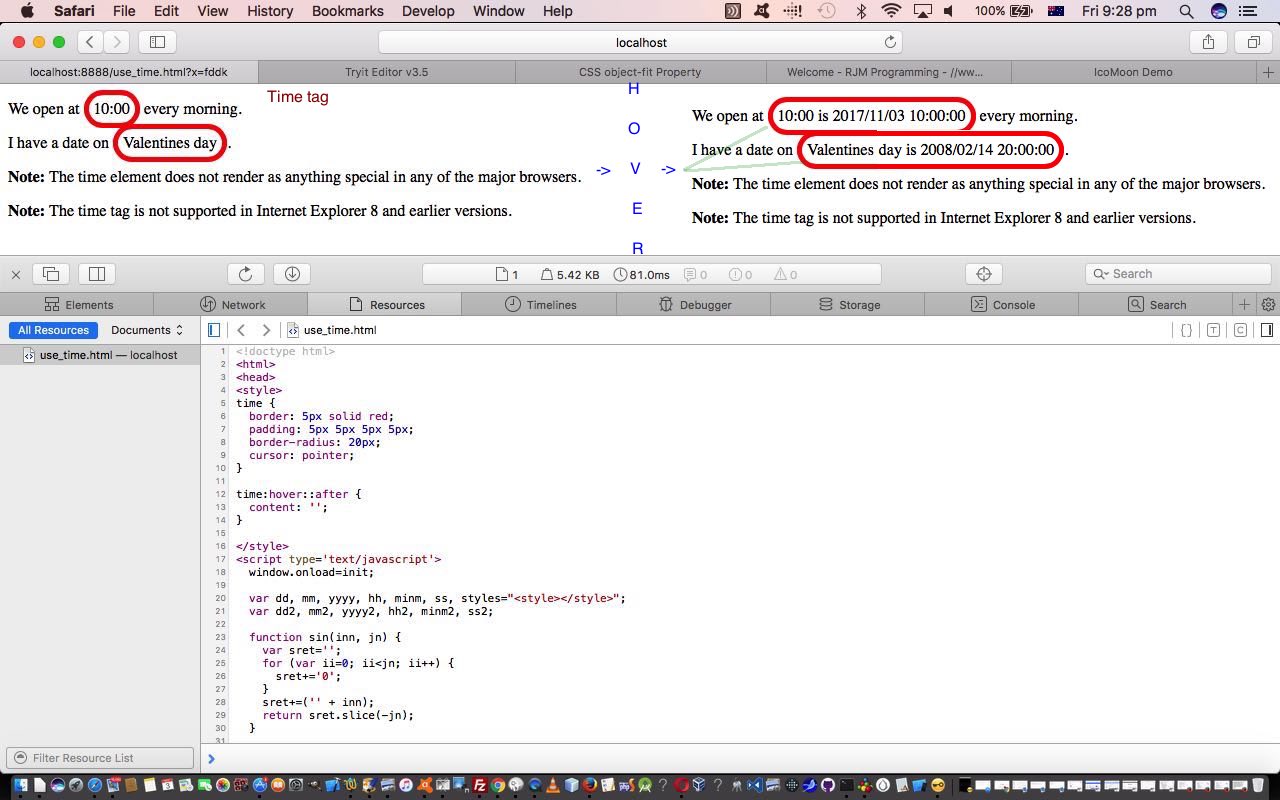
But you can tailor the use of it yourself, and to show this we took the HTML lacking a <head></head> section and not change this HTML at all, but add our own CSS and Javascript (DOM) <head></head> section to embellish its functionality considerably.
We use a combination of …
- CSS ::after { content: ‘blah blah’; } pseudo-element
- CSS :hover selector
- window.onload = init; // Javascript onload functionality
- document.body.innerHTML+=styles; // Javascript where styles variable contains dynamically constructed <body></body> section CSS <style></style> (an important thing to remember you can do (at a document.body onload event Javascript function, for example)) … and for this we used …
- dynamically classed HTML time elements and moving on the onclick event (for mobile device use) as per …
      times[iw].onclick = function() { };

      times[iw].className+=' atime' + iw; // the times array which is derived via
-
var times=document.getElementsByTagName('time');
- to be able to dynamically populate that styles variable as per codelines like …
styles=styles.replace("</style>"," .atime" + iw + ":hover::after { content: ' is " + sin(yyyy2,4) + "/" + sin(mm2,2) + "/" + sin(dd2,2) + " " + sin(hh2,2) + ":" + sin(minm2,2) + ":" + sin(ss2,2) + "'; } </style>");
Here is a link to some downloadable HTML programming source code which you may want to rename to use_time.html for this live run link.
Stop Press
If you were an “early bird” reading the early editions of this blog post, sorry, but you will have missed this, perhaps, and then again, maybe I am wasting my time pointing this out, but, since those early editions we’ve added a couple of iw links that harness some new functionality we have in our “highlighting” armoury (shall we say) making use of the new HTML5 mark tag, which we’ll be detailing more about in tomorrow’s blog posting. Clicking these links effectively does a web browser “View Page Source” type of functionality, but also highlights and positions (to first find), in situations like the “iw” one, where it is just a counter, but is unexplained, so we leave it up to curious users to find out something about its context.
If this was interesting you may be interested in this too.
If this was interesting you may be interested in this too.
If this was interesting you may be interested in this too.


