Further to yesterday’s Swift Playgrounds on macOS Map Tutorial‘s reacquaintance with Xcode and Swift and Playgrounds, today, we consider …
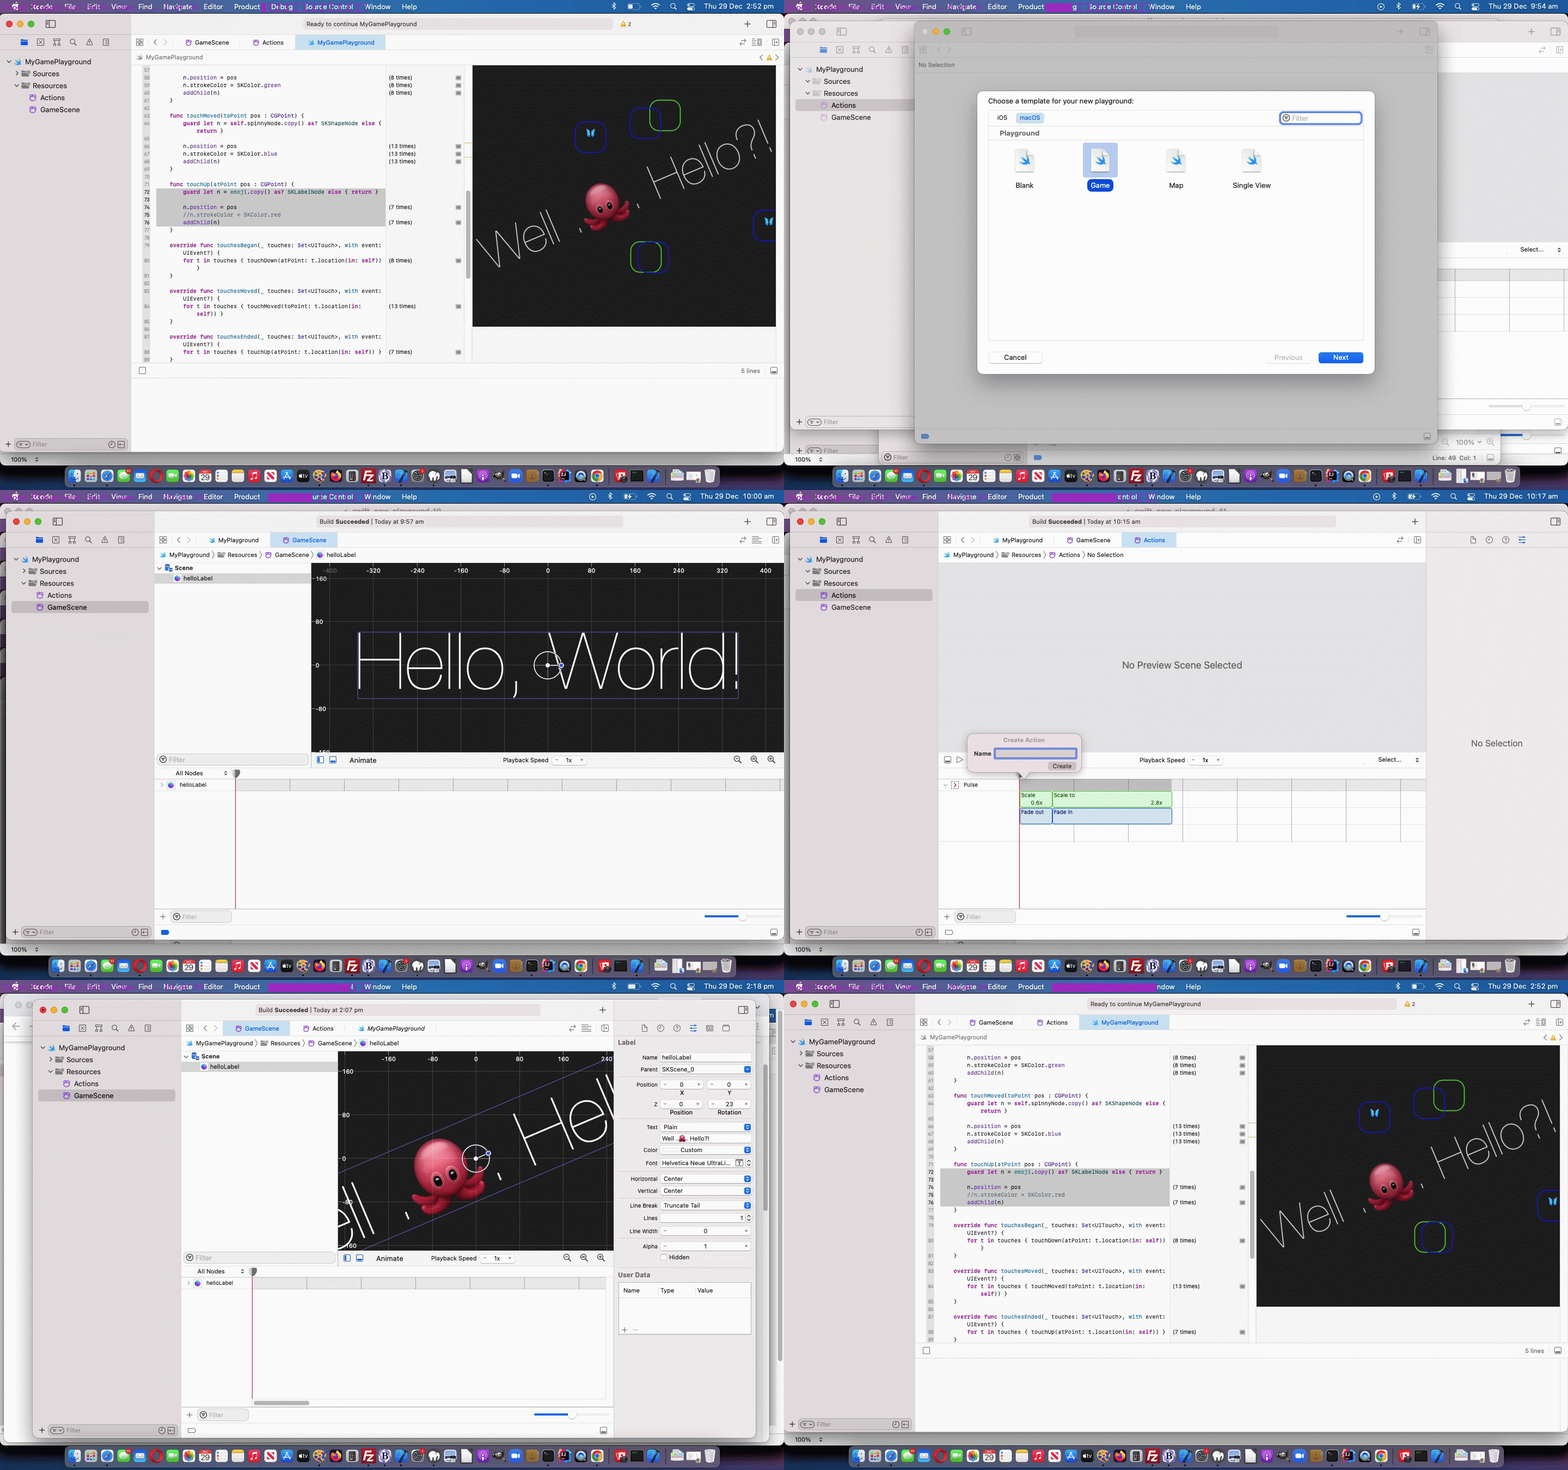
- Xcode on macOS …
- File -> New -> Playground…
- Game
- Next
- Create
… with those Sprite animation, and even collision logics (though we have none today) possibilities, in a “Game Scene” within the Xcode IDE.
Here’s the code, but please note the provisos to follow …
//: A SpriteKit based Playground
import PlaygroundSupport
import SpriteKit
class GameScene: SKScene {
private var label : SKLabelNode!
private var spinnyNode : SKShapeNode!
private var emoji : SKLabelNode!
override func didMove(to view: SKView) {
// Get label node from scene and store it for use later
label = childNode(withName: "//helloLabel") as? SKLabelNode
label.alpha = 0.0
let fadeInOut = SKAction.sequence([.fadeIn(withDuration: 2.0),
.fadeOut(withDuration: 2.0)])
label.run(.repeatForever(fadeInOut))
// Create shape node to use during mouse interaction
let w = (size.width + size.height) * 0.05
spinnyNode = SKShapeNode(rectOf: CGSize(width: w, height: w), cornerRadius: w * 0.3)
spinnyNode.lineWidth = 2.5
let fadeAndRemove = SKAction.sequence([.wait(forDuration: 0.5),
.fadeOut(withDuration: 0.5),
.removeFromParent()])
spinnyNode.run(.repeatForever(.rotate(byAngle: CGFloat(Double.pi), duration: 1)))
spinnyNode.run(fadeAndRemove)
// Create label node to use during mouse interaction
let wt = (size.width + size.height) * 0.05
emoji = SKLabelNode(fontNamed: "Chalkduster")
// emoji.lineWidth = 2.5
emoji.text = ""
emoji.position = CGPoint(x: 980, y: 700)
let fadeAndRemovet = SKAction.sequence([.wait(forDuration: 0.5),
.fadeOut(withDuration: 0.5),
.removeFromParent()])
emoji.run(.repeatForever(.rotate(byAngle: CGFloat(Double.pi), duration: 1)))
emoji.run(fadeAndRemove)
}
@objc static override var supportsSecureCoding: Bool {
// SKNode conforms to NSSecureCoding, so any subclass going
// through the decoding process must support secure coding
get {
return true
}
}
func touchDown(atPoint pos : CGPoint) {
guard let n = spinnyNode.copy() as? SKShapeNode else { return }
n.position = pos
n.strokeColor = SKColor.green
addChild(n)
}
func touchMoved(toPoint pos : CGPoint) {
guard let n = self.spinnyNode.copy() as? SKShapeNode else { return }
n.position = pos
n.strokeColor = SKColor.blue
addChild(n)
}
func touchUp(atPoint pos : CGPoint) {
guard let n = emoji.copy() as? SKLabelNode else { return }
n.position = pos
//n.strokeColor = SKColor.red
addChild(n)
}
override func touchesBegan(_ touches: Set
for t in touches { touchDown(atPoint: t.location(in: self)) }
}
override func touchesMoved(_ touches: Set
for t in touches { touchMoved(toPoint: t.location(in: self)) }
}
override func touchesEnded(_ touches: Set
for t in touches { touchUp(atPoint: t.location(in: self)) }
}
override func touchesCancelled(_ touches: Set
for t in touches { touchUp(atPoint: t.location(in: self)) }
}
override func update(_ currentTime: TimeInterval) {
// Called before each frame is rendered
}
}
// Load the SKScene from 'GameScene.sks'
let sceneView = SKView(frame: CGRect(x:0 , y:0, width: 640, height: 480))
if let scene = GameScene(fileNamed: "GameScene") {
// Set the scale mode to scale to fit the window
scene.scaleMode = .aspectFill
// Present the scene
sceneView.presentScene(scene)
}
PlaygroundSupport.PlaygroundPage.current.liveView = sceneView
… in MyGamePlayground.swift Swift source code macOS Swift desktop application code.
We, separately to the Swift codeline above affected the look you can see in today’s animated GIF tutorial picture, fiddled with Resources …
- GameScene … ie. the game look
- click GameScene (off Resources)
- made sure top right “Hide or Show the Inspectors” had us displaying, to the right, the Attributes Inspector
- clicked the “Hello World!” display text and changed the Attribute Text (content) to Well .. Hello?! … using control-command-space emoji menu, in the process
- changed Rotation field to read 23 (degrees)
- Actions … ie. the game animation look
- click Actions (off Resources)
- made sure top right “Hide or Show the Inspectors” had us displaying, to the right, the Attributes Inspector
- clicked pre-existant Actions as shown, and tweaked various delays and durations and animation modes regarding Scaling and Fading functionality possibilities
- the mouse or touch event logic … added a butterfly emoji effect within the spinnyNode rectangle effects
Previous relevant Swift Playgrounds on macOS Map Tutorial is shown below.
Are you looking for …
- informal … but …
- IDE based compiling …
- Swift … code based …
- macOS or iOS … suiting …
… programming environment? How about, if you are into the “where of” in life …
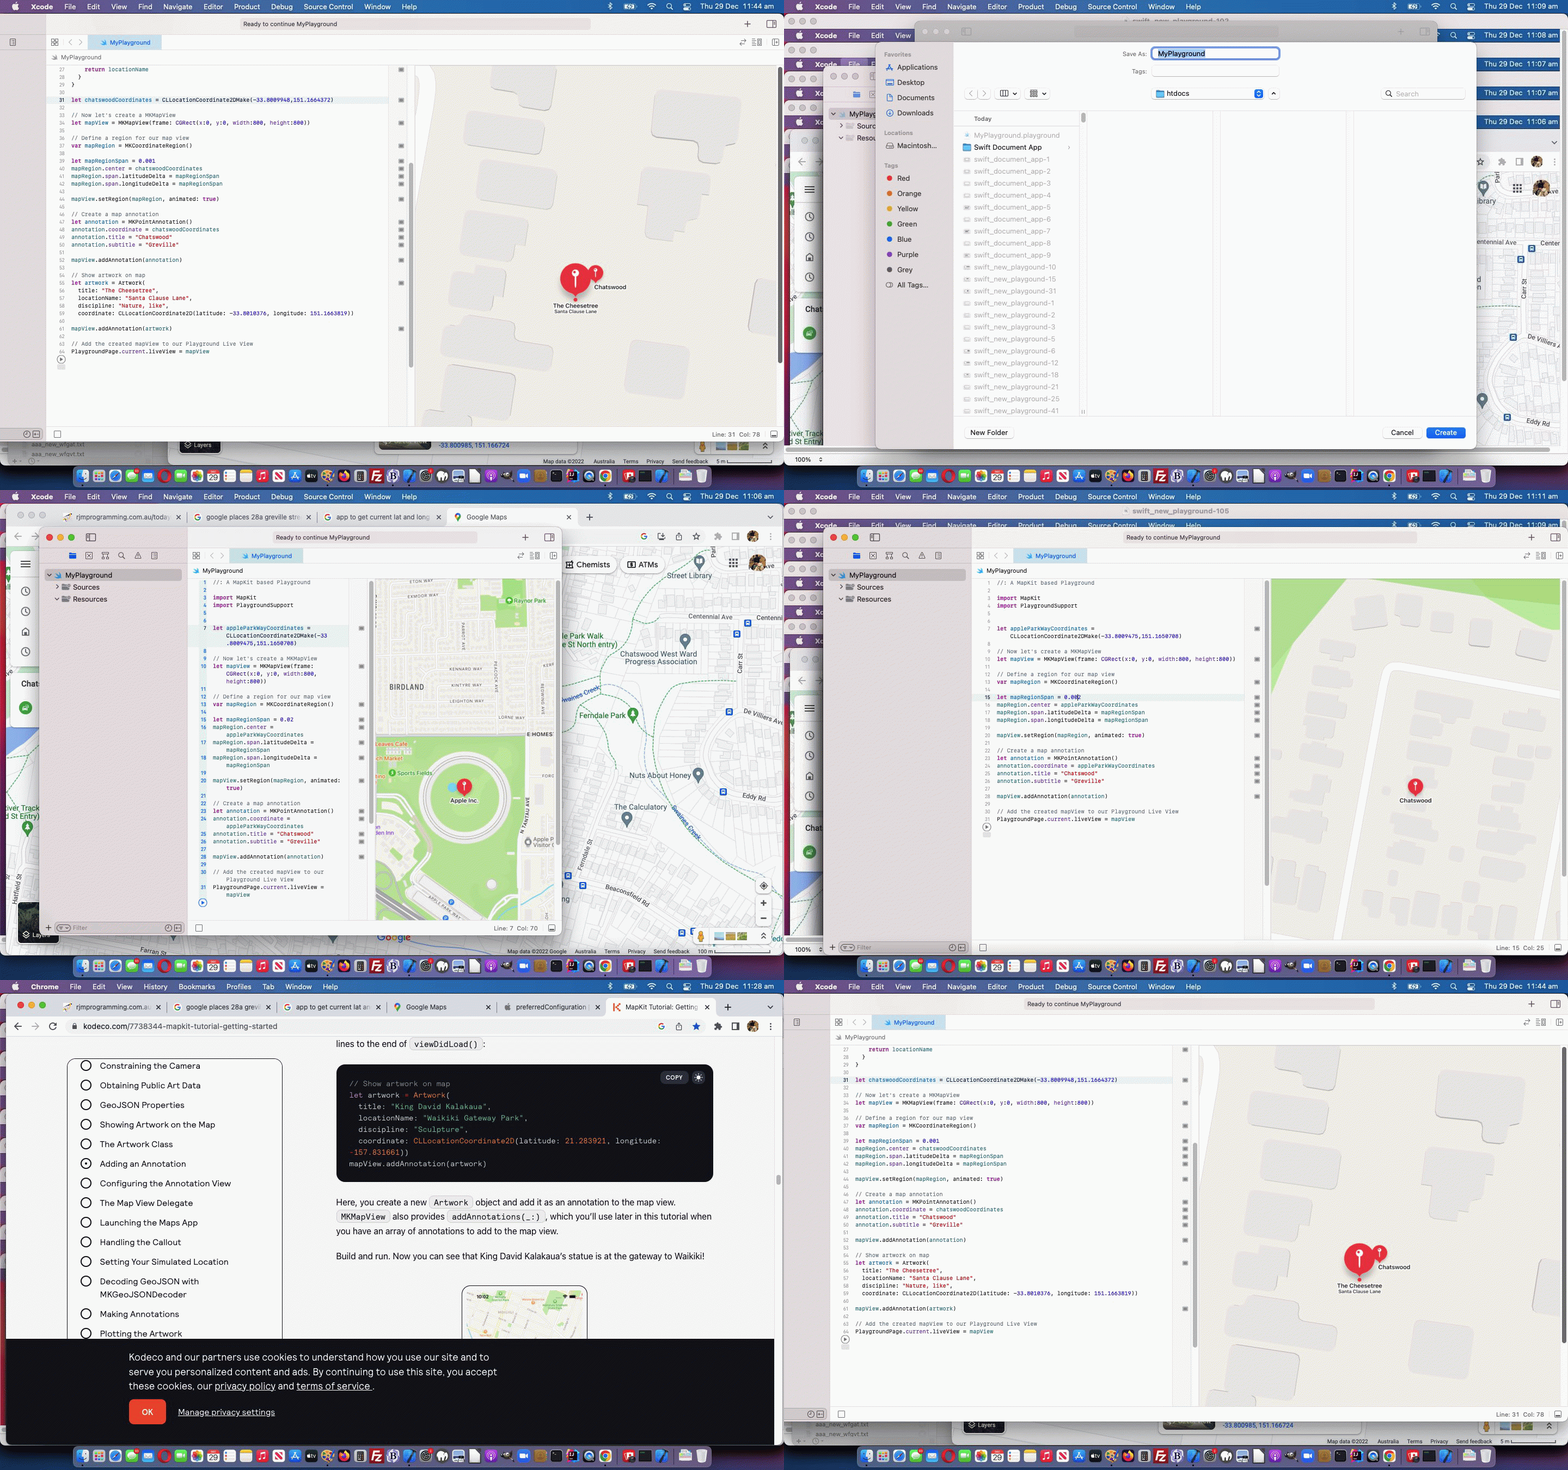
- Xcode on macOS …
- File -> New -> Playground…
- Map
- Next
- Create
Now, by informal, we mean you don’t have to worry about Development or Deployment certificates, and all that jazz. You just get to “play around”, make mistakes, take advice, and learn (more, on top of tutorials like Swift Playgrounds on iPad Primer Tutorial) about Swift programming language, in the process!
We had fun producing a macOS Swift playground desktop application that featured one local “Artwork” class (default) pinning map item, thanks to the great advice from MapKit Tutorial: Getting Started | Kodeco, the new raywenderlich.com … thanks. We ended up with …
//: A MapKit based Playground


import MapKit

import PlaygroundSupport


class Artwork: NSObject, MKAnnotation {

  let title: String?

  let locationName: String?

  let discipline: String?

  let coordinate: CLLocationCoordinate2D


  init(

    title: String?,

    locationName: String?,

    discipline: String?,

    coordinate: CLLocationCoordinate2D

  ) {

    self.title = title

    self.locationName = locationName

    self.discipline = discipline

    self.coordinate = coordinate


    super.init()

  }


  var subtitle: String? {

    return locationName

  }

}


let chatswoodCoordinates = CLLocationCoordinate2DMake(-33.8009948,151.1664372)

>br>

// Now let's create a MKMapView

let mapView = MKMapView(frame: CGRect(x:0, y:0, width:800, height:800))


// Define a region for our map view

var mapRegion = MKCoordinateRegion()


let mapRegionSpan = 0.001

mapRegion.center = chatswoodCoordinates

mapRegion.span.latitudeDelta = mapRegionSpan

mapRegion.span.longitudeDelta = mapRegionSpan


mapView.setRegion(mapRegion, animated: true)


// Create a map annotation

let annotation = MKPointAnnotation()

annotation.coordinate = chatswoodCoordinates

annotation.title = "Chatswood"

annotation.subtitle = "Greville"


mapView.addAnnotation(annotation)


// Show artwork on map

let artwork = Artwork(

  title: "The Cheesetree",

  locationName: "Santa Clause Lane",

  discipline: "Nature, like",

  coordinate: CLLocationCoordinate2D(latitude: -33.8010376, longitude: 151.1663819))


mapView.addAnnotation(artwork)


// Add the created mapView to our Playground Live View

PlaygroundPage.current.liveView = mapView
… in MyPlayground.swift Swift source code macOS Swift desktop application code.
Previous relevant Swift Playgrounds on iPad Primer Tutorial is shown below.
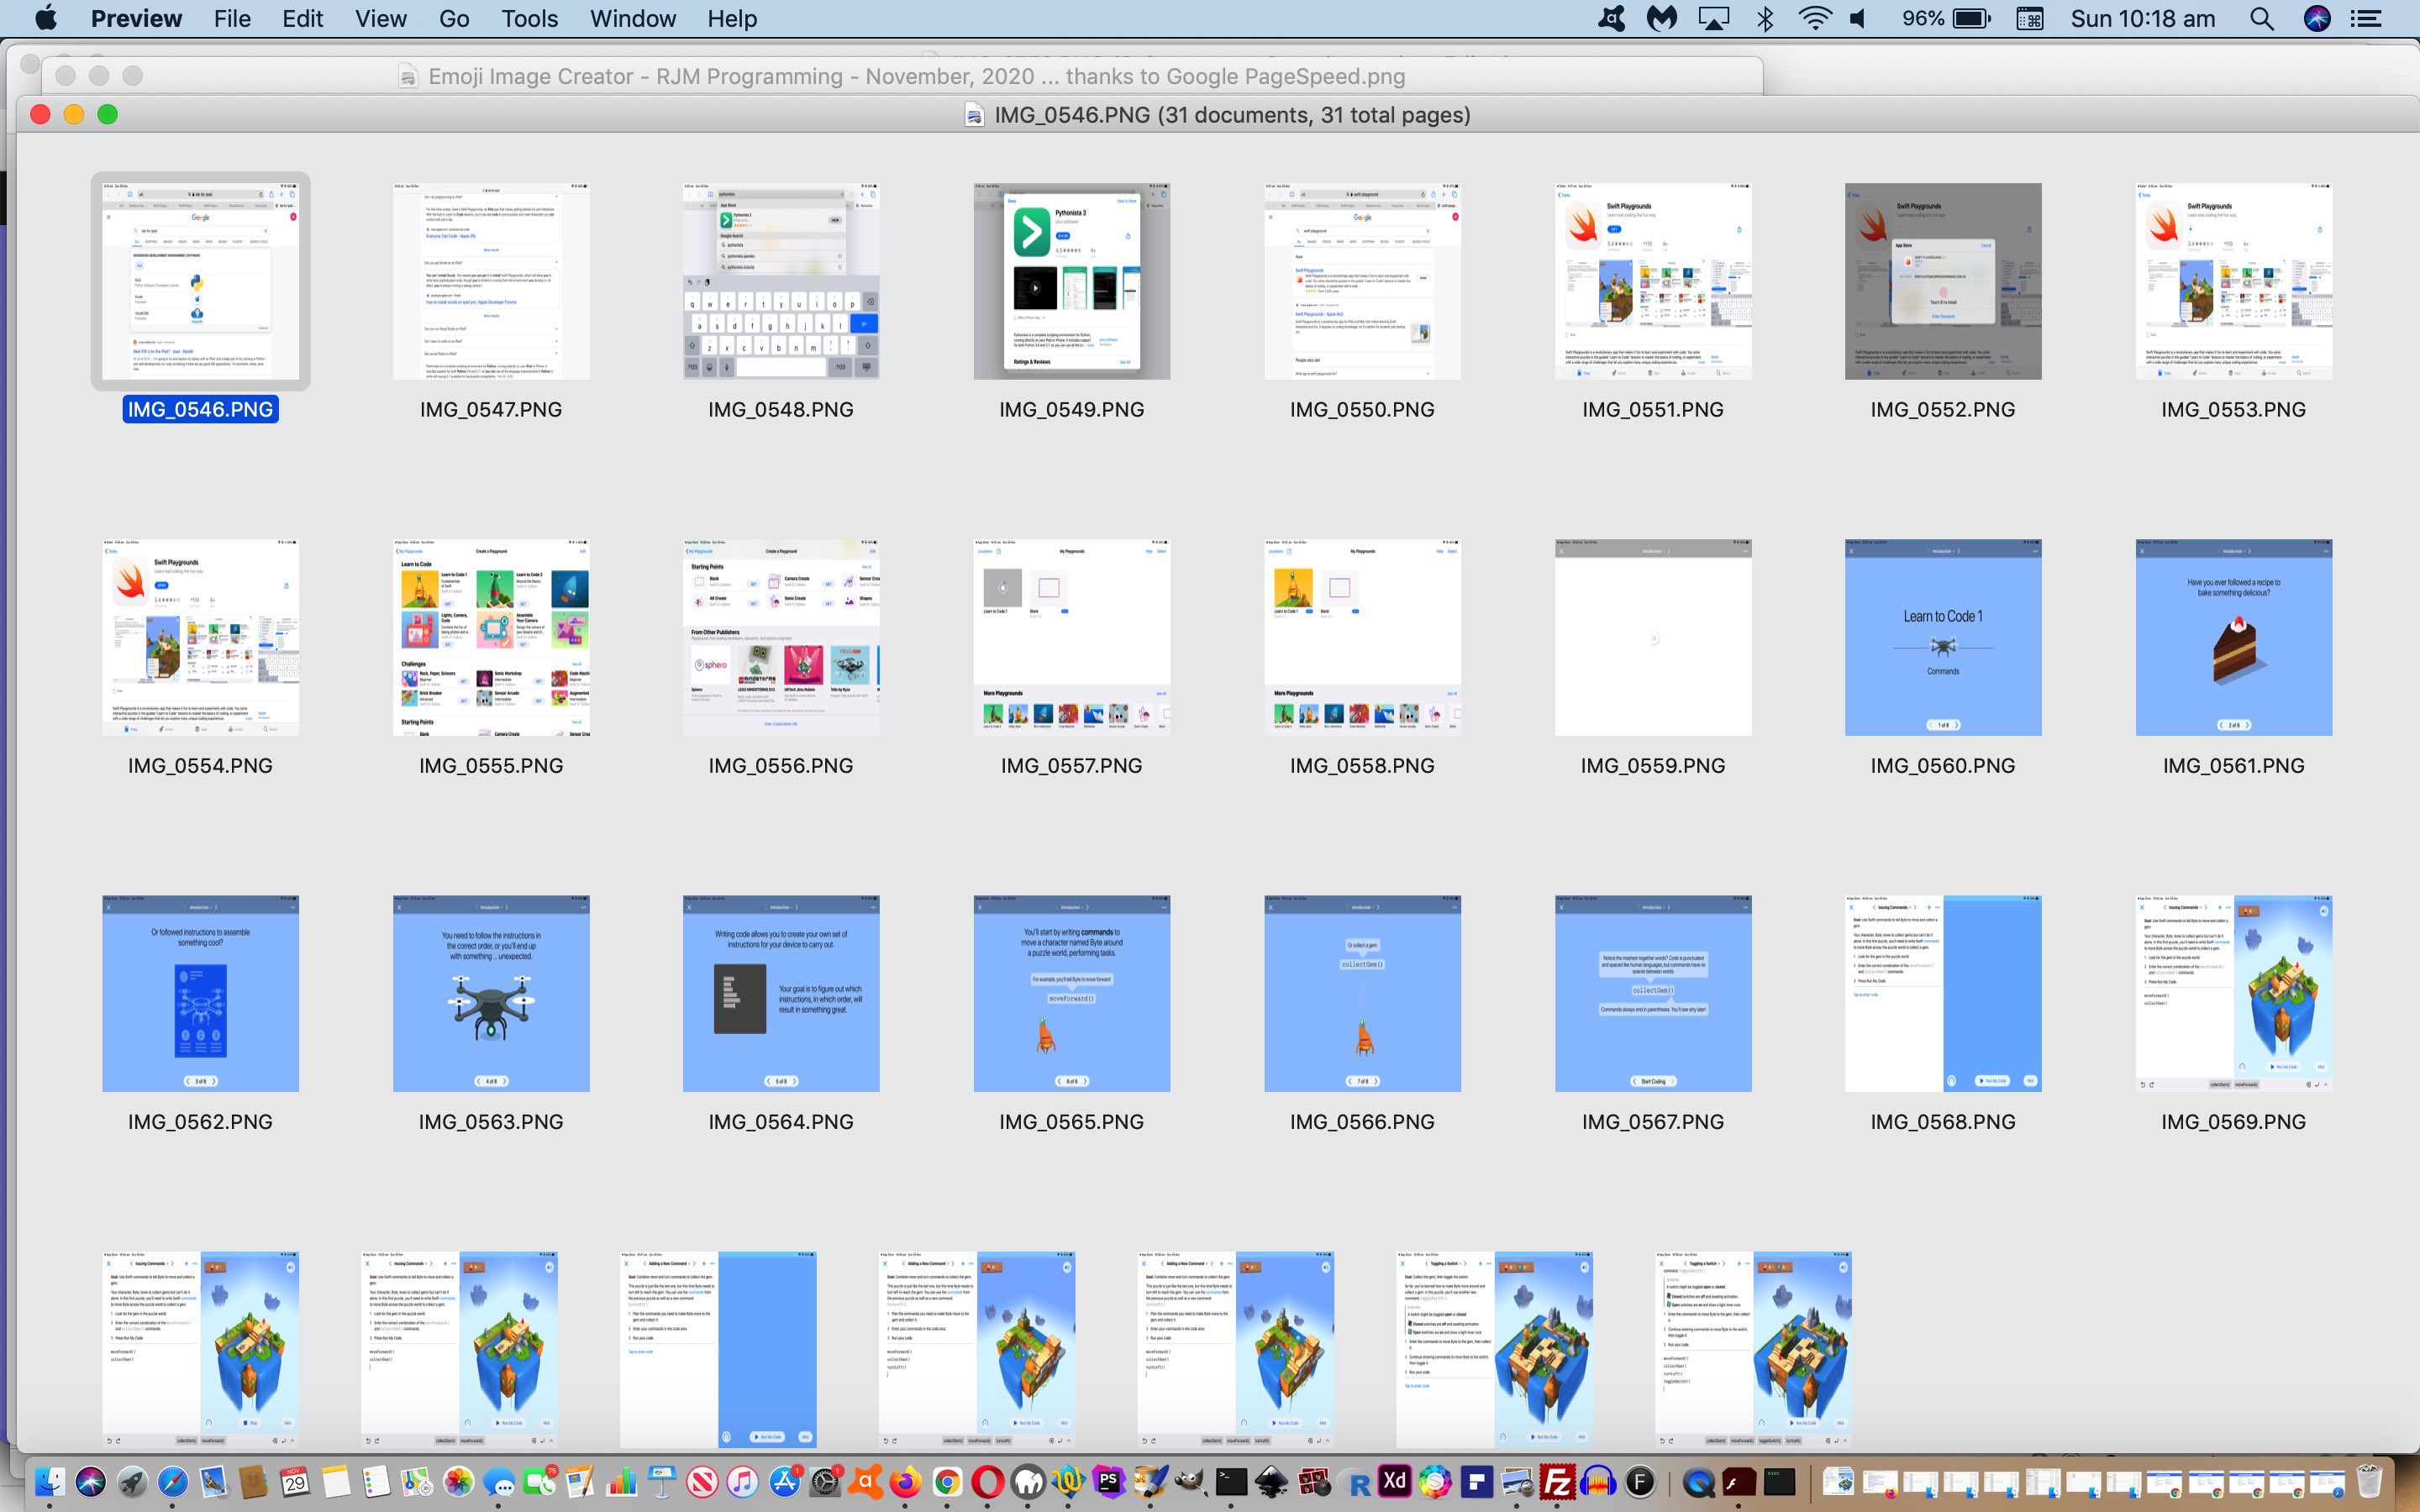
Generally speaking around here, we tend to think you need at least a laptop (eg. MacBook Pro) or desktop computer PC (macOS or Windows) or Linux operating system arrangement, to (computer) program (in other words, the iOS operating system is a missing part of the equation here). That has led us to assume more than we know, though looking into this topic via our Google search of …
… had us first looking into Python via “pythonista”, but the $14.99 price tag was far too much for us to absorb so early in the morning, and a warning that exclusive “above the fold” reading can have you suffer from (FOMO) “fear of missing out” syndrome. Reading, then, below the fold, soon turned up the Xcode IDE (we have on macOS, here, and appears “above the fold” regarding blurb actions above) programming language of choice, Swift, with its Apple iPad place …
… as a great resource into programming and “robotics feeling” coding leading to “programming action”! And the presentation may well suit young’uns getting into programming early, if that’s why you are reading this blog posting. As Swift Playgrounds starts out intimating, to “follow a recipe” and perform “steps in order” is likely to lead to the happiest programming and coding experience (to put it mildly … or … just follow orders … initially … to put it more bluntly).
Curiosity is the big key here. Start this way, and invariably if it interests, it interests, and could lead to many other avenues of knowledge, and it involving the Swift computer language, that could be a lead in to iOS mobile app development via Xcode and (paying, or not) careers in Information Technology?!
Or perhaps you are on an iPad and wish to fork out the $14.99 and get into Python, then that would be interesting too, we have no doubt. Either way, see how we R&D‘ed this topic, on an iPad, with today’s PDF presentation (dare we say) following orders.
We’ve also heard, but have not researched this, that Apple is making changes with iPad products into the future, to improve their programming capacities. Stay tuned, with Apple, on that.
If this was interesting you may be interested in this too.
If this was interesting you may be interested in this too.
If this was interesting you may be interested in this too.


