
Gimp Colors Menu Building Image Tutorial
Colour and shadow are all important with building and architectural images, whether they be at the modelling stage (with today’s balsa wood design photographs) or with real building photography. We’ve talked about Colour Balance with Gimp Colour Balance Primer Tutorial below, but today we …
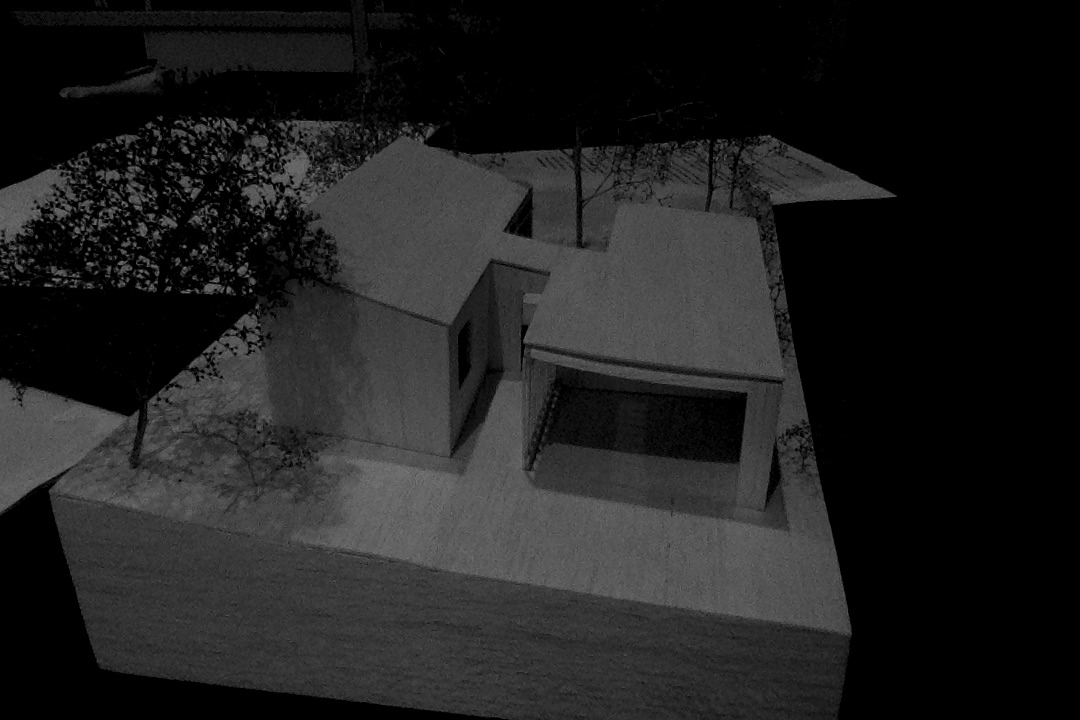
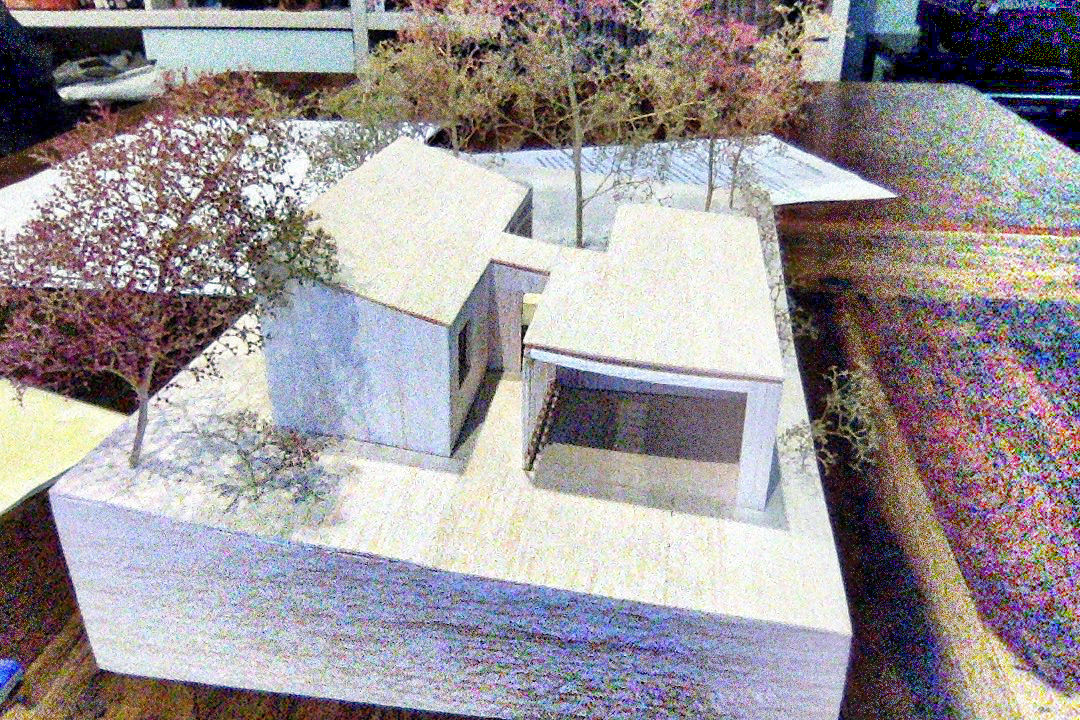
- take two original photography images “taken” using this MacBook Pro’s PhotoBooth desktop application (Export as house2.jpg and house1.jpg, as of the first two slides of animated GIF gimp_colours_menu.gif) …
- open desktop application Gimp
- File -> Open house2.jpg …
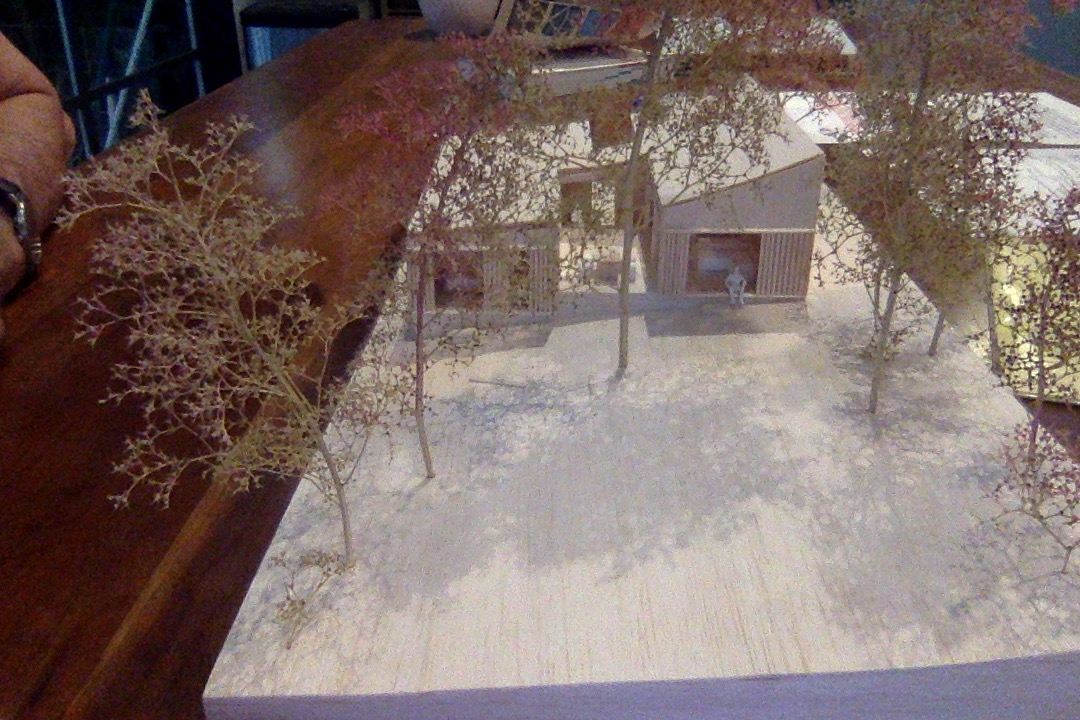
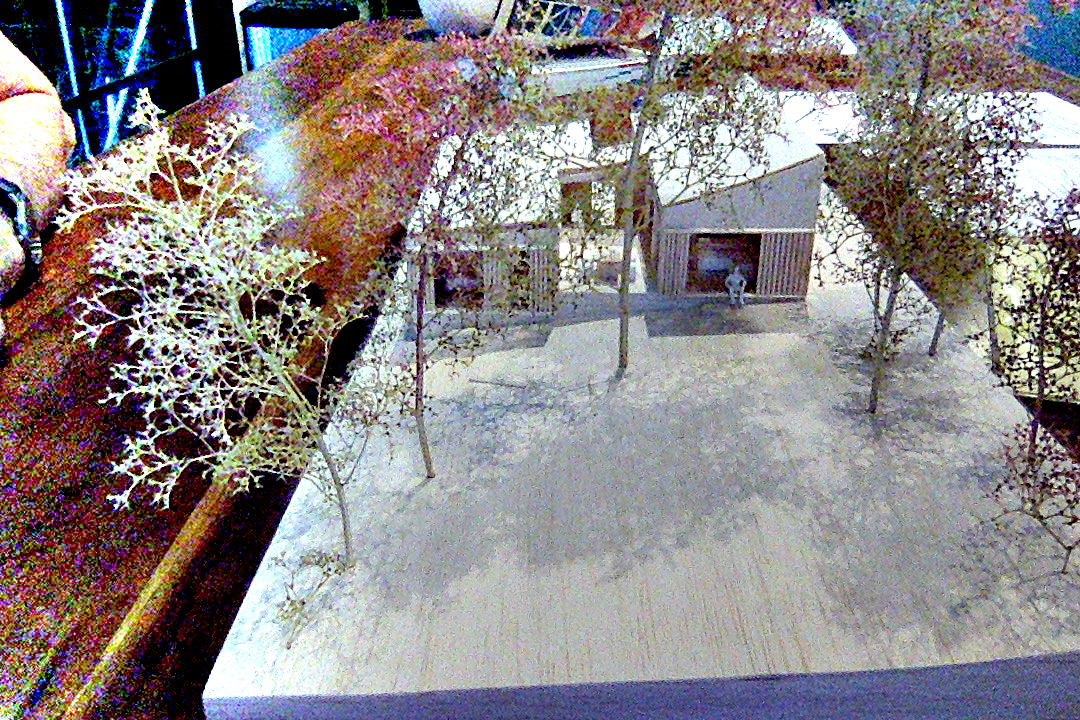
… (and house1.jpg) - Colors -> Tone Mapping -> Retinex… … we liked for the “drama”
- Export as house2_retinex.jpg …
- File -> Open house1.jpg …
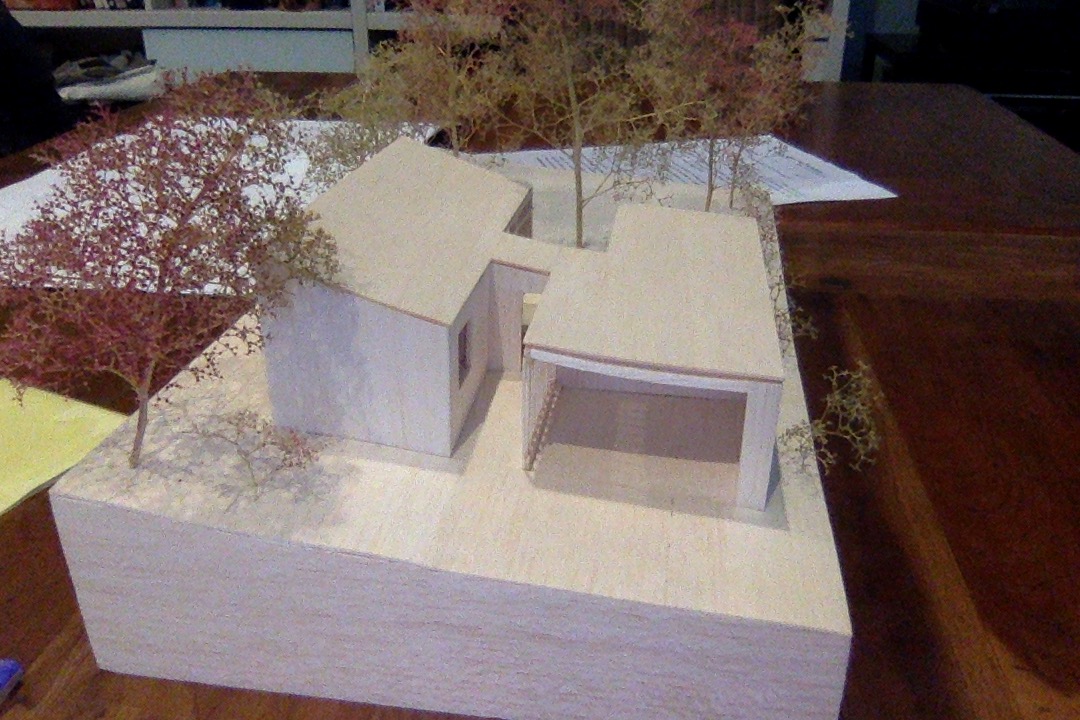
- Colors -> Hue-Chroma… -> Hue (-51.00) Chroma (-46.00) Lightness (-42.00) … reminding us of “dusk”
- Export as house1_dusk.jpg …
- File -> Open house1.jpg
- Colors -> Tone Mapping -> Stress… -> Radius (201) Samples (11) Iterations (7) Enhance Shadows (checked) … we really liked regarding the “shadows”
- Export as house1_stress.jpg …


More Gimp colour food for thought, we hope?!
Previous relevant Gimp Colour Balance Primer Tutorial is shown below.

Gimp Colour Balance Primer Tutorial
Gimp is a great graphics editor with a huge number of methods to subtlely or not so subtlely adjust your images, no matter where they have come from (today’s came from a digital camera).
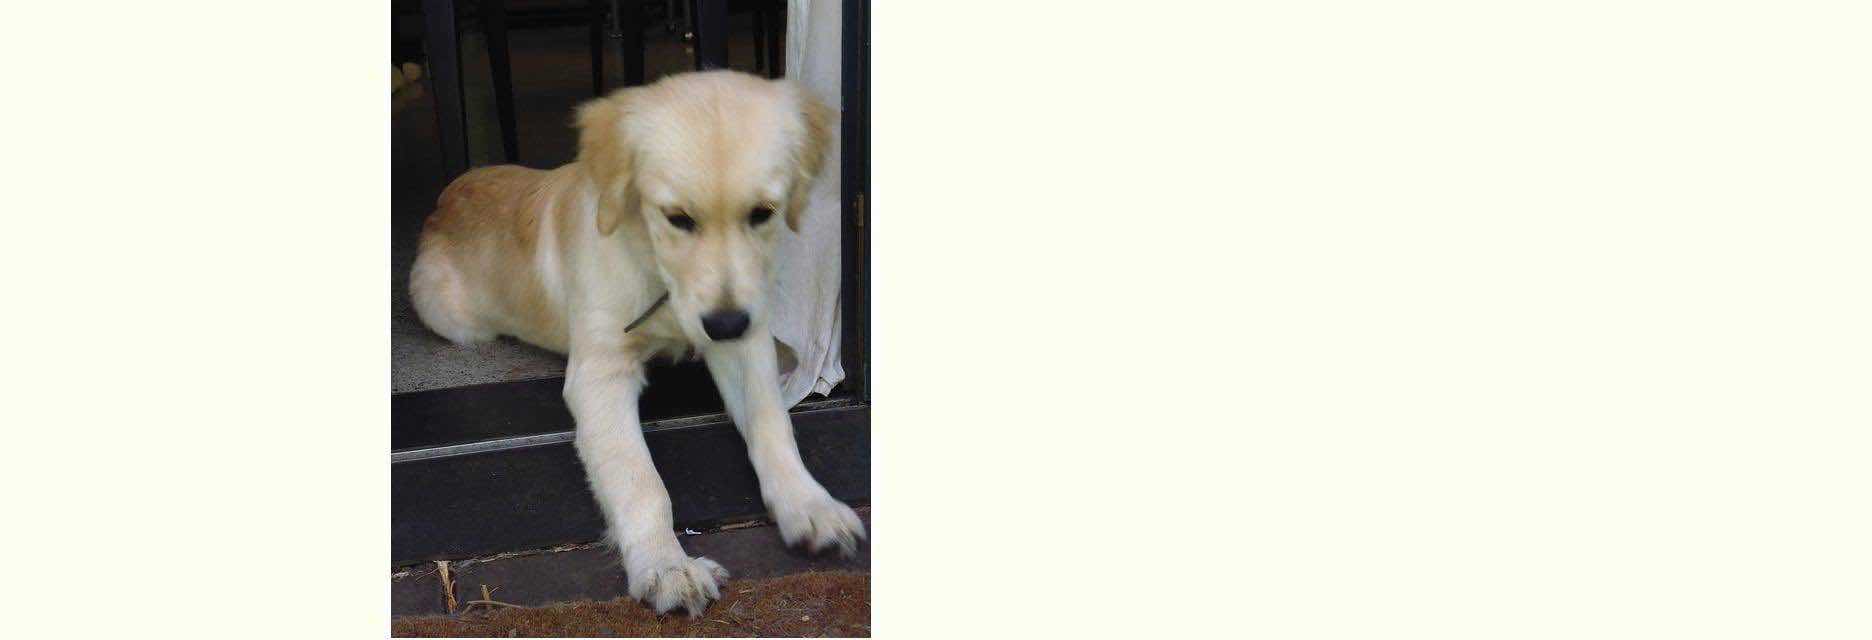
The image in question today was shot indoors, of my dear dog Nala, but the conditions did not make for a vibrant shot (a bad photographer blames his conditions, methinks) … perchance to dream … me not really think, but a strike HTML element is long overdue.
In today’s tutorial you see lots of use of options with the Colours menu, and think the most impactive filter was the Colours->Auto->White Balance option.
Just to reiterate the steps shown in the tutorial …
- Open image file via Gimp (File menu Open option) or Finder right-click Open-With Gimp
- Use lots of the functionality within the Colours main menu to adjust the image, like White Balance, Hue and Saturation, Darkness/Lightness
- Export to Save As a jpeg with about 70% quality (see at the end the almost 5x reduction in file size)
For my mind, some lessons here are that Gimp image adjustment work is very subjective, many of the subtle improvements to images depend on the functionality around the Colours menu if you desire not to change the basic natural premise of the photograph, and that no matter what you do, there is a good chance you can improve performance of this image at a website by the way an export to jpeg can reduce the filesize coming out of your digital camera.
If this was interesting you may be interested in this too.
If this was interesting you may be interested in this too.

