Here is a tutorial that adds to a previous Gimp Layers Primer Tutorial as shown below, and gives you more insight into the massive possibilities of using a sophisticated image editor and use layers with various amounts of transparency, especially suited to use with png image files.
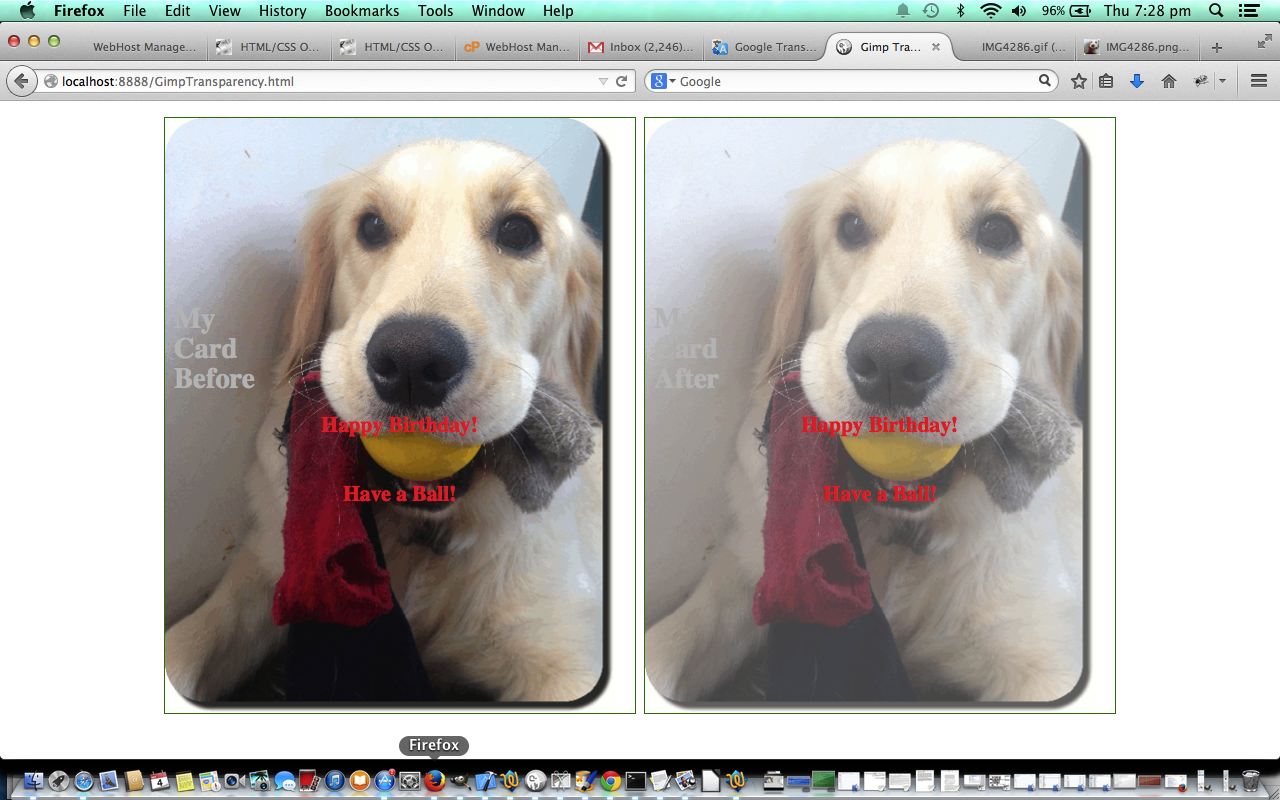
Today’s tutorial where we construct a Birthday Card that needs tweaking for the words in front to be seen a bit more clearly, by making the image behind a bit more transparent, changes the transparency of a single image via:
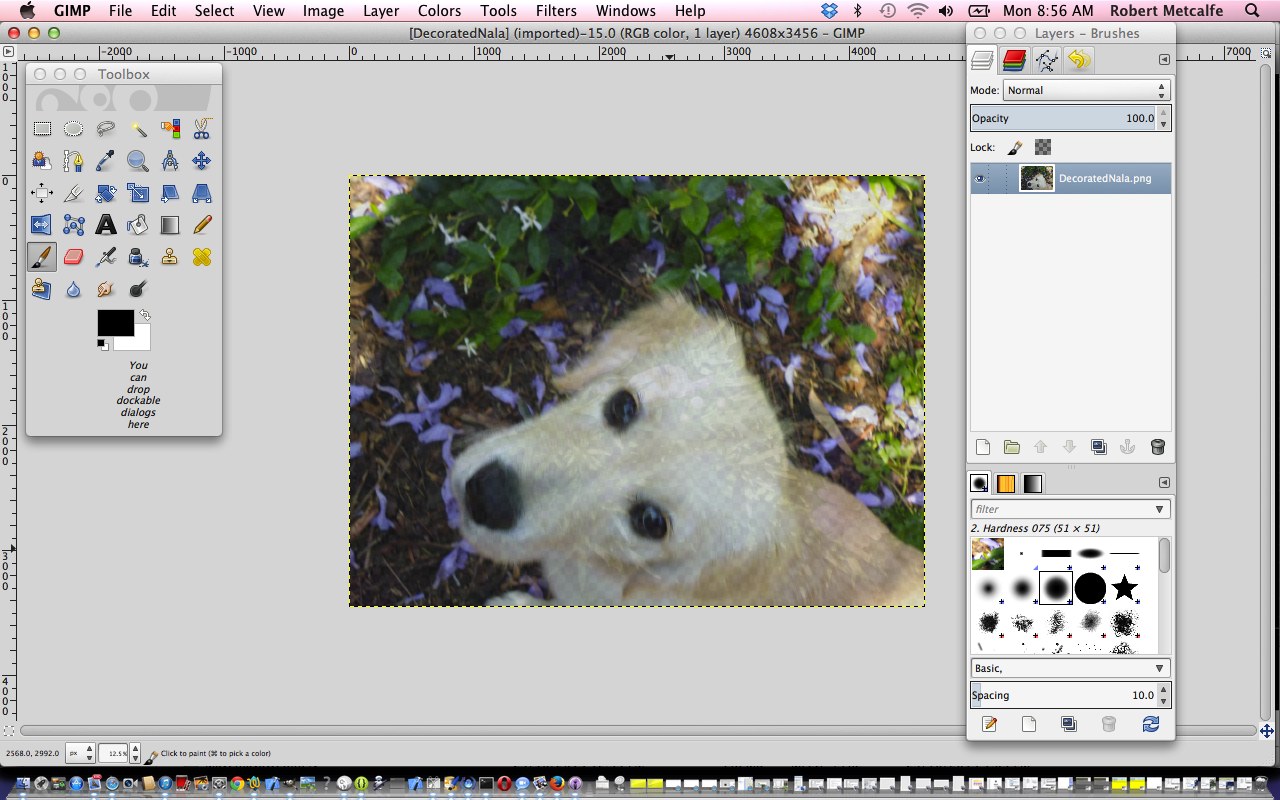
- Open Gimp graphical editor application
- File->Open Layers … pick your image file
- If Layers window not showing, make it show via Windows->Layers – Brushes
- Below Opacity bar select Link icon next to Eye icon, which will already be showing
- Change Opacity bar setting to a value of Transparency (100% is Opaque, 0% is Transparent) that suits … today we do 70%
- File->Export
- Click Export button in two windows (NB. this overwrites the image file, so if this is not desirable, export to a different image file name and/or type)
Transparency (or its obverse, opacity) can be used to have the one image achieve several “ends” (ie. purposes). Although it is a bit of a clumsy example in the tutorial, you can see that the technique can be used for artistic purposes … often called “Photoshopping” (named after the more famous, and also brilliant, rival product, Photoshop).
Lots of those classic “Photoshopping” techniques can be achieved in Gimp, and some other tutorials at this blog touch on that.
Am sure you can imagine what the concept of a layer is with regard to image manipulation. Within Gimp, for beginners not used to this concept, you find yourself underestimating and underplaying what can be achieved with the various layers of a multi-layered image. In simplistic terms each layer has the functionality in Gimp to be treated as a whole new image, and this is the best way to think of it when trying to achieve what you want to achieve with Gimp.
So here, today, is the Happy Birthday card before and after as GimpTransparency.html. No animals were harmed in the making of this blog posting. Nala spends a lot of time honing her retrieving skills. You only think you haven’t lost something, and then there is Nala.
Thinking on it there are two reasons why this blog posting fits, also, into the theme of “overlay”, in that:
- The writing on top of the images on the Birthday Cards is a form of “overlay” … of a td HTML table cell element … the image is a background URL
- The tutorial below anchored that previous series of blog postings with the “overlay” theme
So here is a link to the top of the previous “series” of blog posts on the “overlay” theme (from recent times) … Gimp Animated GIF Overlay Tutorial … keep reading, if it interests you, as there are lots of “angles” to the discussion, as you work your way down.
Link to Gimp “spiritual home” … here.
Link to Gimp forum … here.
Previous relevant Gimp Layers Primer Tutorial is shown below.
Here is a tutorial that gives you an insight into the massive possibilities of using a sophisticated image editor and use layers with various amounts of transparency, especially suited to use with png image files.
Transparency (or its obverse, opacity) can be used to have the one image achieve several “ends” (ie. purposes). Although it is a bit of a clumsy example in the tutorial, you can see that the technique can be used for artistic purposes … often called “Photoshopping” (named after the more famous, and also brilliant, rival product, Photoshop).
Lots of those classic “Photoshopping” techniques can be achieved in Gimp, and some other tutorials at this blog touch on that.
Am sure you can imagine what the concept of a layer is with regard to image manipulation. Within Gimp, for beginners not used to this concept, you find yourself underestimating and underplaying what can be achieved with the various layers of a multi-layered image. In simplistic terms each layer has the functionality in Gimp to be treated as a whole new image, and this is the best way to think of it when trying to achieve what you want to achieve with Gimp.
Link to Gimp “spiritual home” … here.
Link to Gimp forum … here.
If this was interesting you may be interested in this too.
If this was interesting you may be interested in this too.


