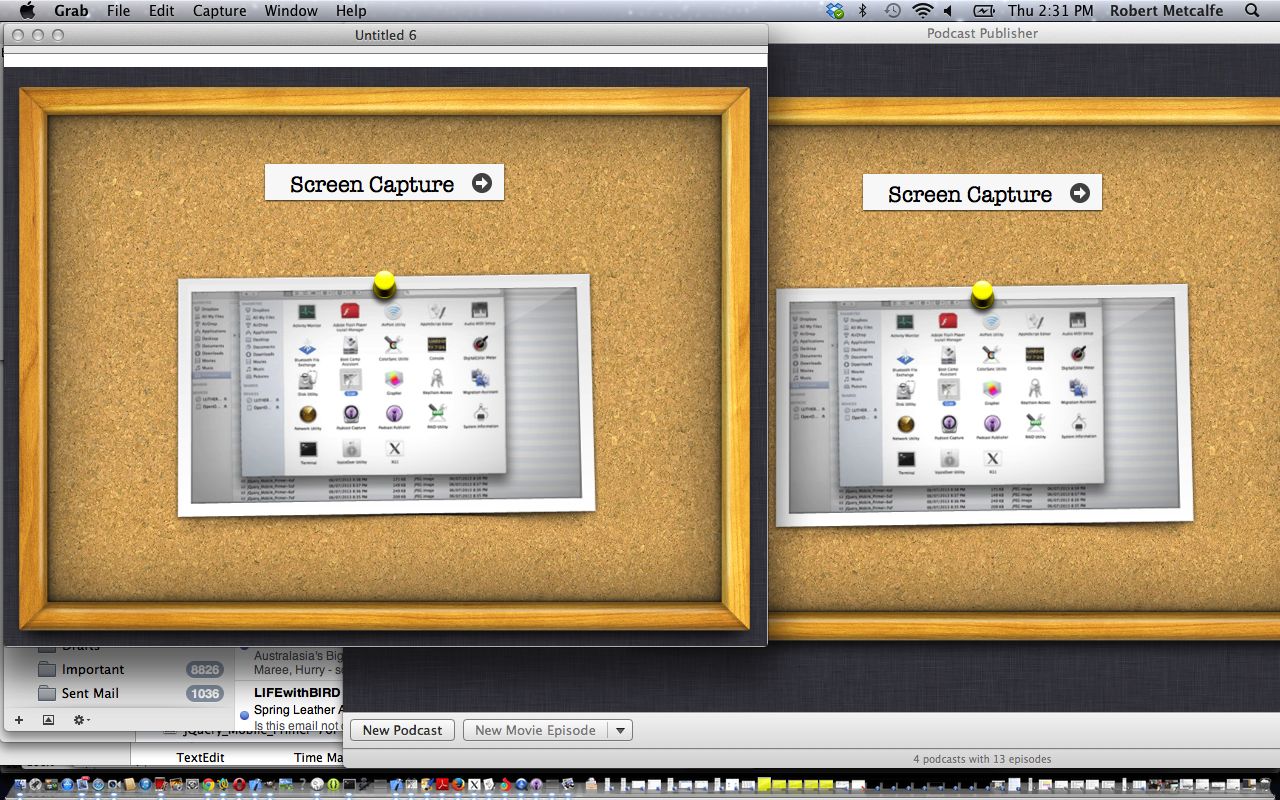
Are you looking to explain a computer procedure, and you are using a Mac OS X operating system? Welcome to the Grab tutorial which augments the previous QuickTime Player Screen Capture Recording Tutorial, which we hope will steer you in the right direction. This tutorial uses the Grab application to create a single screen capture snapshot at any time with a variety of capture methods, similar to the Windows Fn-PRTSC technique (hold Function key and PRTSC keys at same time and a screen snapshot of screen gets copied to the Windows clipboard) you may be familiar with. You can build up the presentation slide by slide using this technique, rather than having a continuous stream/movie of capture.
Grab has modes of capture for …
- screen
- window
- selection
- timed screen … use to get the best context for explaining software workings
Click on picture above to see this tutorial where you can see some screen capture techniques in both Windows and Mac.
In order to incorporate the Windows Fn-PRTSC slides you may be interested to know the three slides were done via (x3) …
- Get Windows laptop ready for a relevant snapshot to be taken
Adjust the hair… this is rubbish … comb the hair- Open Mac Photo Booth application and get the Mac laptop close enough to take snapshot of Windows laptop (in reverse)
- Reveal that Photo Booth picture in Finder
- Open that picture in Preview (great for PDFs as well)
- Use Preview’s Tools->Flip Horizontal functionality to put picture back to reality, then Edit->Select All and Edit->Copy
- Open Paintbrush and use File->New from Clipboard (and each of these can be revealed in its proper order during the making of the podcast … oh, you haven’t read that bit yet … oops!)
… incorporated into a podcast made of the whole thing using Podcast Publisher (introduced with Podcast Publisher Primer Tutorial).
Think maybe the greatness of Fn-PRTSC (having been around for so long now) may have dulled us to the significance of what this represents, but this early days advance opened the door to lots of animation and presentation possibilities … so Grab a drink and have some toast (if you are hungry) or have a toast (if it’s afternoon drinkies time your way … ooooh Izzzz’llll driinkkss to tzat!!).
Link to Grab information page … via Apple.
Did you know?
Mac OS X does have a keyboard shortcut alternative to the Grab approach. Take a read of this webpage …
Taking a screen shot with command – control – shift 3 or 4 will put the screenshot onto the clipboard. To save the screen shot to the desktop do command – shift 3 or 4. (no control key)
Previous relevant QuickTime Player Screen Capture Recording Tutorial show below.
Are you looking to explain a computer procedure, and you are using a Mac OS X operating system? Welcome to the QuickTime Player Screen Capture Recording Tutorial, which we hope will steer you in the right direction. This tutorial uses the QuickTime Player application to create a movie file which can be used on the Web or Desktop as a visual means of showing a set of steps in a procedure, for instance. QuickTime protocols and standards were invented by Apple, and are included in Mac OS X operating systems.
QuickTime is an extensible multimedia framework developed by Apple Inc., capable of handling various formats of digital video, picture, sound, panoramic images, and interactivity. The classic version of QuickTime is available for Windows XP and later, as well as Mac OS X Leopard and later operating systems. A more recent version, QuickTime X, is currently available on Mac OS X Snow Leopard, Lion, and Mountain Lion.
QuickTime Player also does other types of Movie Recordings, and also does Audio Recordings, all of which can be incorporated into YouTube videos, as you would expect.
Click on picture above to see this tutorial where you can see the creation of a screen capture *.mov file on a Mac laptop desktop.
Link to QuickTime more information … via Wikipedia, from where quote above came.
Link to QuickTime home page … via Apple.
Link to … Quick, Time is up, Player!
If this was interesting you may be interested in this too.
If this was interesting you may be interested in this too.


