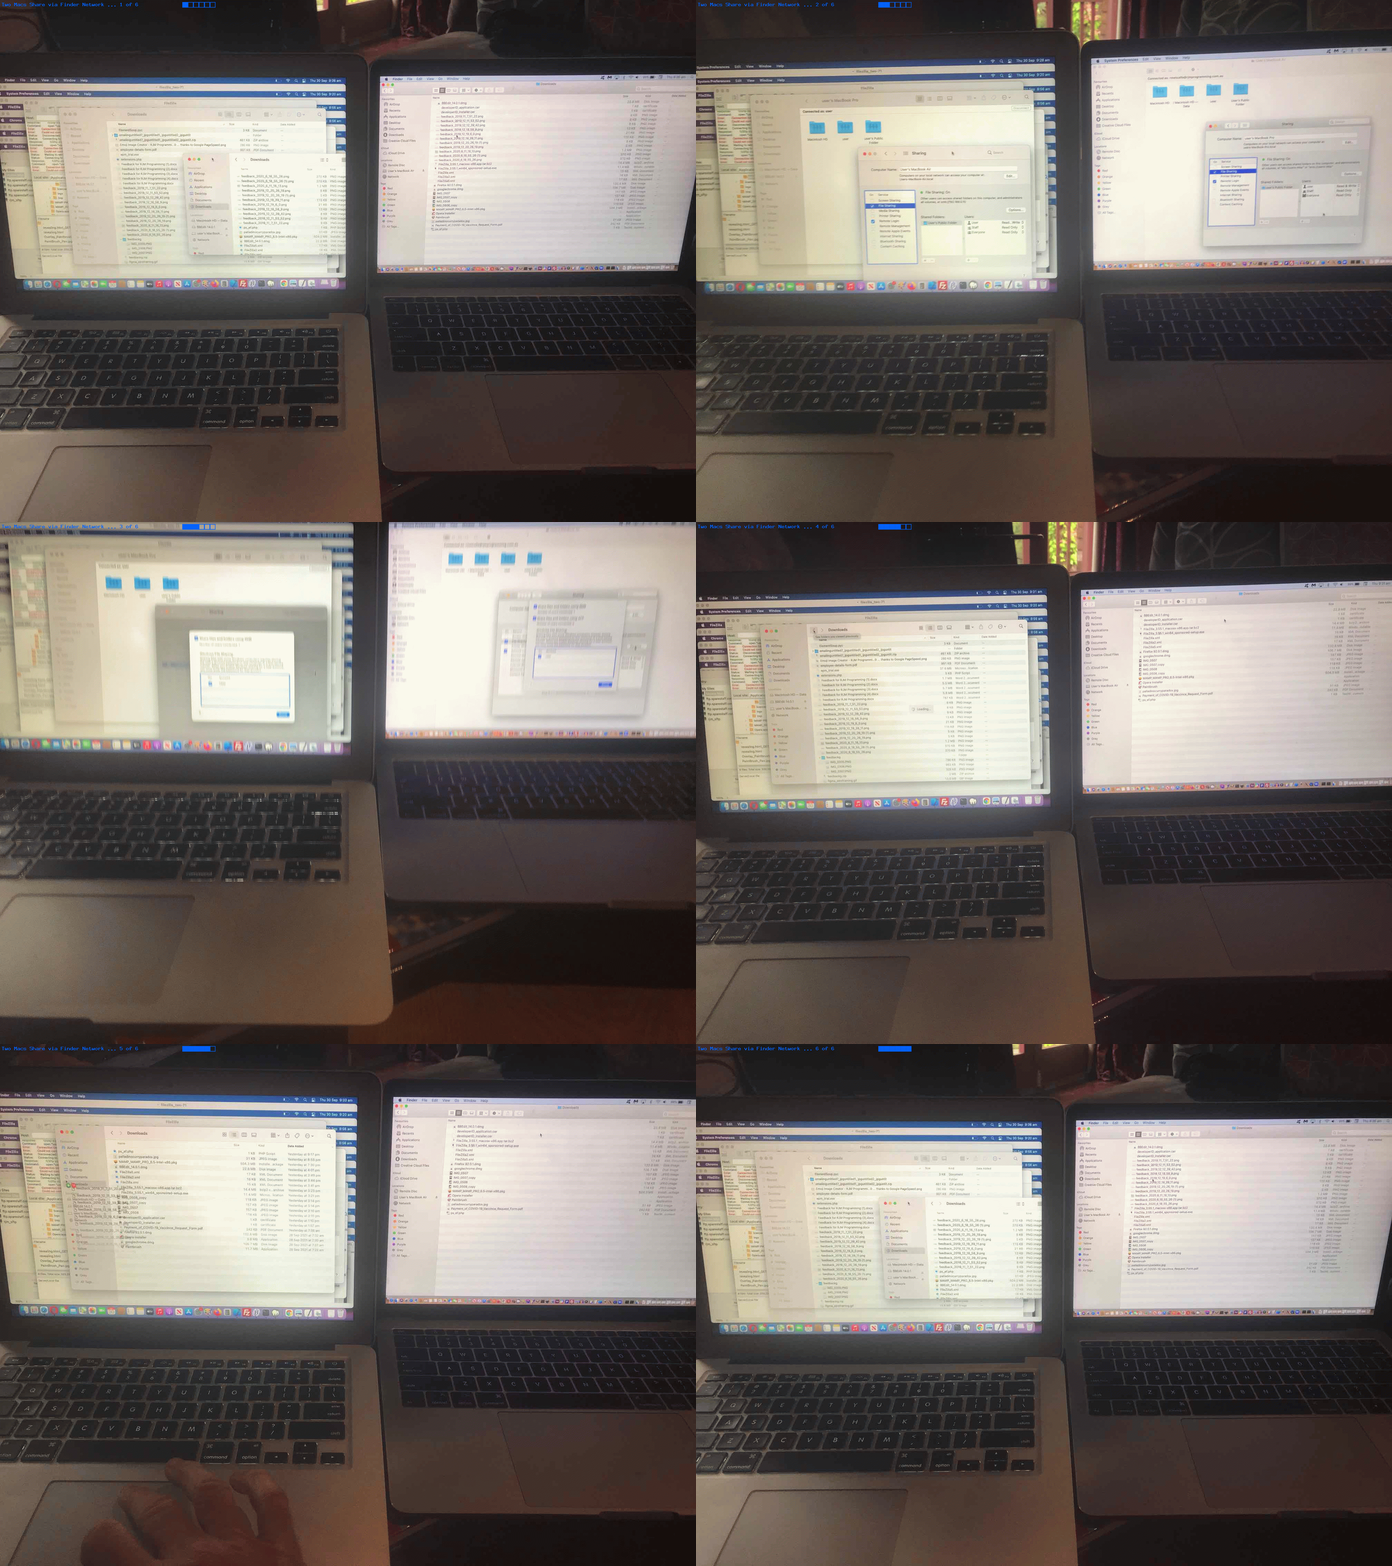
Today’s “Mac to Mac” file sharing “dream” (of ours) shares themes with File Server Sharing Mac with PC Tutorial below. Unlike below, though, our “dream” incorporated the use of our beloved FileZilla sftp web server access desktop application’s involvement.
Sounds cute, huh?! But trying to do it and doing it are two different things, and we wish we’d discovered the “misnomerly named” Using Filezilla with Samba a lot earlier. It doesn’t seem to be achievable with (Samba themed) hostnames like smb://users-mbp or smb://192.168.0.10 trying ports like 139 or 445.
And so we pared back the complexity of our Apple thinking back to …
- open macOS Finder window(s)
- click Network icon(s) at the left
- if your partnering Mac is there you should be able to file share both ways to folders like “Downloads” and “Documents” and maybe “Desktop” between the two Macs
… but if you should find no Network icon in the Finder window you may need to …
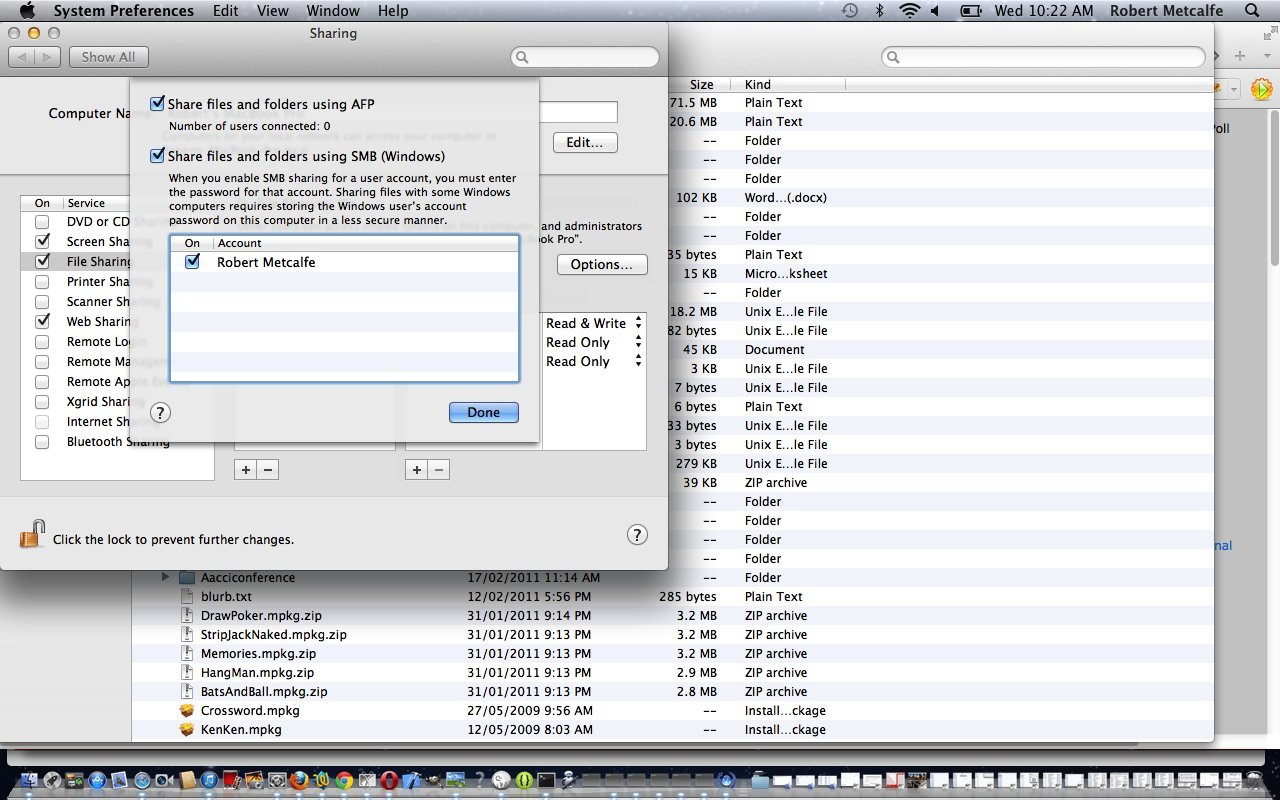
- open System Preferences… …
- click Sharing icon … and we seemed to need to …
- set on Remote Login permissions … and …
- set on File Sharing permissions along with setting on any relevant username(s) in the Options button menu’s list of checkboxes (where you get the chance to define username relevant password(s))
… to start seeing that Network icon in the relevant Finder window. And we were then able to (basically follow our “usual Finder nose” regarding) file share transfer between a …
- MacBook Pro under macOS Mojave 10.14.6 … and …
- MacBook Air under macOS Big Sur 11.6
Among other macOS (and iOS) File Sharing ideas are your, perhaps, more conventional desktop application/hardware ideas such as …
… and/or for that initial “big time” copy, think about Migration Assistant.
Previous relevant File Server Sharing Mac with PC Tutorial is shown below.
Found this tutorial very interesting. It can be wasteful to overlook simple things. Take, for example the humble Mac application called TextEdit. From now on, am going to call it “The Broker”. The reason is, it is a simple application probably intended as a Text Editor (but Apple calls it a Word Processor, and now understand them to be correct) by real trade (here my personal Mac favourite is TextWrangler), but over time being the Mac OS X flagship for flexibility, so over time … am guessing? … it has been given some really cute features. It reads *.htm* HTML files, it reads *.doc* Microsoft Word document files … not perfectly, for the more complicated scenarios but really very well for text items, for example. Well, that is good, but it also Exports PDF … so finally we have a tutorial about one of the big ticket protocol-type items of the net, the PDF file. We need Wikipedia while we take a bex!
Portable Document Format (PDF) is a file format used to represent documents in a manner independent of application software, hardware, and operating systems.[1] Each PDF file encapsulates a complete description of a fixed-layout flat document, including the text, fonts, graphics, and other information needed to display it. In 1991, Adobe Systems co-founder John Warnock outlined a system called “Camelot”[2] that evolved into PDF.
While Adobe Systems made the PDF specification available free of charge in 1993, PDF remained a proprietary format, controlled by Adobe, until it was officially released as an open standard on July 1, 2008, and published by the International Organization for Standardization as ISO 32000-1:2008.[3][4] In 2008, Adobe published a Public Patent License to ISO 32000-1 granting royalty-free rights for all patents owned by Adobe that are necessary to make, use, sell and distribute PDF compliant implementations.[5]
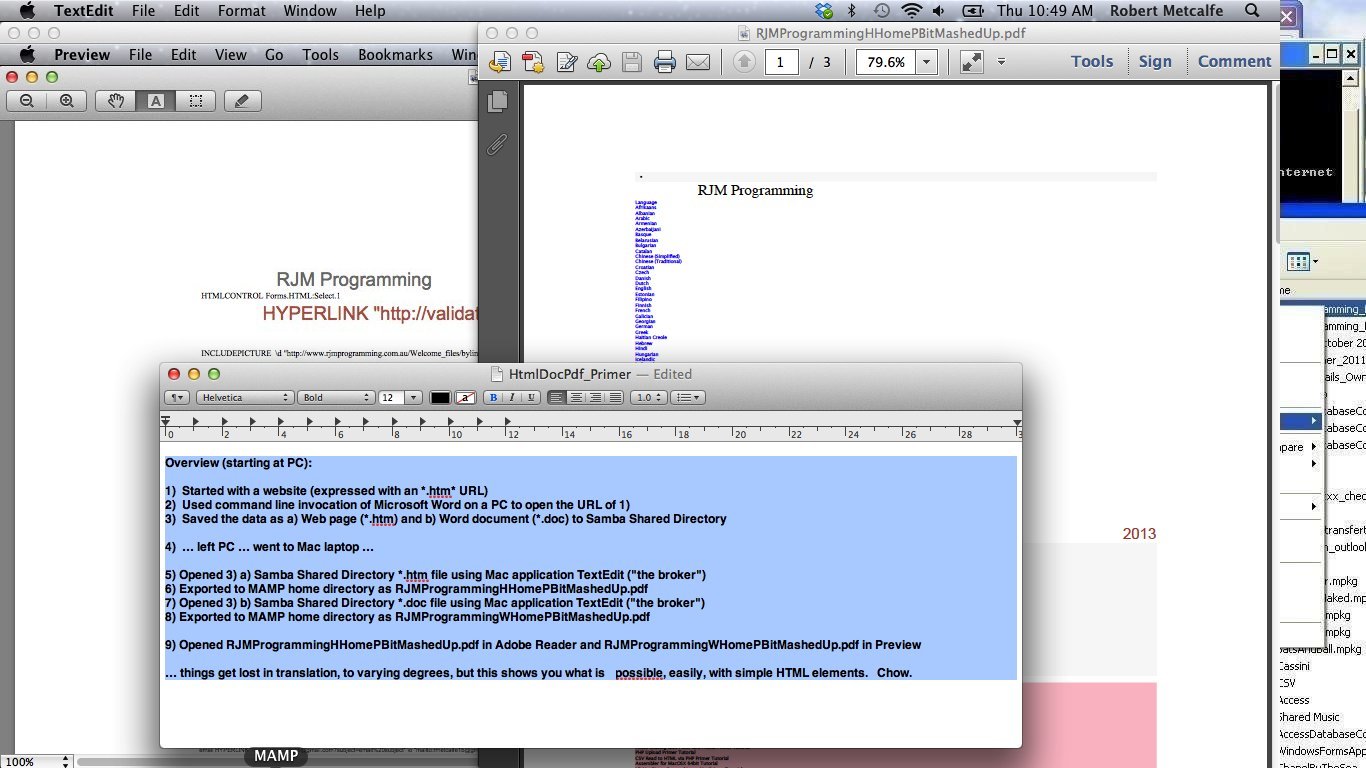
Okay, today we do some imperfect conversions, warts and all, but you have to see how good using humble old TextEdit (free with a Mac laptop, for example) “The Broker” can be to write out some PDF, and so have another way in to useful (local MAMP web server (in the case of this tutorial, but the woorrrld is your oyster))) web work (because PDF=”useful web work” … it is well supported for web and mobile apps). The last slide of tutorial (and of picture above) sums up what this tutorial’s aim is:
Overview (starting at PC):
1) Started with a website (expressed with an *.htm* URL)
2) Used command line invocation of Microsoft Word on a PC to open the URL of 1)
3) Saved the data as a) Web page (*.htm) and b) Word document (*.doc) to Samba Shared Directory
4) … left PC … went to Mac laptop …
5) Opened 3) a) Samba Shared Directory *.htm file using Mac application TextEdit (“the broker”)
6) Exported to MAMP home directory as RJMProgrammingHHomePBitMashedUp.pdf
7) Opened 3) b) Samba Shared Directory *.doc file using Mac application TextEdit (“the broker”) … so, in this tutorial (only), can be called HTTP://localhost:8888/RJMProgrammingHHomePBitMashedUp.pdf in any web browser (if MAMP is up and going)
8) Exported to MAMP home directory as RJMProgrammingWHomePBitMashedUp.pdf (if you get emoticon here, well, that’s a bonus!) … so, in this tutorial (only), can be called HTTP://localhost:8888/RJMProgrammingWHomePBitMashedUp.pdf in any web browser (if MAMP is up and going)
9) Opened RJMProgrammingHHomePBitMashedUp.pdf in Adobe Reader and RJMProgrammingWHomePBitMashedUp.pdf in Preview
… things get lost in translation, to varying degrees, but this shows you what is possible, easily, with simple HTML elements. Chow.
Below are some good background reading for the concepts of these tutorials all via Wikipedia:
- File Server
- File Sharing
- Samba
- PDF (as per quote way above)
If this was interesting you may be interested in this too.
If this was interesting you may be interested in this too.


