
Email Photos Amidst Text on iPad as Attachments Primer Tutorial
The previous Email Photos on iPad as Attachments Primer Tutorial …
- showed a useful way to construct an email with attachments from the point of view of you having taken the photos and constructing the email off that … but …
- you may be a person that works it better writing out the text first then thinking about the photo attachments … and we’re here to tell you, on macOS or iOS …
All is Not Lost! (The End is Not Nigh)
Here are the steps using Gmail webmail for macOS and Mail app for iOS (very close to instructions for others under macOS or iOS) …
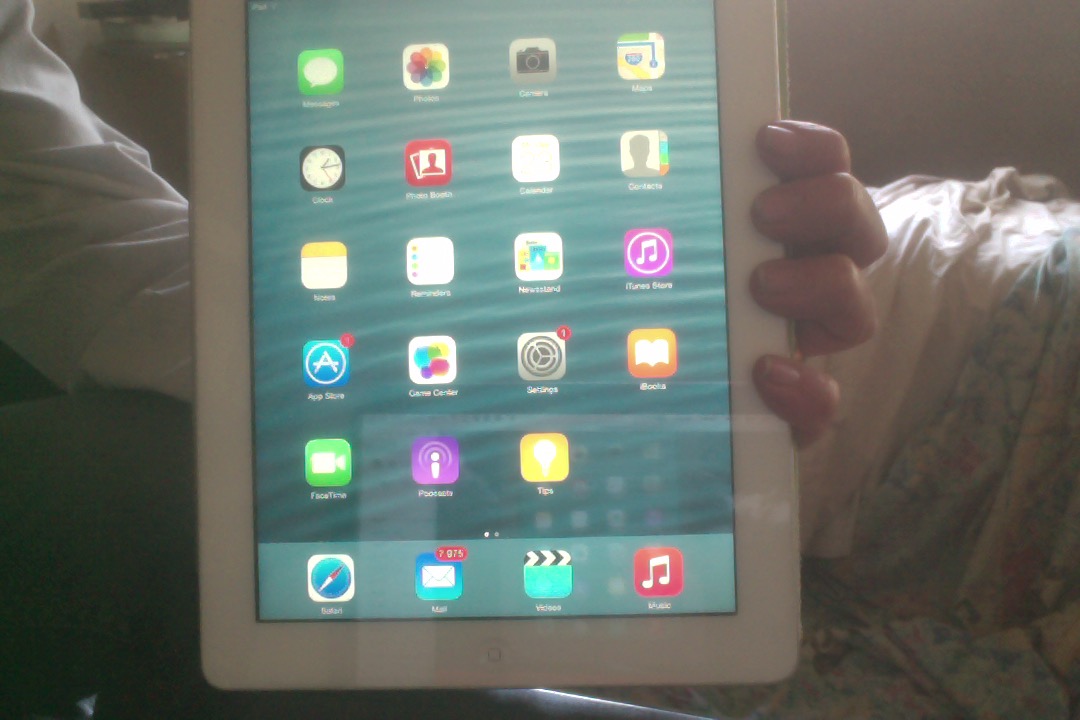
- Login, as required, to Gmail for macOS or tap Mail icon for iOS …
- Click Compose button for macOS or new message icon down bottom right for iOS …
- Type in a To email address, then tab/tap out …
- Type in a Subject line, then tab/tap out … to Body section of email …
- Type in the main gist and detail of your email … and when this reaches the stage where everything but any attachments is complete …
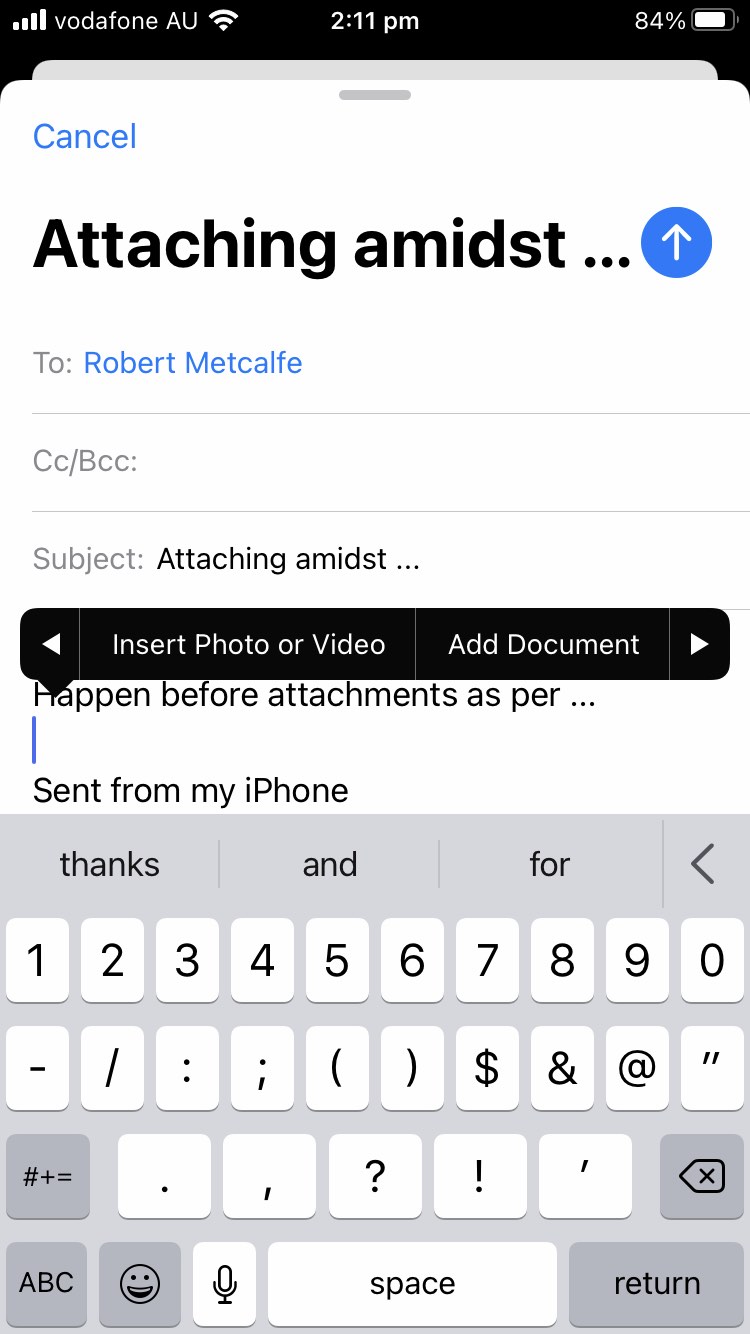
- Scroll/tap to a place to attach and leave the cursor there …
- In macOS click the paperclip attachment icon and in iOS hold a touch for longer than usual (and drag (the menu) as needed to the left) until an “Insert Photo or Video” menu appears, that you should tap …
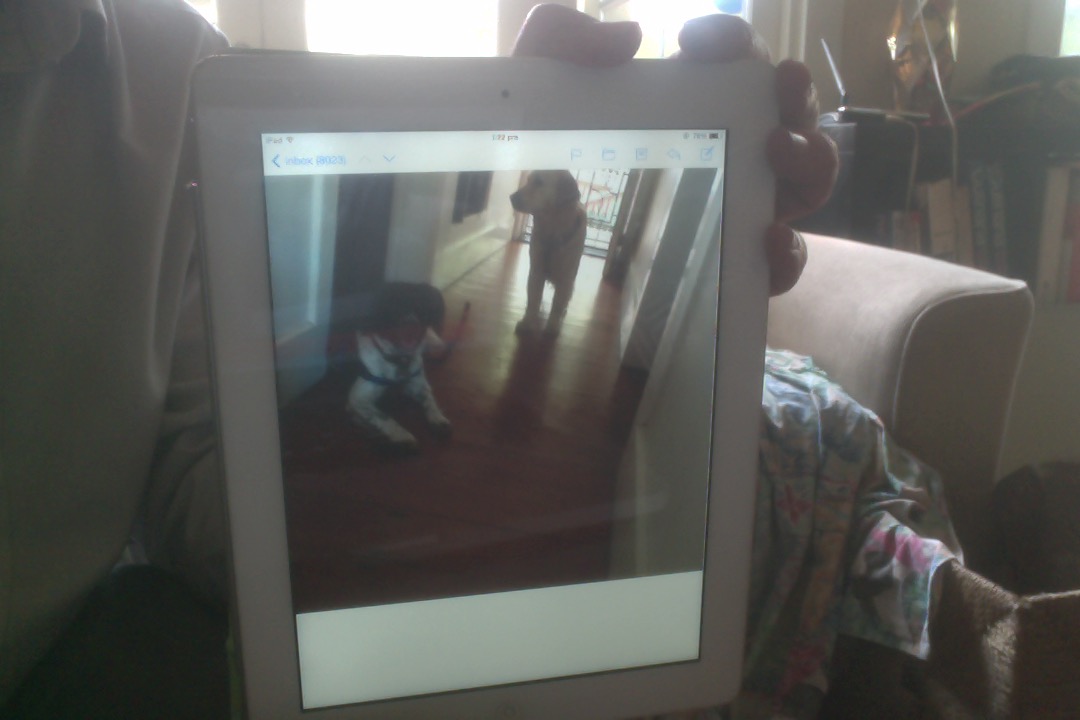
- Browse for photo(s), in Photos app, to attach …
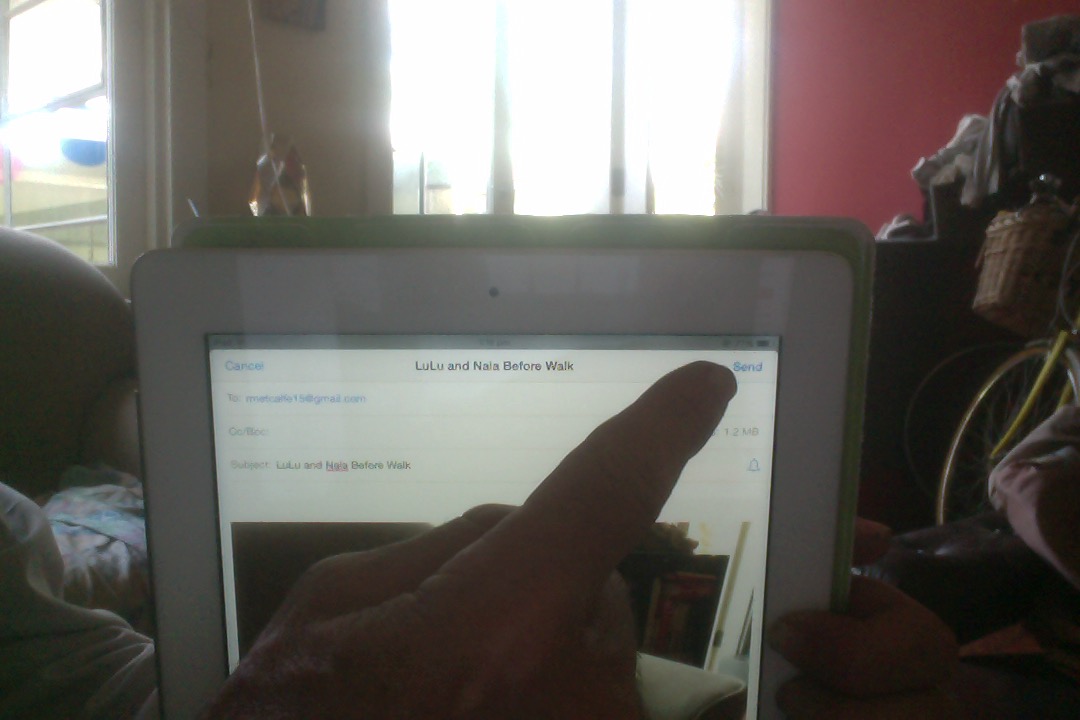
- Click/tap Send
Previous relevant Email on iPad as Attachments Primer Tutorial is shown below.
Email Photos on iPad as Attachments Primer Tutorial
It’s easy on tablets to email photos to people. Tablets can usually be the camera and the photo gallery mechanism and the means to construct and send the email.
Today, ready at hand is an iPad to show you the methodology on an Apple iPad, but have used similar techniques on Samsung Android tablets.
- Take photos … maybe via iPad’s Camera (desktop) app
- Access iPad desktop ℹ
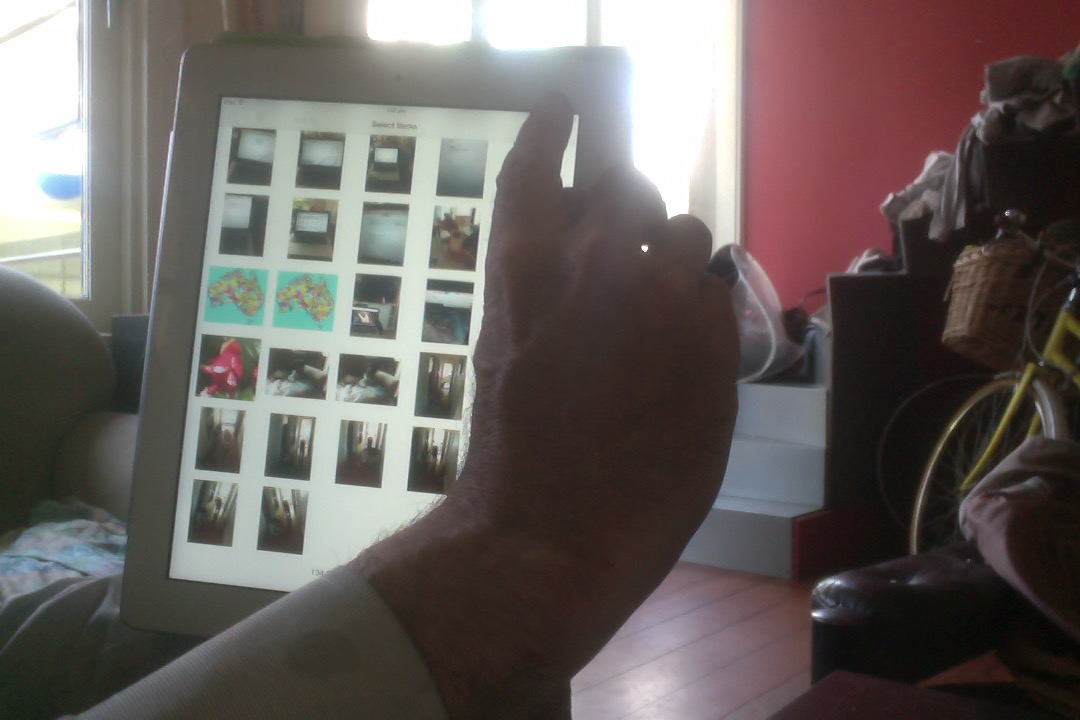
- Tap Photos app ℹ
- Choose Select button (like link) at top right ℹ
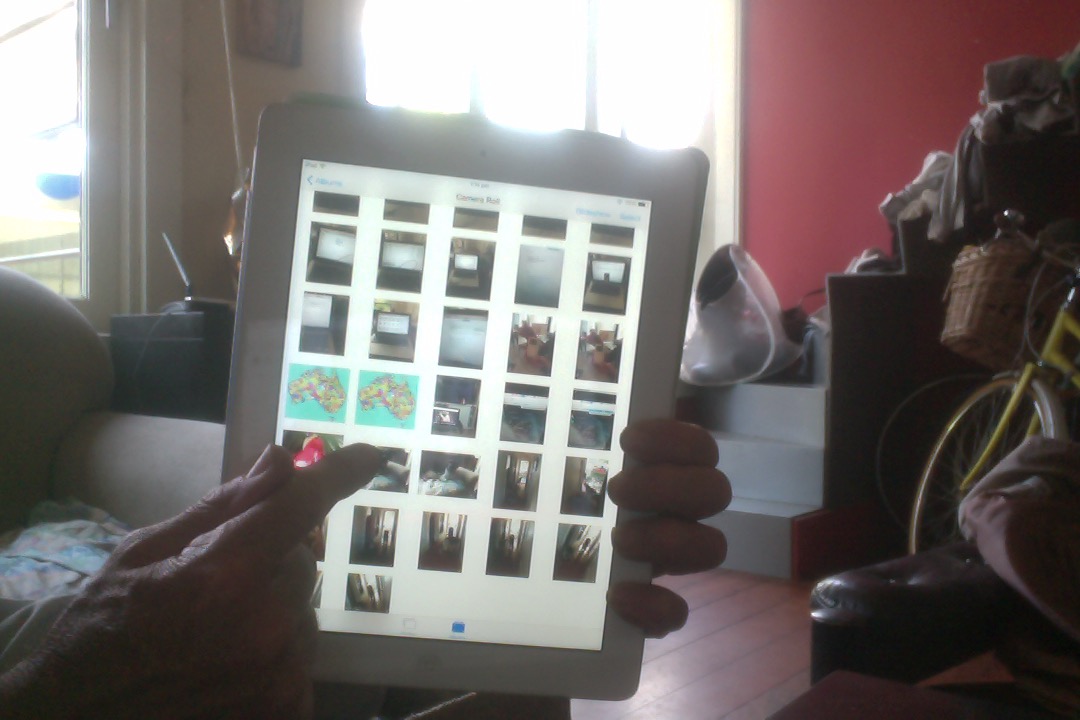
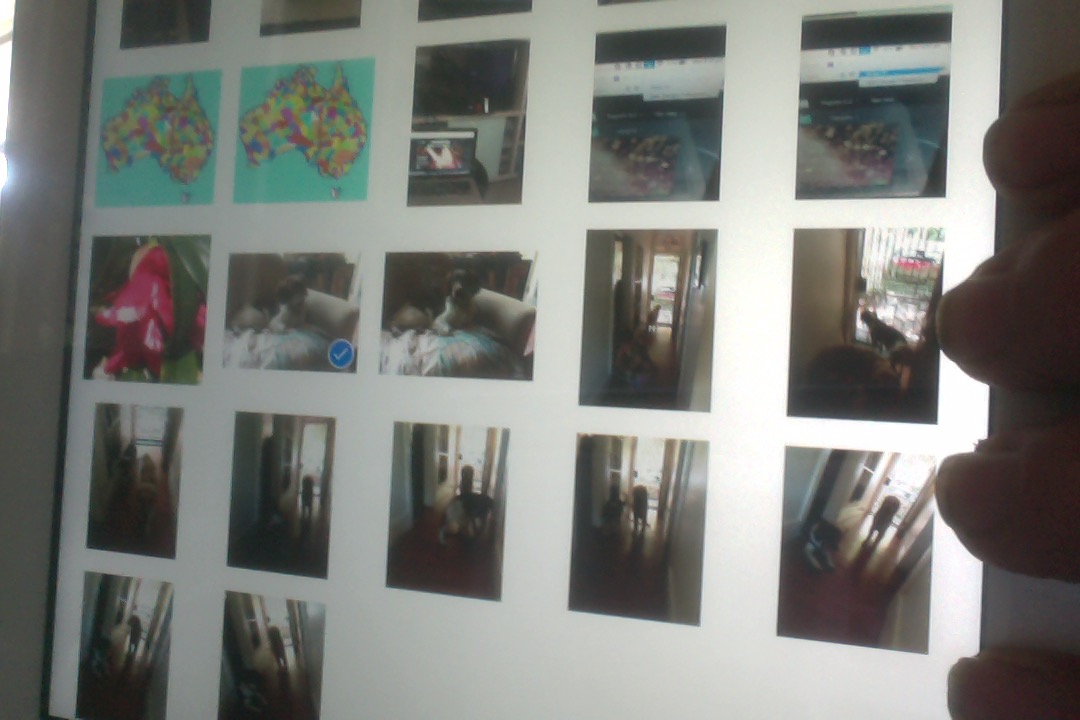
- Hold left tap down long time over first photo for first selection (that gets ticked) ℹ
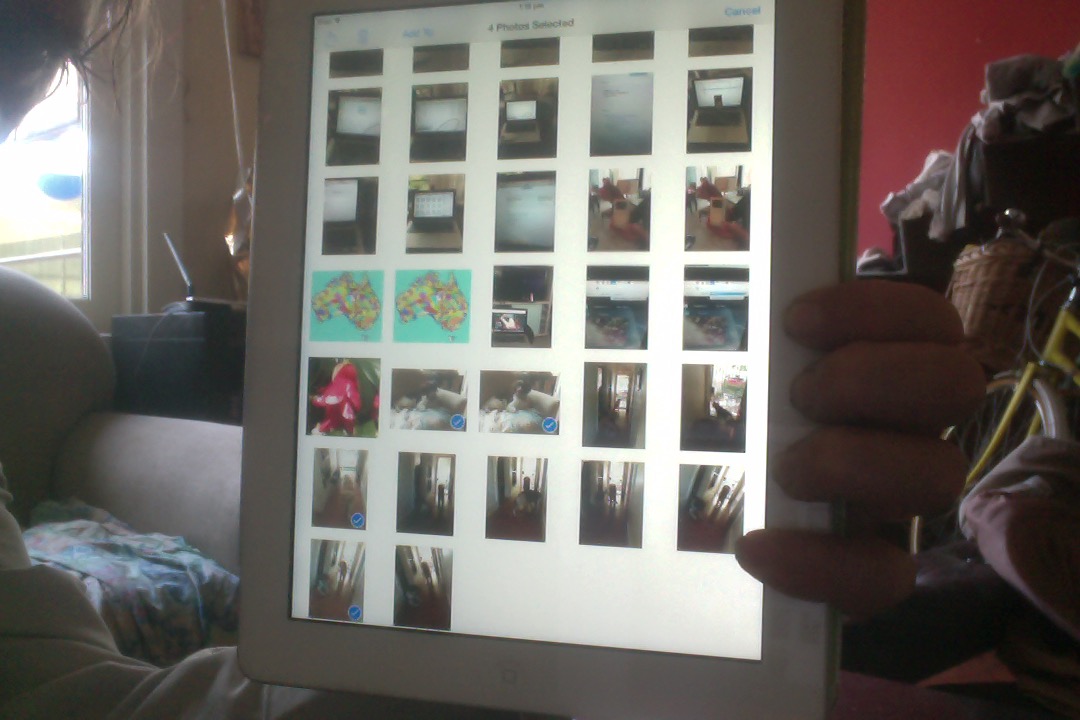
- Light tap picks others ℹ
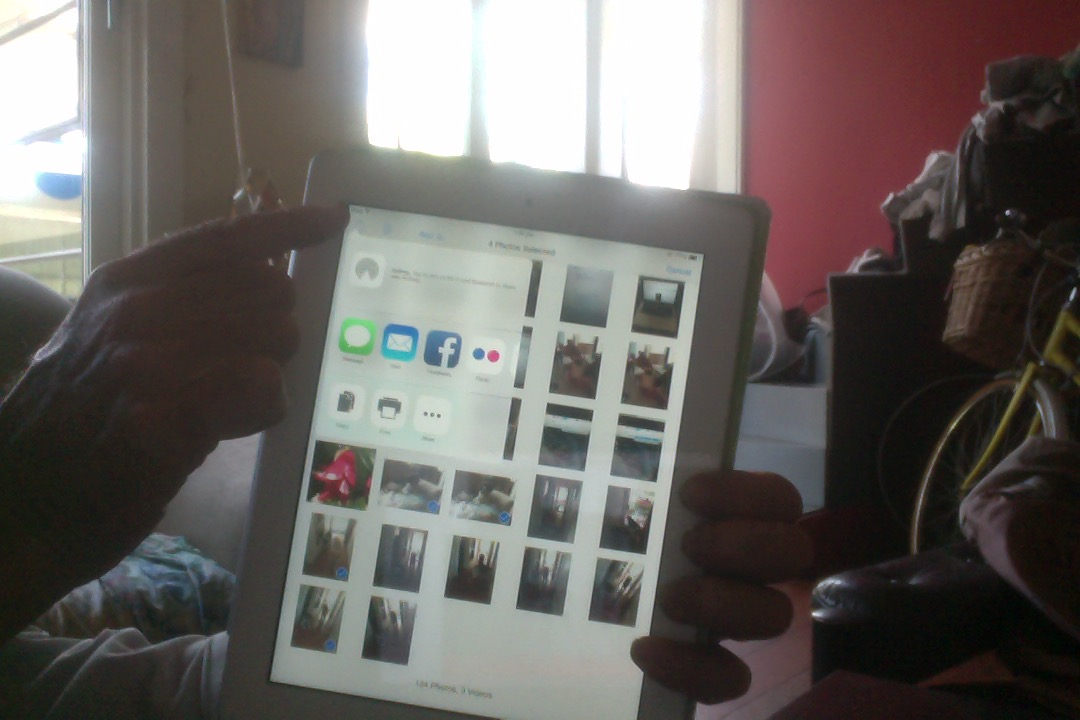
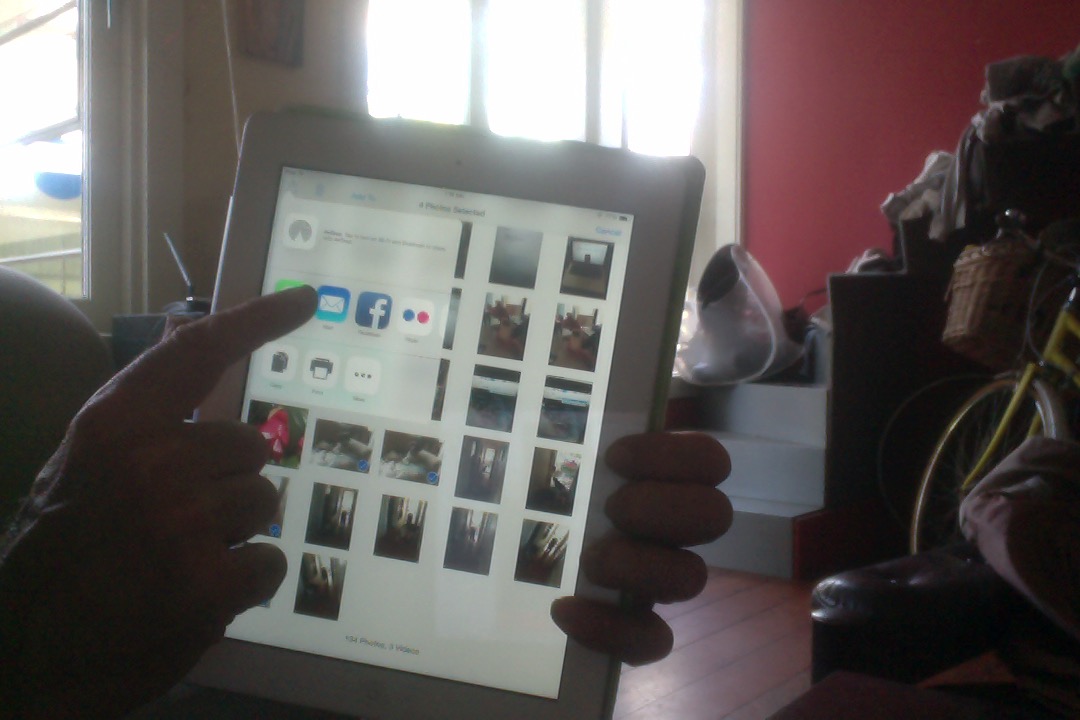
- Choose top left Sharing options button ℹ
- Tap Email option ℹ
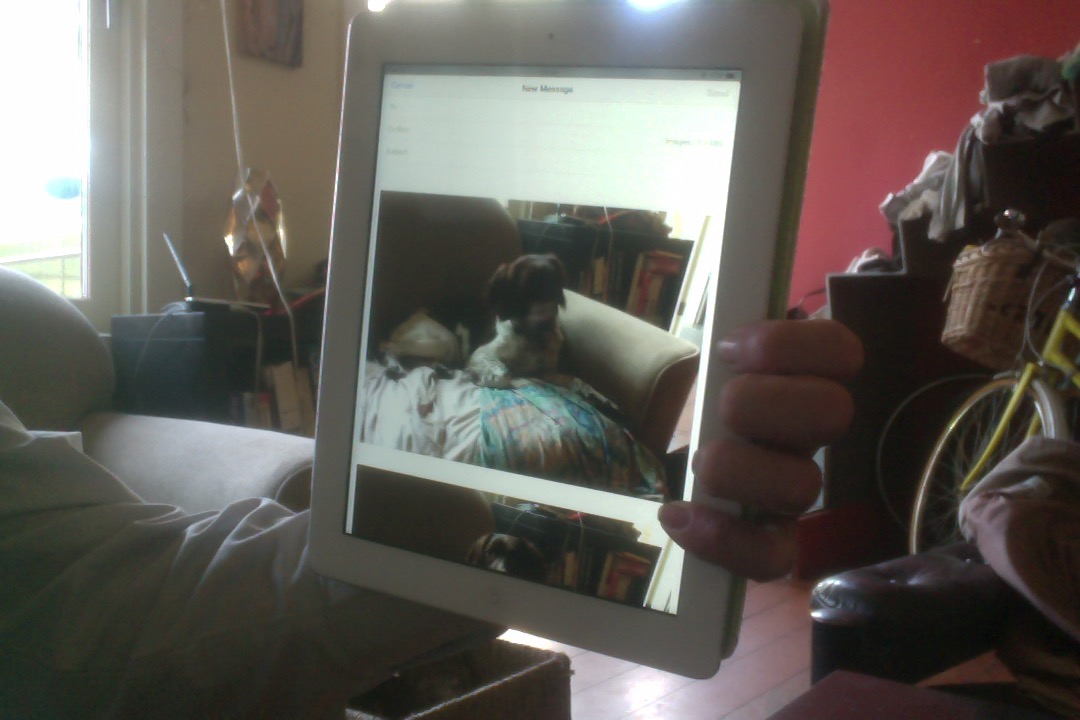
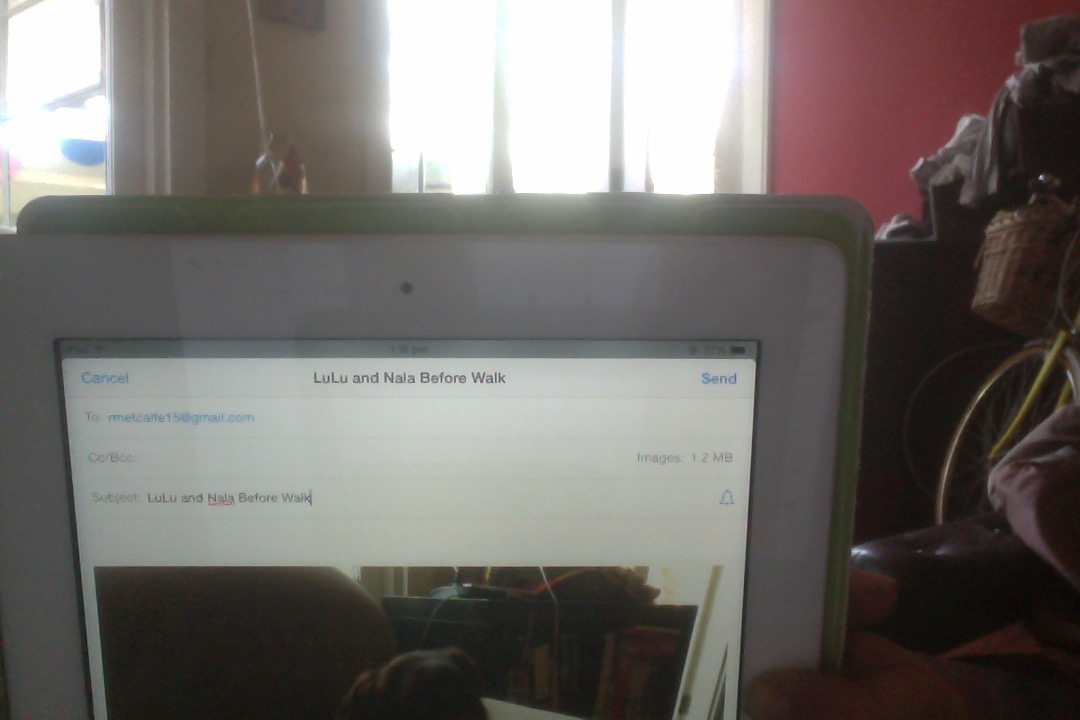
- Fill in “To” and “Subject” (and any “CC” (carbon copy) email recipients) over the top of attached photos (on Android, you are asked, sometimes, how to size the photo attachments, which can be useful to reduce image file size before attaching … with student cameras we’ve often found that 30% size on Android (tablets) allows at least three photos to be attached before breaking any email size limits) ℹ
- Tap Send button after you write more in the body of email as necessary ℹ
So see this in action with today’s slideshow presentation.
If this was interesting you may be interested in this too.
If this was interesting you may be interested in this too.

