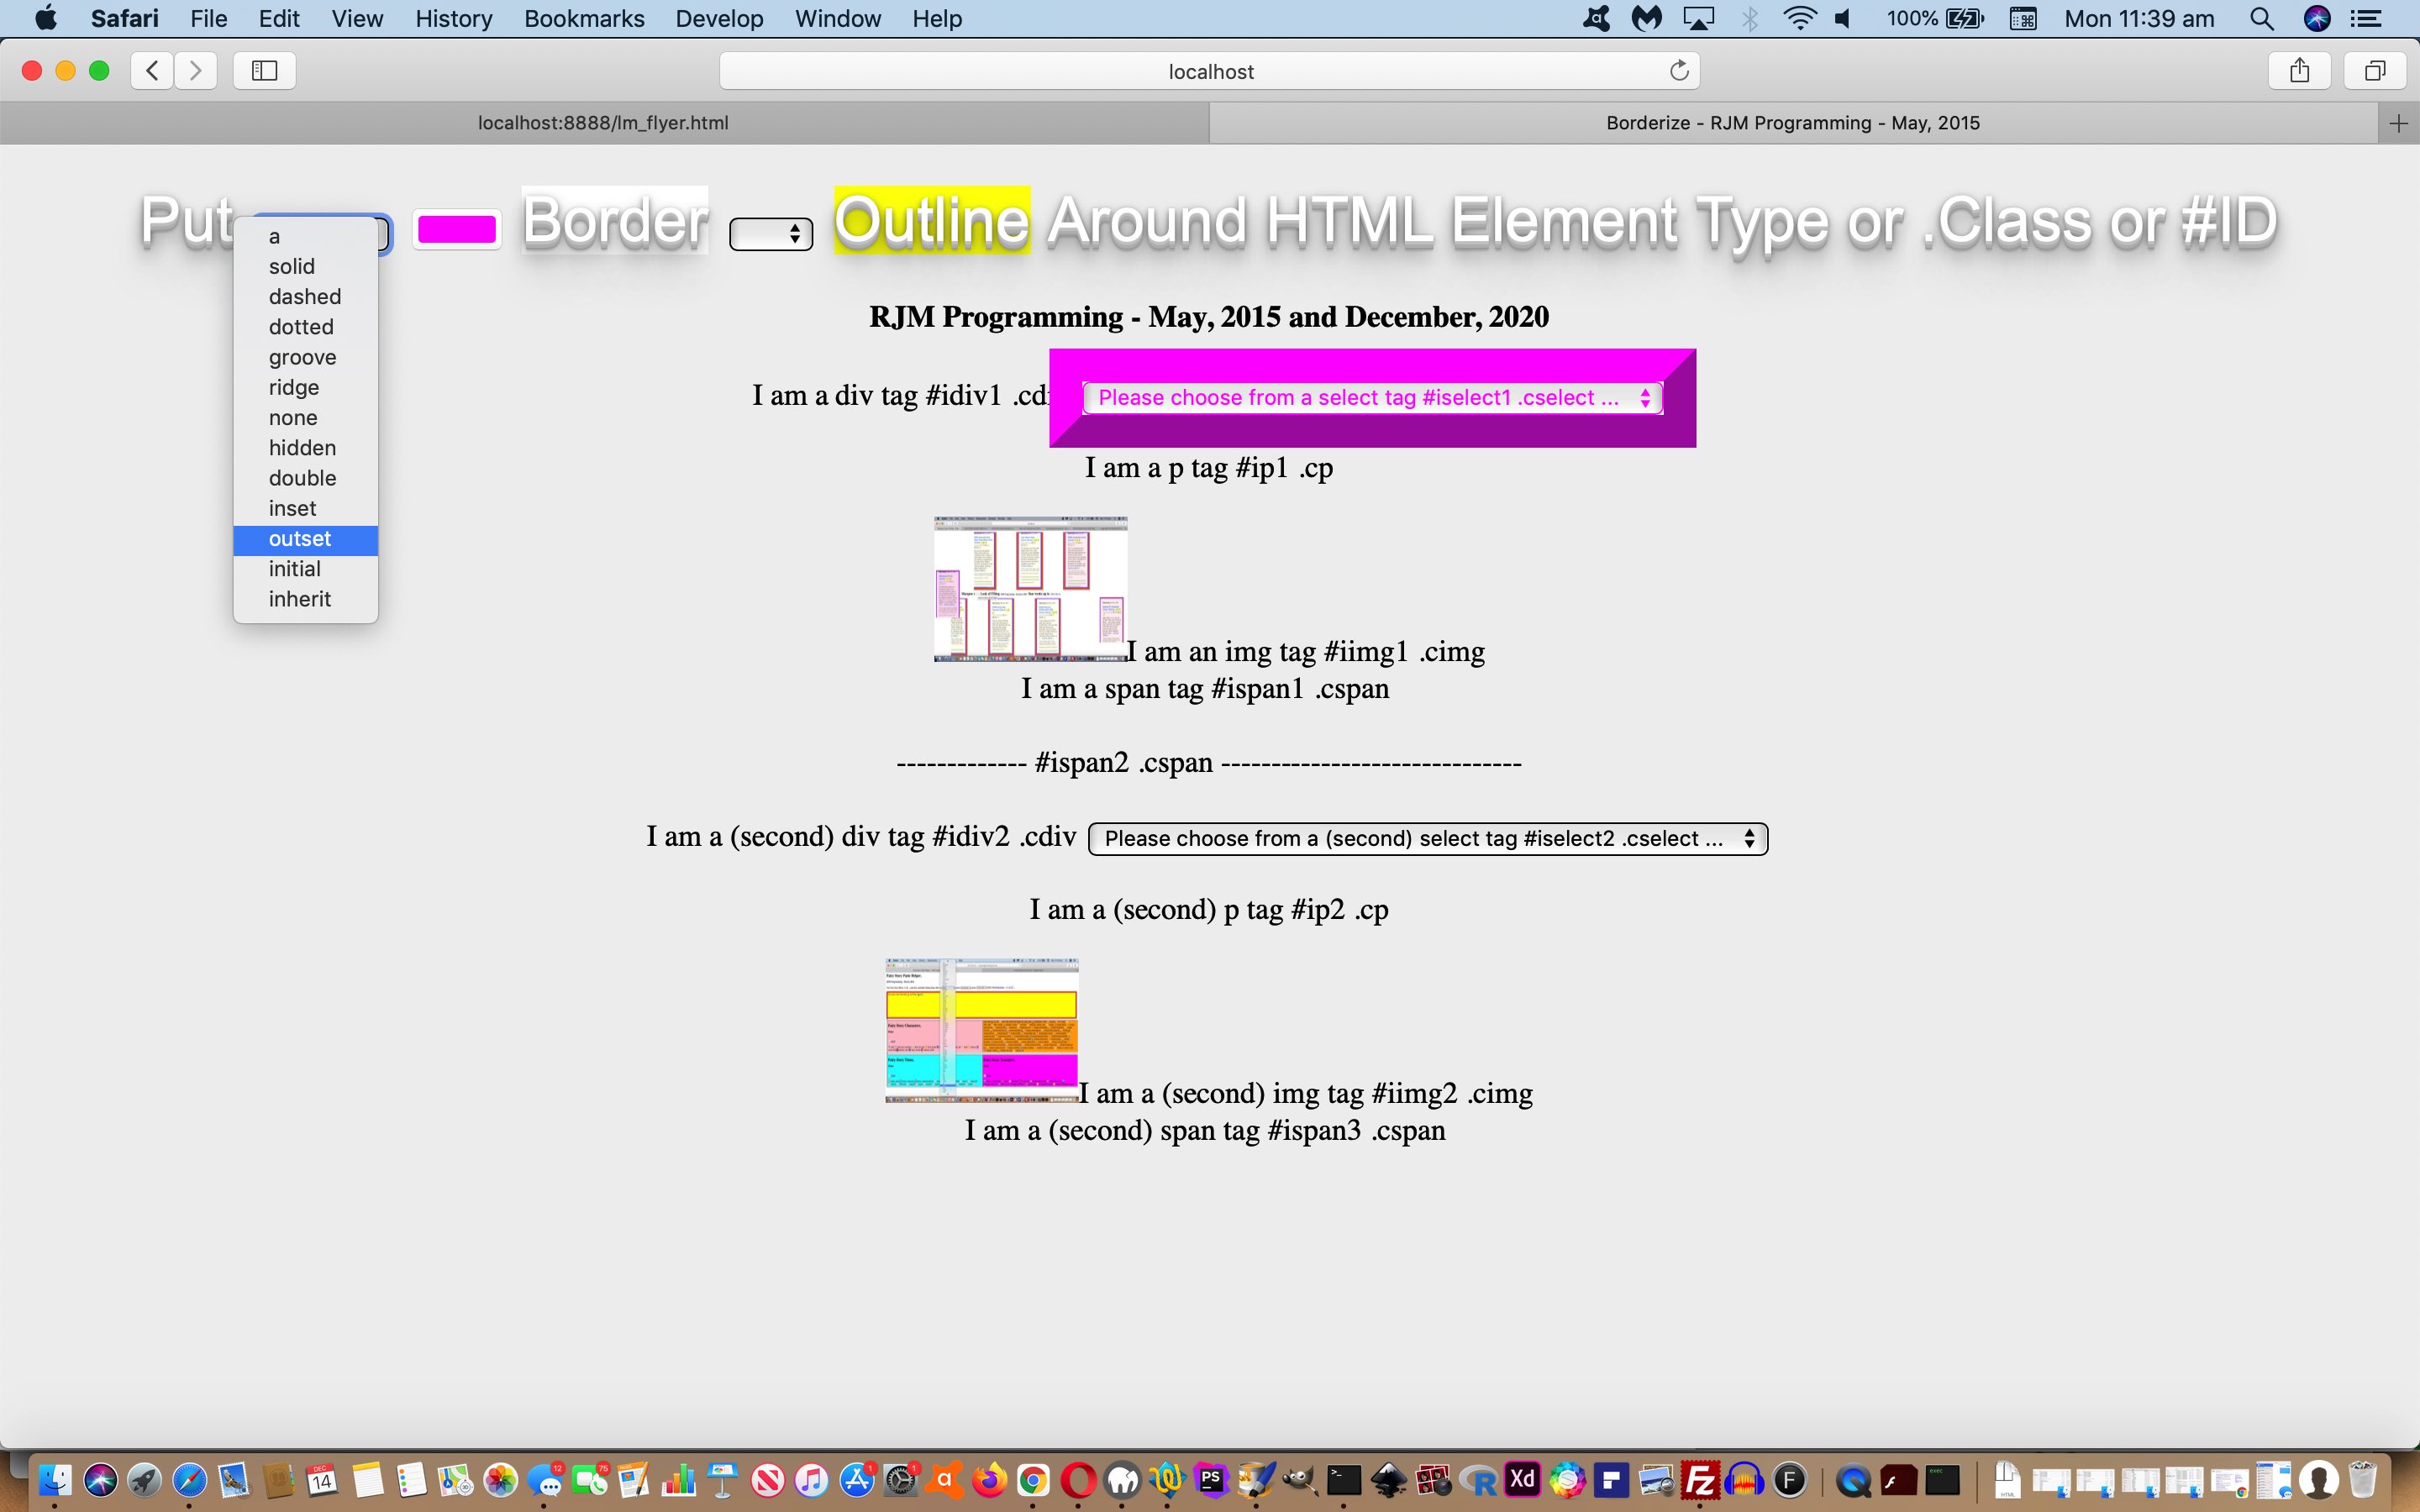
There is more to the “Border Story” than presented back in May, 2015 when we presented Javascript jQuery More Filtering Tutorial, albeit, this tutorial was more a tutorial about Javascript jQuery filtering. We feel we need a makeover, allowing a user to be able to define, regarding the “Border Story” …
… in order to get a better picture of what CSS offers in this area as far as styling your webpages is concerned.
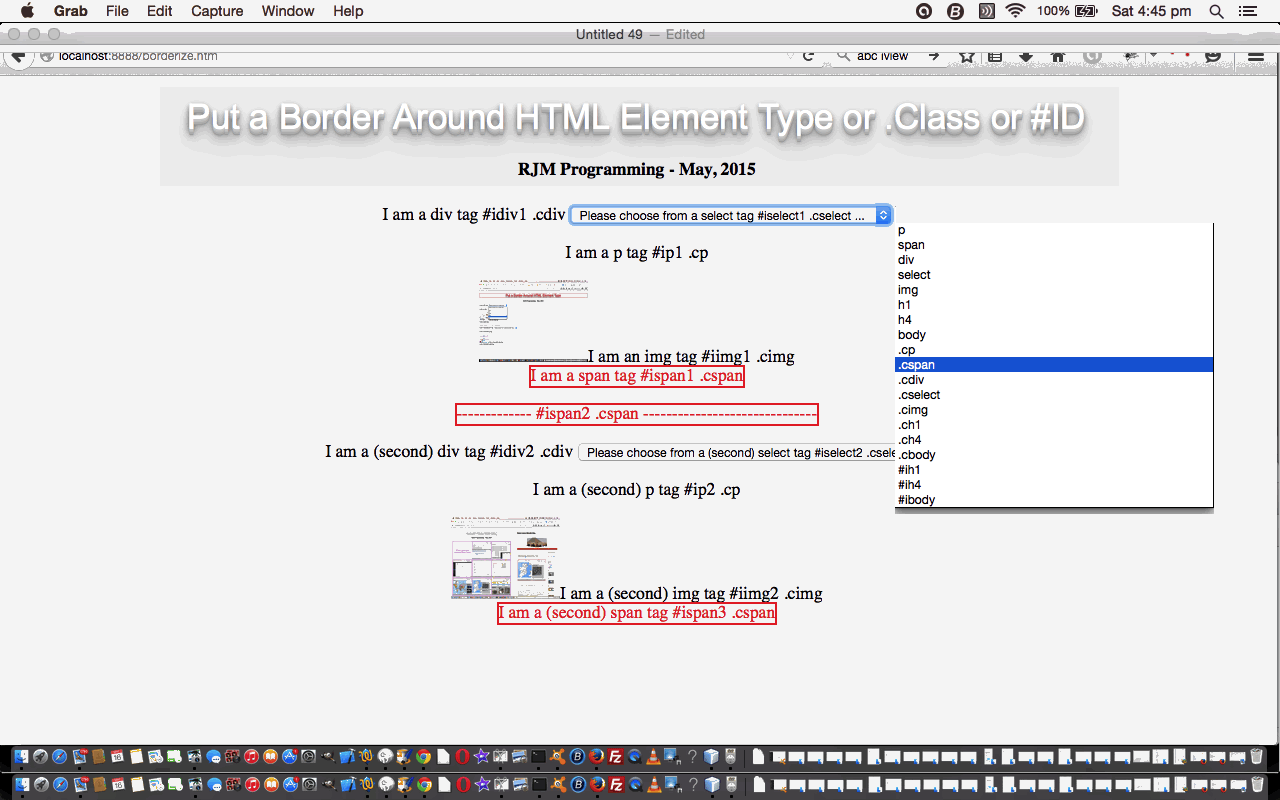
And so where Javascript jQuery More Filtering Tutorial says …
You’ll see with the HTML(/Javascript)/jQuery source code you could call borderize.htm that the “star” line of code …
eval('$("body").find("' + oisval + '").css({"color": "red", "border": "2px solid red"})');… stays as is from yesterday … yayyyyyyyyy!!!!
… today we have …
You’ll see with the HTML(/Javascript)/jQuery source code you could call the changed borderize.htm live run that the “star” line of code …
// These globals change depending on user selections

var bmode='border';

var thewidth=2;

var thetype='solid';

var thecolour='red';


eval('$("body").find("' + oisval + '").css({"color": "' + thecolour + '", "' + bmode + '": "' + thewidth + 'px ' + thetype + ' ' + thecolour + '"})');
… changes this way todayyyyyyyyy!!!!
… which you might want to try out yourself, below.
Previous relevant Javascript jQuery More Filtering Tutorial is shown below.
The web (design and) styling and Javascript client event functionality worlds can feel more united using jQuery (they all being aspects to web front-end (client) programming). We are not going to extend the jQuery much on yesterday’s Javascript jQuery Filter by Type Tutorial as shown below, today, but we do extend the CSS thoughts by adding in HTML element “class” and “ID” concepts (mainly in the HTML parts of the code … not the Javascript or jQuery) … two concepts that unite the CSS and Javascript DOM and jQuery coding worlds.
An HTML element “class” is like a “classification” of HTML element, and the CSS references to class use the prefix “.”. Bear in mind, though, an HTML element can have more than one class, and this can come in handy for CSS (Cascading Style Sheet) styling ideas, and Javascript DOM dynamic programming thoughts (and jQuery usage no doubt … though we don’t use this “feature” today).
An HTML element “ID” is like an “identifier” of an HTML element, and the CSS references to ID use the prefix “#”. Bear in mind, though, an HTML element can be identified uniquely (hopefully … but not enforced (if this interests, refer to PHP Blog Summary Follow Up Tutorial for another way to look at this)) and so the “document.getElementById([ID])” refers to one HTML element, and the ID is also useful as a means to open the webpage and go to this “(hash)tag”.
To be complete with the Javascript DOM business here we should mention that element types can be identified by the (array) result set of “document.getElementsByTagName([ElementType])”, and … you guessed it … elements of a class can be identified in the manner of …
if (document.getElementsByClassName) { var myclassarray=document.getElementsByClassName([ClassName]) }
… the “if” being needed because not all the web browsers support this method.
You’ll see with the HTML(/Javascript)/jQuery source code you could call borderize.htm that the “star” line of code …
eval('$("body").find("' + oisval + '").css({"color": "red", "border": "2px solid red"})');
… stays as is from yesterday … yayyyyyyyyy!!!!
So try a live run or examine the code differences at borderize.htm
Previous relevant Javascript jQuery Filter by Type Tutorial is shown below.
Today’s tutorial builds on yesterday’s Javascript jQuery Traversing Primer Tutorial as shown below …
Javascript brings great things to the client side of web applications. And within this Javascript world a wonderful library of functionality is jQuery.
The jQuery library starts you thinking in a jQuery way, admittedly, but you can mix and match it with traditional Javascript ways, as well if you wish, but just be easy on yourself with the “onload” event functionality, and adopt the jQuery approach, mixing the traditional Javascript in, as needed, rather than the other way around.
Was looking at the jQuery “traversing” functionality … that is, “motoring” your way along the DOM “hierarchy” “tree” of HTML elements, and jQuery is really quite a good way to go, with some things happening on one line of code, that you cannot imagine happening in one line of code, such as …
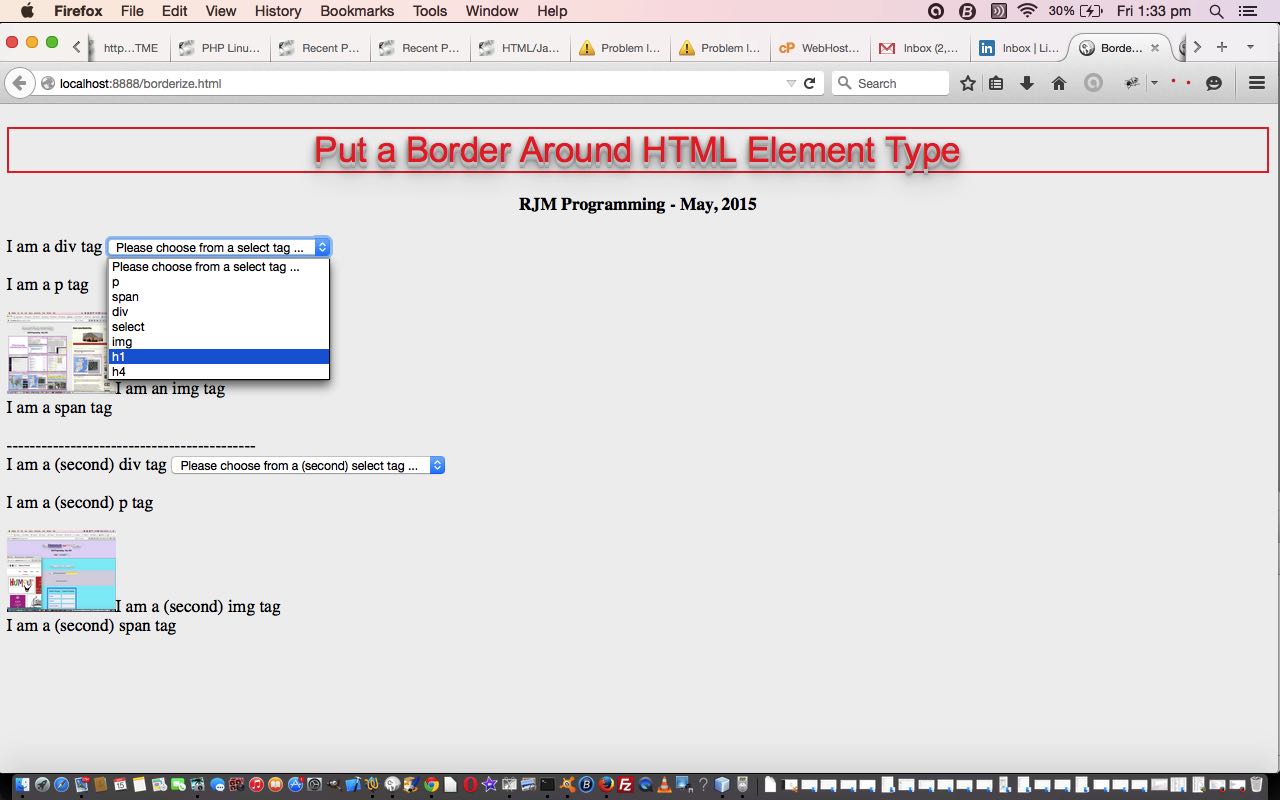
… to again use jQuery to filter an HTML webpage’s contents, but this time it is more like the tutorial could be called “The Plucking Out” tutorial, because we identify parts of the webpage with similar HTML element type characters via the use of the jQuery find() method to identify HTML elements we “borderize”. You select what you want to “borderize” via a dropdown selection … (“oisval”, below, is the dropdown selection) …
eval('$("body").find("' + oisval + '").css({"color": "red", "border": "2px solid red"})');
… with the one “complication” being the “borderize” of the “body” tag, being as it is the parent to the “find()” method for non-body selections … weirdly, the “complication” solution is to leave out the find() call. By the way, between selections the “document.body.innerHTML” redraw approach is used, just calling on an initial value snapshotted at the “onload” event.
Here’s the HTML(/Javascript)/jQuery source code you could call borderize.html or try the live run. What do you think?
Previous relevant Javascript jQuery Traversing Primer Tutorial is shown below.
Javascript brings great things to the client side of web applications. And within this Javascript world a wonderful library of functionality is jQuery.
The jQuery library starts you thinking in a jQuery way, admittedly, but you can mix and match it with traditional Javascript ways, as well if you wish, but just be easy on yourself with the “onload” event functionality, and adopt the jQuery approach, mixing the traditional Javascript in, as needed, rather than the other way around.
Was looking at the jQuery “traversing” functionality … that is, “motoring” your way along the DOM “hierarchy” “tree” of HTML elements, and jQuery is really quite a good way to go, with some things happening on one line of code, that you cannot imagine happening in one line of code, such as …
- construct a jQuery parentsUtil() call and add a …
- css() method call that …
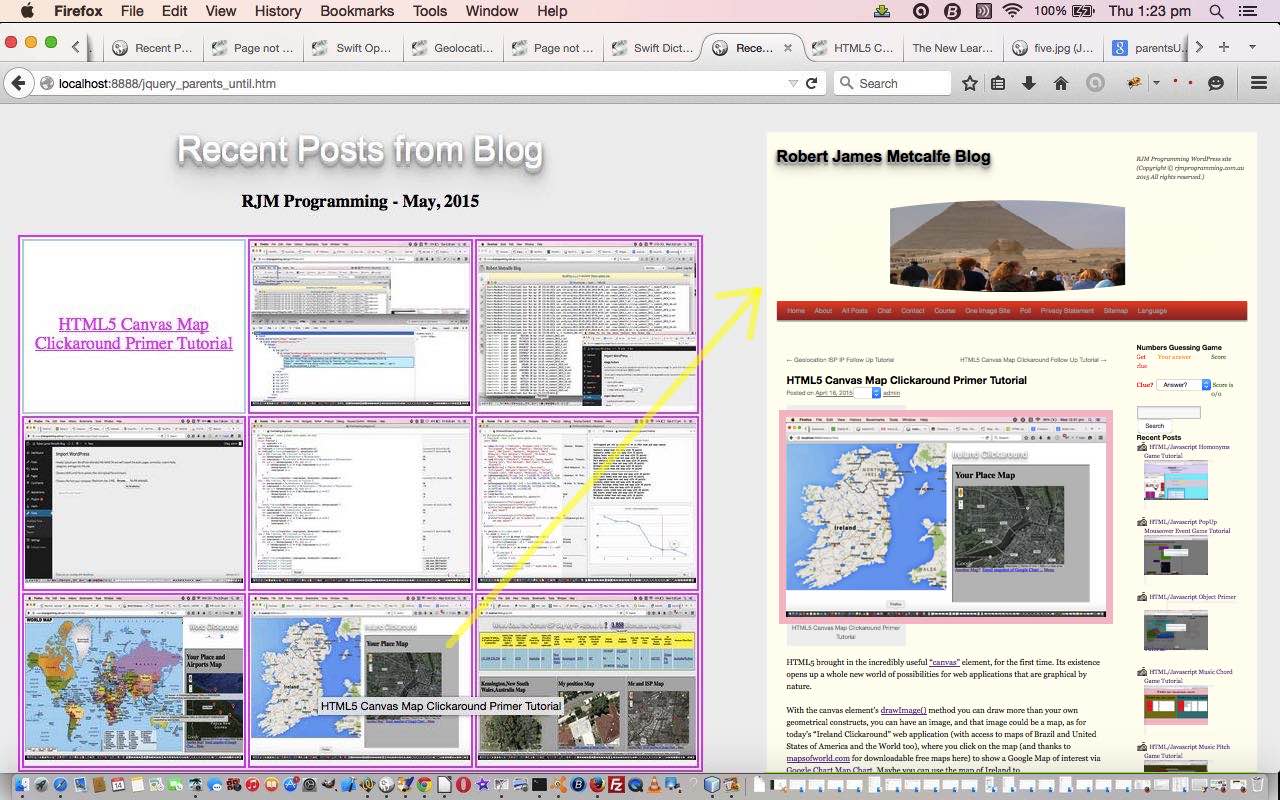
… applies some CSS properties to all nested elements (in our case, amounts to a table element made up of one a tag and eight (recent post) img tags (nested in a div)) between a (child) (img) element type or ID and another (parent) (div) element type or ID … as per the eval assisted line of code (where “colis” is derived elsewhere) …
eval('$("img").parentsUntil("div").css({"color": "' + colis + '", "border": "2px solid ' + colis + '"})');
… ends up as a method to “colour code” an action. We use this to style a whole table element when a particular action happens with one cell. You can do this with traditional Javascript as well, but it sure cuts down on coding to do such a task with jQuery.
So we set out to apply a (more than usually concentrated) jQuery approach to the reworking of the “Recent Posts” ideas we’ve been developing at this blog we last talked about with WordPress Recent Post Landing Page Tutorial. So we latched onto what the Crontab/Curl job uses to help this domain’s Landing Page hook into the list of Recent Posts, via the use of an iframe, for what it does, and this suited the task of making a new HTML(/Javascript)/jQuery web application that presents a table of images of these Recent Posts and lets the user click on the one that interests them, taking them to this blog posting in a new window via Javascript’s “window.open()” … my apologies jQuery purists, for this slip up … instigated by the jQuery click() method via …
$("a").click();
… remember that “one” a (link) tag.
We start with these images having no title, and therefore, no (on)mouseover “hover” message usefulness, but jQuery traversing is quick enough to get in there and add this in in the time between the (on)mouseover “hover” and any “click” to activate the new blog posting window … by the way, apologies to all those mobile users without (on)mouseover … lately we’ve been doing quite a bit of this kind of event logic and hope to get back to more genericity soon … but today’s work’s functionality may not work for mobile users.
Stop Press:
Sun come up … sun goes down … we added an “onload” clause to the iframe and worked from here for the mobile scenario to resolve the mobile issue … with reference to the code below the code differences come sunrise plus a bit are jquery_parents_until.html … and so, resuming normal transmission …
Here’s the HTML(/Javascript)/jQuery source code you could call jquery_parents_until.html or try the live run. What do you think?
Used lots of useful links as below … all from that brilliant Open Source helper website StackOverflow … so, thanks (for getting so many of us through those scenarios where we are plain straight “fishing”) …
- how-to-access-the-content-of-an-iframe-with-jquery
- get-html-inside-iframe-using-jquery
- how-to-remove-onclick-with-jquery
- jquery-click-fires-twice-when-clicking-on-label
- how-to-check-for-undefined-in-javascript
If this was interesting you may be interested in this too.
If this was interesting you may be interested in this too.
If this was interesting you may be interested in this too.
If this was interesting you may be interested in this too.


